
How to Draw a Charming Easter Bunny: A Fun Activity for Parents and Kids!
Hey there, creative families!
With Easter hopping closer, it’s the perfect time to engage in some fun and crafty activities with your kids. And what could be more fitting than learning to draw an adorable Easter Bunny? Whether you’re an artistic pro or a drawing novice, this guide is designed to help parents and children alike create a beautiful, spring-inspired masterpiece. So, gather your pencils and paper, and let’s hop into the joy of drawing together!
What You’ll Need:
- Plain white paper or a sketchbook
- Pencils (HB or 2B are great for sketching)
- Eraser (for those little oops moments)
- Colored pencils, crayons, or markers (to bring your bunny to life)
- A big dose of creativity and imagination!
Starting with the Basics: Sketching the Easter Bunny’s Shape
Before we dive into the details, let’s get started with the basic shape of our Easter Bunny. Remember, bunnies come in all shapes and sizes, so there’s no wrong way to create your furry friend.
Step 1: Draw the Bunny’s Head and Body
Begin by lightly sketching a large oval for the bunny’s body and a smaller circle for the head. Make sure there’s a slight overlap where the head meets the body, as this will create a guide for connecting the two later.
Step 2: Add the Ears and Facial Features
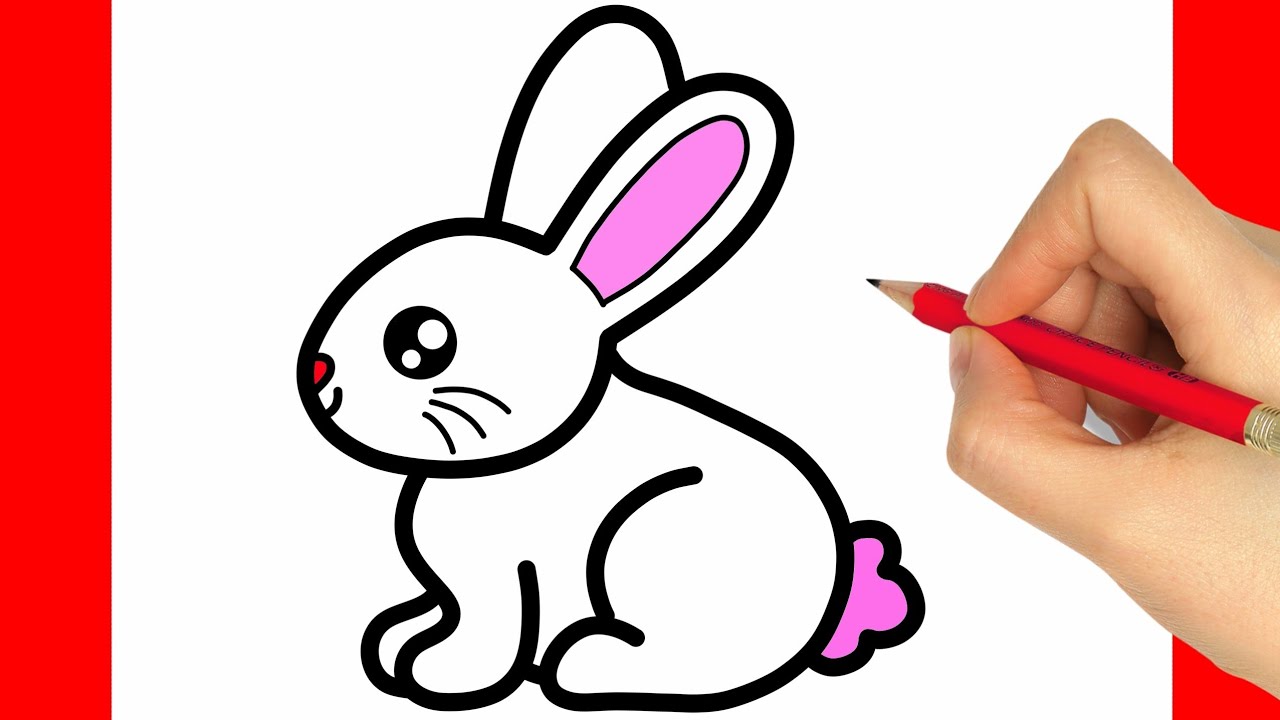
Bunny ears are fun and distinctive! Draw two long, upward-pointing ovals on top of the head for the ears. Inside each ear, draw a smaller oval for the inner ear details. For the facial features, sketch two small circles for the eyes, a triangle for the nose, and a gentle curve above it for the bunny’s mouth. Don’t forget to add whisker lines on either side of the nose!
Crafting the Easter Bunny’s Adorable Features
Now that we have the basic outline, let’s move on to making this bunny undeniably cute!
Step 3: Refining the Bunny’s Facial Details
Refine the eyes by adding small circles inside for the pupils, giving them a spark of life. Give your bunny a sweet expression by drawing curved eyebrows above the eyes. If you like, add a couple of teeth peeking out from the mouth for an extra touch of charm.
Step 4: Drawing the Bunny’s Paws and Tail
Bunnies are known for their fluffy tails and cute paws. Draw a small, round tail on the backside of the body and sketch the front paws at the bottom of the body. Indicate the paws’ shapes with slightly curved lines and add small oval shapes within the paws for the paw pads.
Adding Festive Easter Details to Your Bunny
Now, to make our bunny festive, let’s add some Easter-themed details!
Step 5: Add Accessories and Easter Eggs
To make your creation truly special, try drawing a festive bow tie or a ribbon around the bunny’s neck. Then, sketch a few Easter eggs by the bunny’s feet. Feel free to decorate the eggs with stripes, polka dots, or any pattern that brings out the Easter spirit. Remember, the more colorful, the better!
Finishing Touches: Bringing Your Bunny to Life With Color
Once your sketch is complete, it’s time for color! Grab your colored pencils, crayons, or markers and fill in your drawing with soft pastels, vibrant hues, or whatever palette your Easter heart desires.
Step 6: Coloring Your Masterpiece
Start by coloring the bunny’s body with shades of white, gray, or even pink if you’re feeling whimsical. Use gentle strokes to create the fur texture, and add hints of pink inside the ears and on the nose. Color the eyes, being careful to leave a little white dot for that sparkle suggesting life and joy. Finally, color the Easter eggs using a rainbow of colors and complete the bow tie or ribbon in a color that stands out!
Now that you’ve created a lovely Easter Bunny, it’s time to share your artwork! Display it in your home, give it as a gift, or use it to create homemade Easter cards that are sure to brighten anyone’s day. Not only have you learned a new skill, but you’ve also made lasting memories with your little ones. Happy drawing, and may your Easter be filled with creativity and joy!
Remember, drawing is about having fun and expressing yourself. So, don’t worry if your bunny isn’t “perfect” on the first try. Keep practicing, and you’ll see improvement each time you put pencil to paper. And who knows, maybe your Easter Bunny will start a new family tradition of drawing together!
Stay tuned for more drawing tips and creative ideas to make your festive season even more special. Until next time, keep those pencils sharp and your imaginations running wild!

Five Tips for Parents Preparing to Draw the Easter Bunny
Before embarking on this whisker-filled adventure of drawing the Easter Bunny, here are five useful tips for parents to consider:
Tip 1: Create a Drawing-Friendly Space
Choose a well-lit, comfortable area for your drawing session. A clear, flat surface like a dining table or a desk is ideal. Make sure you have plenty of room for all your materials and for your little artists to work without bumping elbows.
Tip 2: Use Age-Appropriate Tools
Ensure the drawing tools are suitable for your child’s age. Younger children might benefit from chunkier pencils and crayons for better grip, while older kids can handle standard art supplies. Non-toxic and washable options are your friends here!
Tip 3: Encourage Individual Expression
It’s great to have a guide, but allow your children the freedom to interpret the bunny their own way. If they want to add a superhero cape or a pair of cool sunglasses, why not? Imagination makes every artwork unique and memorable.
Tip 4: Be Prepared for Messes
Art can get messy, especially with excited, eager kids. Keep wet wipes or a damp cloth handy for quick clean-ups. Covering the work surface with old newspapers or a disposable tablecloth can also minimize your post-drawing chores.
Tip 5: Emphasize the Fun, Not Perfection
Your goal is a pleasant experience, not a masterpiece fit for a museum (though, who knows, you might just make one!). Praise the effort, laugh at the goofy mistakes, and treasure the process over the final product.
Drawing the Easter Bunny Together
Now that we are equipped with these helpful tips and tricks, drawing the Easter Bunny becomes more than just an activity; it transforms into an opportunity to bond and create joyous family moments. Smile, laugh, and revel in the delightful world of drawing with your kiddos. Who’s ready to bring their Easter Bunny to life?
As we continue on our whimsical drawing journey, let’s keep these preparation tips in mind to ensure that our Easter Bunny drawing session is not only productive but packed with giggles and warm memories. With a stroke of the pencil, open hearts, and splashes of color, our Easter bunnies will become much more than just a drawing; they’ll represent the love and creativity of a family’s shared Easter spirit.
Don’t forget to take pictures of your finished artwork—and possibly an in-the-process action shot for those oh-so-sweet memories. Beyond the fun of drawing, the Easter Bunny you create could make for an excellent craft for your Easter decorations or egg hunt backdrop.
Every bunny stroke, a giggle shared, and every crayon scribble is a testament to the joy of the season. With a hop, skip, and a jump, your family will have drawn not just a bunny, but perhaps a new tradition that can last for many Easters to come. Hoppy Drawing!
See more great Things to Do with Kids in New Zealand here. For more information see here
Disclaimer
The articles available via our website provide general information only and we strongly urge readers to exercise caution and conduct their own thorough research and fact-checking. The information presented should not be taken as absolute truth, and, to the maximum extent permitted by law, we will not be held liable for any inaccuracies or errors in the content. It is essential for individuals to independently verify and validate the information before making any decisions or taking any actions based on the articles.


