
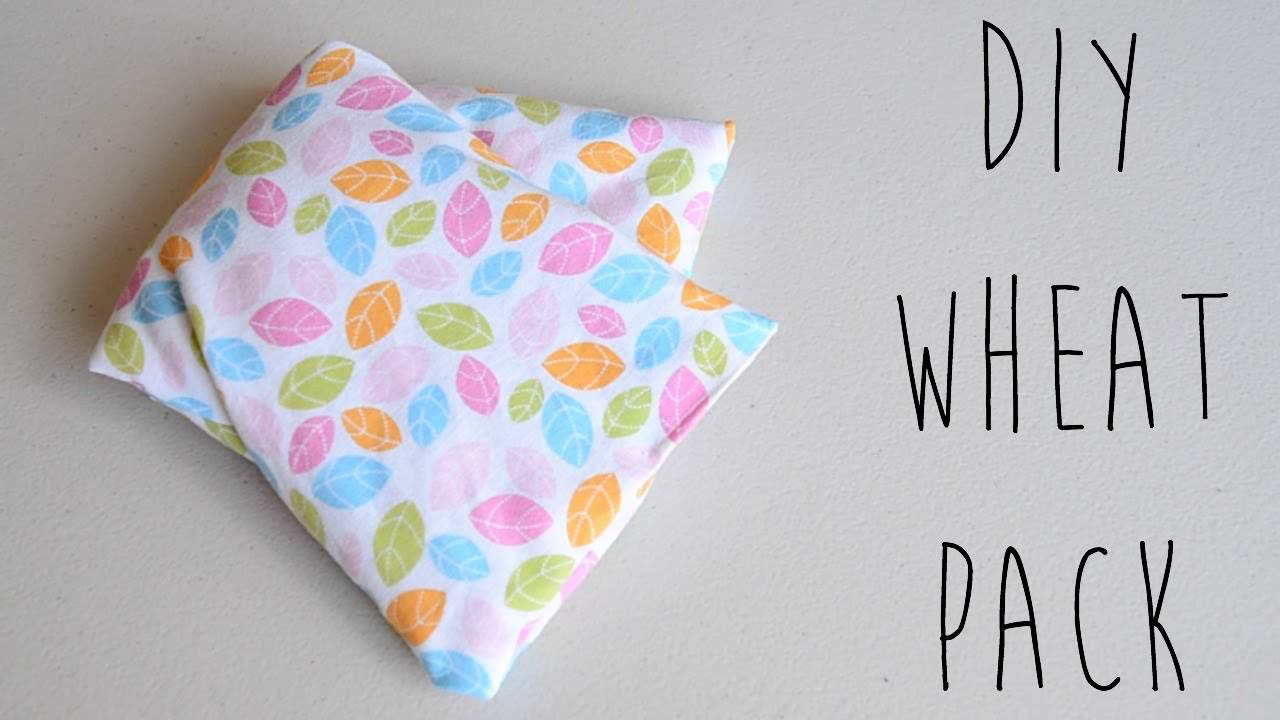
DIY Heat Pack: A Cozy Guide for Parents
Hello there, wonderful parents and craft enthusiasts! Are you looking for an engaging activity that benefits your whole family? Well, it’s time to put on your crafting caps and get ready to create something not only fun but also incredibly comforting. Yes, we’re talking about making your very own heat packs – a warm hug your muscles will thank you for!
Why Make a Heat Pack?
Before we dive into the how-tos, let’s talk about why homemade heat packs are simply awesome:
- Cost-Effective: Skip the pricey store-bought options and use household items.
- Customizable: Choose the size, shape, and fabric that suits your family’s needs.
- Therapeutic: Great for easing muscle aches, menstrual cramps, or just for warming up on a chilly day.
- Child-Friendly: Simple and safe for supervised kids to make and use.
- Sustainable: A lovely way to upcycle fabric scraps and use eco-friendly materials.
Materials You’ll Need:
Let’s gather up those materials! You’ll be happy to know that most of these items may already be in your abode:
- Fabric (cotton or flannel works best)
- Sewing machine or needle and thread
- Rice, wheat, or dried corn (organic materials hold heat well)
- Funnel or paper to create a makeshift funnel
- Scissors
- Ruler or measuring tape
- Pins to secure the fabric (if needed)
- Essential oils (optional for a bit of aromatherapy)
Choosing Your Fabric:
When it comes to picking out the perfect fabric for your heat pack, consider opting for natural fibers like cotton or flannel. These are not only soft and snugly against the skin, but they’re also safe to microwave – an important aspect we’ll touch on later. If you feel like getting extra creative, let your little ones choose a pattern or color that makes them smile – turning this into a personalized and exciting activity!
Preparing Your Fabric:
Once you’ve got your glorious fabric in hand, it’s time to prep it! Wash and dry the fabric to prevent any unwanted shrinking after your heat pack is made. Then, lay out the fabric and cut two pieces of equal size. The standard for a heat pack is usually 12×6 inches, but hey, it’s your craft – customize away!
Sewing Your Heat Pack:
If you’re handy with a sewing machine, great! If not, no worries – hand stitching will also do the trick. Pin the right sides (the printed or nicer sides) of the fabric together and sew around the perimeter, leaving a gap of about two inches unsewn. This gap will be where you’ll pour in your filling.
Take a little break, stretch out those fingers, and give yourself a pat on the back. You are creating something special and practical that your family can use over and over again. Stay tuned for the next steps, where we’ll fill and finish off our homemade heat pack and even add a hint of fragrance for those who love a sensory treat!
Essential Tips for Crafting Homemade Heat Packs
Greetings, super moms and dads! Ready to embark on a memorable crafting journey with the kiddos? Let’s bond over stitching and filling to manifest the cuddliest heat packs straight from the heart – it’s DIY time!
Perks of a Personal Touch
Homemade heat packs don’t just provide warmth; they come with a multitude of benefits:
- Super Savings: Save a stash of cash with materials right at home.
- Fit for You: Craft it to your own comforting specifications.
- Healing Haven: An aid for those bothersome cramps or cold toes!
- Kid Approved: A project even the small hands can help with, under supervision, of course.
- Go Green: Eco-smart parents, here’s your chance to repurpose with purpose.
Gathering the Goodies
You might be surprised to find that you already have most of what you need:
- Soft Fabric (natural fibers for safety and comfort)
- Sewing Kit (machine or hand-sewing supplies)
- Organic Fillers (like rice or wheat for best heat retention)
- Homemade Funnel (paper will do nicely)
- Sharp Scissors
- Precision Ruler or Measuring Tape
- Holding Pins (to keep that fabric tight)
- Aromatic Oils (for a scent-sational heat pack)
Picking the Perfect Fabric
When searching for your fabric, aim for comfort and safety: cotton and flannel are top choices that are microwave-friendly. Encourage your kids to select a fabric that makes them giggle with delight – this heat pack is getting the personal touch!
Prep Your Textile Treasure
Excited about your fabulous fabric? Fantastic! Prep it with a wash and dry to avoid shrinkage blues. Now, snip snip – cut two equal pieces in your favorite size. The heat pack norm? Around 12×6 inches, but tailor it to your cuddle needs!
Stitch It Up!
Sewing aficionados, here’s your time to shine, and newbies – fear not, hand stitching is a worthy ally. Just face the fabrics pretty sides together, sew around, but remember to leave a tiny entrance for the filling to parade through later.
That’s a wrap for now! Flex those digits, beam with pride, and prep for the homestretch where we’ll fill our fabric friend and if you fancy, bless it with a sprinkle of aromatic magic. Hang in there, because we’re almost ready to cuddle up with our homemade comfort!
See more great Things to Do with Kids in New Zealand here. For more information see here
Disclaimer
The articles available via our website provide general information only and we strongly urge readers to exercise caution and conduct their own thorough research and fact-checking. The information presented should not be taken as absolute truth, and, to the maximum extent permitted by law, we will not be held liable for any inaccuracies or errors in the content. It is essential for individuals to independently verify and validate the information before making any decisions or taking any actions based on the articles.


