
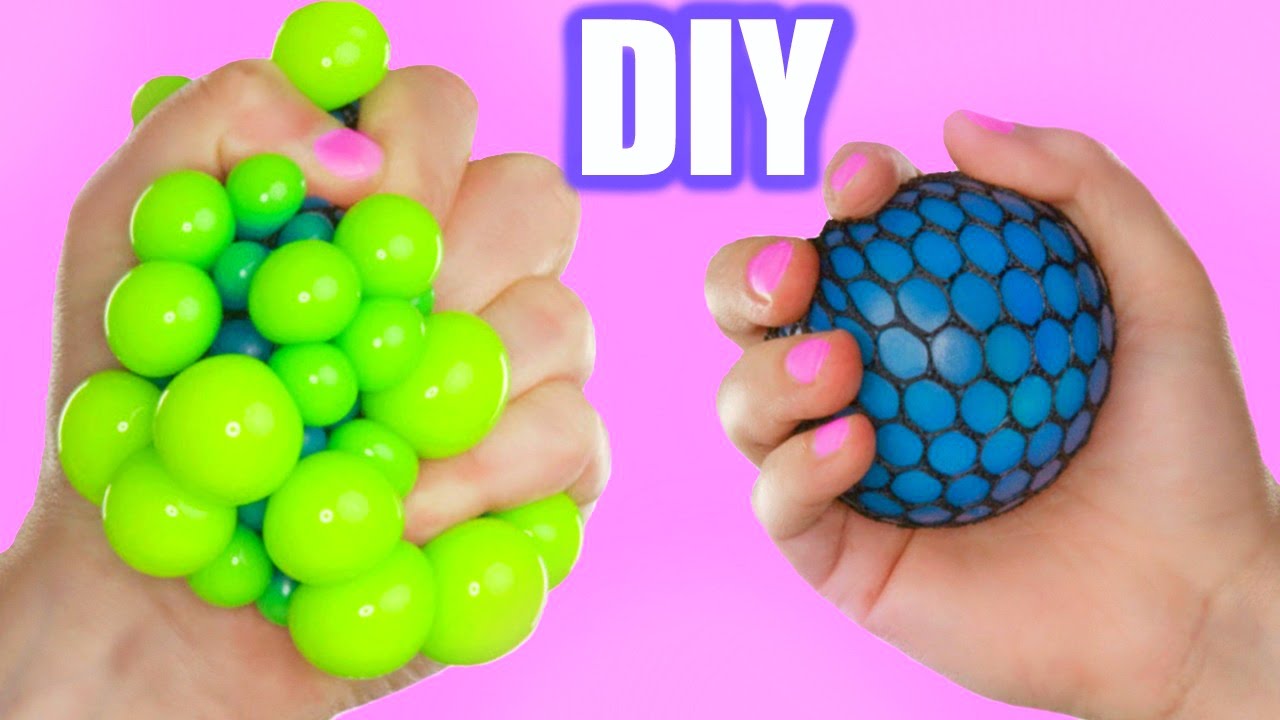
How to Make a Stress Ball: Your Ultimate Guide for Parent-Child Crafting
Hello, crafty parents and kiddos! Are you looking for a fun and creative way to spend quality time together while making something that can help you relax and de-stress? Look no further because today, I’m going to show you how to make stress balls – the perfect project for both young and old hands!
Not only are homemade stress balls great for squeezing the tension away, but they’re also a fantastic sensory tool to support children’s development. Plus, they’re super easy and inexpensive to make. All you need are a few simple materials, and you’re ready to start this stress-busting craft!
Materials You’ll Need to Make Stress Balls at Home
- Balloons
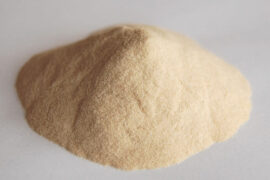
- Your choice of filling: flour, rice, or fine sand
- A funnel or a DIY paper funnel
- A plastic bottle or a sturdy cup
- Scissors
- Optional: A permanent marker for decorating
Step 1: Prepare Your Materials
First things first, gather all your materials in one place to make sure you have everything you need. You can choose any color you like for your balloons, but consider having a few extras on hand in case of any balloon casualties along the way.
If you’re using rice or sand as your filler, make sure it’s dry and free of any debris that could puncture the balloon. For an added touch, you can mix in a little glitter or a few drops of essential oils for a sparkly or aromatherapeutic effect!
Step 2: Fill Your Balloon
Now, let’s get the filling process started! Attach the neck of the balloon to the end of a funnel. If you don’t have a funnel, don’t worry—making one from paper is a breeze! Simply roll a piece of paper into a cone and tape it securely, leaving a hole at the tip just large enough for your filling to pass through.
Next, if you’re using a plastic bottle to help pour the filling, fill it up with your chosen material. It will make the entire process a lot tidier and more manageable, especially with eager little helpers involved.
Stretch the open end of the balloon over the mouth of the filled bottle or the bottom end of your funnel. Holding the balloon tightly in place, turn the bottle upside down and start shaking the filler into the balloon. You might need to give it a gentle tap or squeeze to move things along if they get stuck.
Step 3: Secure the Balloon
Once the balloon feels nice and squishy, but not too full, it’s time to remove the funnel or bottle. Be careful not to let any of the fillings spill as you slowly ease the balloon off.
Now, pinch the neck of the balloon to keep the filling from escaping and release any excess air before tying it securely. If you have trouble tying the balloon, don’t hesitate to ask for an extra pair of hands—that’s what family craft time is all about!
If you’re worried about the balloon popping or leaking, you can snip off the end of another balloon and stretch it over the filled balloon for an extra layer of protection. Just cut off the neck, stretch the body of the second balloon around the first, and voila—you’ve doubled your defense against stress-induced explosions!
At this point, you’ve successfully created your very own homemade stress ball! Squeeze it to your heart’s content and feel the day’s pressures start to melt away. But wait, don’t stop there. A personalized touch can make your stress ball even more special.
Step 4: Decorate Your Stress Ball
Grab those permanent markers and let your creativity run wild! You can draw faces, patterns, or write inspirational quotes on your stress balls. If you’re crafting with younger children, this can be an excellent opportunity for them to practice their fine motor skills. Plus, decorating the stress balls makes them unique and possibly even a cool addition to the décor in your home or at work.
Remember, there’s no right or wrong way to create or decorate your stress balls. The important thing is to have fun and enjoy the process with your loved ones. By now, you should have a cute, functional, and home-made stress ball in your hands. Why not make a few more to share with friends or coworkers?
Whether you’re looking to bond with your kids over a creative craft, searching for DIY sensory play ideas, or need a little help focusing and de-stressing, making stress balls serves as a perfect activity. So what are you waiting for? Dive into this enjoyable project, and let the squeezing, squishing, and soothing begin!
But before you go, remember there’s more to explore in the world of DIY crafts. Stay tuned for additional tips, tricks, and projects that will nurture your family’s creative spirit and reduce stress one squeeze at a time.

5 Things Parents Should Know in Preparing for How to Make a Stress Ball
- Choose the Right Balloons: Not all balloons are created equal. For making stress balls, look for balloons that are durable and have a good stretch to them. Thicker balloons, often labeled as ‘punch balloons,’ are ideal because they can withstand a good amount of squeezing and pressing without bursting.
- Prep the Workspace: Making stress balls can get a little messy, especially if you’re working with materials like flour. Lay down some newspaper or a plastic sheet to protect surfaces. Also, keep a vacuum or a broom nearby for a quick cleanup, ensuring the process is as stress-free as the outcome!
- Consider Fillers Carefully: The filler you choose will determine the density and squishiness of your stress ball. Flour will give you a soft, doughy feel, while rice provides a more granular texture. When working with children, it’s often best to avoid very fine sand as it can easily escape if there’s even a tiny hole in the balloon.
- Check for Allergies: If you’re planning to make these stress balls in a classroom or at a kids’ party, check for potential allergies first. Some children may be allergic to latex (found in balloons) or have gluten sensitivity, making flour a poor choice.
- Always Supervise: Small children can find ways to turn anything into a choking hazard. Always keep a close eye on younger participants throughout the process. Also, pre-inflate the balloons a bit before filling them, making it easier to insert the filler and reducing the risk of the balloon popping unexpectedly.
Safety First: Use Non-Toxic Materials
When you’re creating stress balls, it’s essential to ensure that all the materials used are safe and non-toxic. Kids have a habit of putting things in their mouths, so choosing fillers like rice, beans, or non-toxic craft beads is important. Avoid using items like baking soda or borax, which can be harmful if ingested.
In the decorating phase, if you opt to use markers or paint, ensure they are labeled as child-safe and consider using gloves or smocks to keep those little hands and clothes stain-free.
Developing Fine Motor Skills and Creativity
While the primary goal is to create a stress-relieving tool, the process itself is rich in developmental benefits for children. Encourage youngsters to pour the fillers, tie the balloons, and decorate the final product. These tasks can help improve their dexterity and hand-eye coordination. Encouraging kids to design their stress balls can spark creativity and give them a sense of pride in their creations.
These homemade stress balls are not just a craft—they are a labor of love and a physical reminder that both the body and mind need relaxation. Every time you or your child squeeze one of these delightful little balls, remember the fun you had making them, and let that positive energy flow.
Are we all set now? Gather your supplies, round up the troops, and let’s turn that potential stress into a stress ball-crafting fest! Keep those hands busy and minds at ease, one squishy ball at a time.
See more great Things to Do with Kids in New Zealand here. For more information see here
Disclaimer
The articles available via our website provide general information only and we strongly urge readers to exercise caution and conduct their own thorough research and fact-checking. The information presented should not be taken as absolute truth, and, to the maximum extent permitted by law, we will not be held liable for any inaccuracies or errors in the content. It is essential for individuals to independently verify and validate the information before making any decisions or taking any actions based on the articles.


