
How to Make Play Doh: Unleash Your Child’s Creativity with Safe, Homemade Fun!
Hello, wonderful parents! Are you ready to dive into the whimsical world of color and creation with your little ones? Look no further, because today we’re going to embark on a delightful journey to make homemade play doh! It’s super easy, incredibly fun, and a perfect opportunity to bond with your children while fostering their imagination. Let’s get those tiny hands ready for some squishy, squashy fun!
The Joy of Making Play Doh at Home
Why buy when you can DIY? Making play doh at home is not only a cost-effective activity, but it’s also a great way to ensure that your children are playing with safe, non-toxic materials. Plus, it’s an excellent tool for sensory play, which aids in the development of fine motor skills and cognitive growth. So, let’s mix up a batch of bright, vibrant play doh together!
What You’ll Need: Ingredients and Tools
- 1 cup of all-purpose flour
- 1/4 cup of table salt
- 2 tablespoons of cream of tartar (for elasticity)
- 1 cup of water
- 1 tablespoon of vegetable oil
- Food coloring (gel or liquid)
- A large pot (for stovetop cooking)
- Wooden spoon or spatula
- Measuring cups and spoons
- Storage containers or zip-lock bags
Let’s Make Some Magic: The Mixing Process
Now that we’ve gathered our colorful ensemble of ingredients, it’s time to start crafting our homemade play doh. Don’t worry, even if you’re not a kitchen whiz, this process is as easy as pie – or in our case, as simple as play doh!
Step-by-Step Instructions:
- Start by combining the flour, salt, and cream of tartar in the large pot. Give it a good mix to ensure everything is well integrated.
- Next, pour in the cup of water and the tablespoon of vegetable oil. This will bring moisture and smoothness to your play doh.
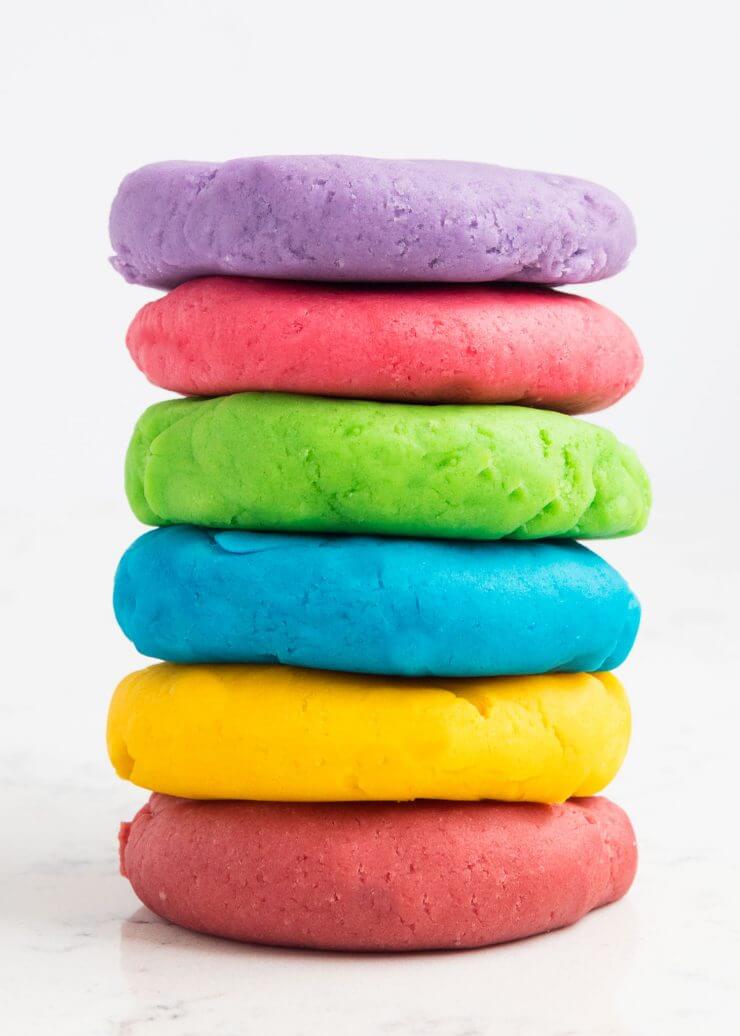
- Time for a splash of color! Add your preferred food coloring to the mixture. You can create a rainbow of play doh by dividing the mix into different pots and using various colors.
- Stir everything together over medium heat on the stove. Keep stirring! You don’t want any lumps to form in your vibrant concoction.
- Soon, the mixture will start to thicken and form a dough-like consistency. Keep mixing until the play doh begins to pull away from the sides of the pot and clumps together.
- Once the dough has gathered into a ball and looks fully cooked, remove the pot from the heat. Let it cool down for a short while until you can handle it safely.
- Turn out the play doh onto a clean surface or wax paper to cool completely. Knead it for a few minutes to bring it to the perfect, pliable texture that we all love in play doh.
- If the dough is still a bit sticky after cooling, sprinkle a little more flour onto your kneading surface and work it into the dough.
Congrats, playful parents and kids alike! You’ve successfully created your very own homemade play doh. Now, the real fun begins as you mold, shape, and create to your heart’s content. Remember to store your play doh in an airtight container or zip-lock bag to keep it soft and usable for the next play session.
But wait, there’s more! In the following sections, we’ll explore tips for enhancing your play doh experience with scents and sparkles, how to troubleshoot common play doh mishaps, and fun play doh activities to inspire your child’s creativity. Stay tuned, because the adventure in homemade playtime is just beginning!
Ready to continue our playful play doh quest? Let’s learn about customization options and play ideas in the next part of our guide!

Five Things Parents Should Know Before Making Play Doh
Before we dive into crafting our delightful play doh, let me share with you five essential things parents should keep in mind. Preparing is key to ensuring that your play doh making experience is as smooth as your final product!
- Safety First: Even though homemade play doh is non-toxic, always supervise your children during playtime. And remember, while this play doh is safe to handle, it’s not meant for snacking, so keep an eye on younger children who might be tempted to taste it.
- Quality Ingredients: Stick to using fresh, quality ingredients. Old flour or expired cream of tartar may affect the texture and lifespan of your play doh. Check expiration dates to ensure your ingredients are up to par.
- Customization: Be prepared with different food coloring options or natural dyes to make a variety of colors. Remember that you can also add glitter, scents, or even essential oils to match your child’s play doh to their personality or preferences.
- Clean-Up Preparations: Making play doh can get a bit messy, so cover your workspace with wax paper or a silicone mat for easy cleanup. Have a damp cloth handy to wipe sticky fingers and spills as you create.
- Storage Solutions: Have airtight containers or sealable bags ready for storing your play doh to keep it fresh. Proper storage extends the life of your homemade dough and prevents it from drying out. Label each container with the color or scent to stay organized.
Enhancing Your Play Doh Experience: Scented and Sparkly Dough
Now that we’re geared up with the basics, let’s add some pizzazz to our play doh. You can create scented play doh by adding a few drops of child-friendly essential oils or extracts like vanilla or almond. Sparkles make everything more fun, so don’t hesitate to mix in some eco-friendly glitter for that extra twinkle!
Troubleshooting Common Play Doh Mishaps
It’s all about trial and error, my friends. Your first batch may not be perfect, and that’s okay! If your play doh is too sticky, add flour, a little at a time, until it reaches the right consistency. If it’s too dry, knead in a few drops of water. Keep tweaking until you get it just right!
Play Doh Activities to Spark Creativity
To enhance your child’s play doh adventures, try introducing themed playsets, cookie cutters, rolling pins, and molds. Encourage storytelling by creating characters and settings with your play doh. The opportunities for educational play are endless – from practicing the alphabet and numbers to exploring shapes and colors!
Time spent making and playing with play doh is not only entertaining but holds precious moments of learning and bonding. So, go on, bring out the bowls and rolling pins, pick your colors and let the imaginations run wild! With each press, roll, and mold, you’re helping your child build a foundation for creativity that will last a lifetime.
Remember, the goal is to have fun and make memories, so don’t sweat the small stuff. Keep smiling, keep creating, and enjoy the magic of homemade play doh!
For more great articles please see here. For more information see here
Disclaimer
The articles available via our website provide general information only and we strongly urge readers to exercise caution and conduct their own thorough research and fact-checking. The information presented should not be taken as absolute truth, and, to the maximum extent permitted by law, we will not be held liable for any inaccuracies or errors in the content. It is essential for individuals to independently verify and validate the information before making any decisions or taking any actions based on the articles.


