
Perfect Piping: The Ultimate Buttercream Icing Recipe Every Parent Needs
Hey there, creative parents! Are you ready to whip up some sweet magic for your next family celebration? If you’ve got a special occasion on the horizon or just want to add a sprinkle of joy to an ordinary day, mastering the art of buttercream icing for piping is a must! Whether it’s a birthday bash or a simple bake sale, your piping skills, paired with this fabulous buttercream icing recipe, are about to take all those treats from delightful to absolutely dazzling!
What Makes Buttercream Perfect for Piping?
The allure of buttercream icing goes beyond its creamy taste; it’s all about the texture and its ability to hold shape. When you pipe on those cupcakes or around the edges of a cake, you want an icing that’s smooth, stable, and can stay put through the rounds of oohs and aahs. A flawlessly prepared buttercream gives you just that – it’s the ideal medium for creating those eye-catching designs that are as pretty as they are palatable.
Ingredients for Buttercream Bliss
Before we dive into the mixing bowl, let’s round up what we’ll need. Here’s a list of simple ingredients for a buttercream icing that’s just right for piping:
- 1 cup unsalted butter (softened to room temperature)
- 4 cups powdered sugar (also known as icing or confectioners’ sugar)
- 2-3 tablespoons heavy cream or milk
- 1 teaspoon pure vanilla extract
- A pinch of salt (to balance sweetness)
- Food coloring (optional, for that pop of color)
These ingredients are easy to find, and there’s a good chance you already have them in your kitchen!
Step-by-Step: Creating the Ultimate Buttercream for Piping
Now that we’ve got our ingredients, let’s walk through the steps. Follow this guide, and you’ll be a piping pro in no time!
Step 1: Mix Butter to Perfection
Begin by placing the softened butter into a large mixing bowl. With an electric mixer or stand mixer, beat the butter on medium speed until it’s creamy and pale – about 2 minutes should do the trick. Ensuring the butter is well mixed is the secret to getting that silky consistency we love in buttercream.
Step 2: Sift and Sweeten
Next, you’ll want to sift the powdered sugar. This might seem like an extra step, but it’s crucial for avoiding lumps and getting that smooth finish. Gradually add the sifted sugar to the creamed butter, starting on a low speed to avoid a powdered sugar snowstorm in your kitchen. Once the sugar begins to incorporate, you can increase the speed to medium. Mix until all the sugar is combined and the mixture looks fluffy.
Step 3: Add Flavor and Smoothness
It’s time to splash in that sweet vanilla essence and add your heavy cream or milk. Start with 2 tablespoons and add more until you reach the desired consistency. Remember that for piping, a stiffer consistency is typically better, as it will hold shapes more precisely. Add a pinch of salt to cut the sweetness and balance the flavors. Keep mixing for another minute until everything is well incorporated.
The consistency of your buttercream is key and may need a little adjusting. If it seems too stiff, add a bit more cream. Alternatively, if it’s too soft, mix in a little extra powdered sugar.
Step 4: Color it Beautiful (If You Desire)
Feeling artistic? This is the time to add a few drops of food coloring to your buttercream. Rainbow swirls, pastel florals, or bold, vibrant hues — the sky’s the limit! Mix in the color until it’s evenly distributed throughout the icing.
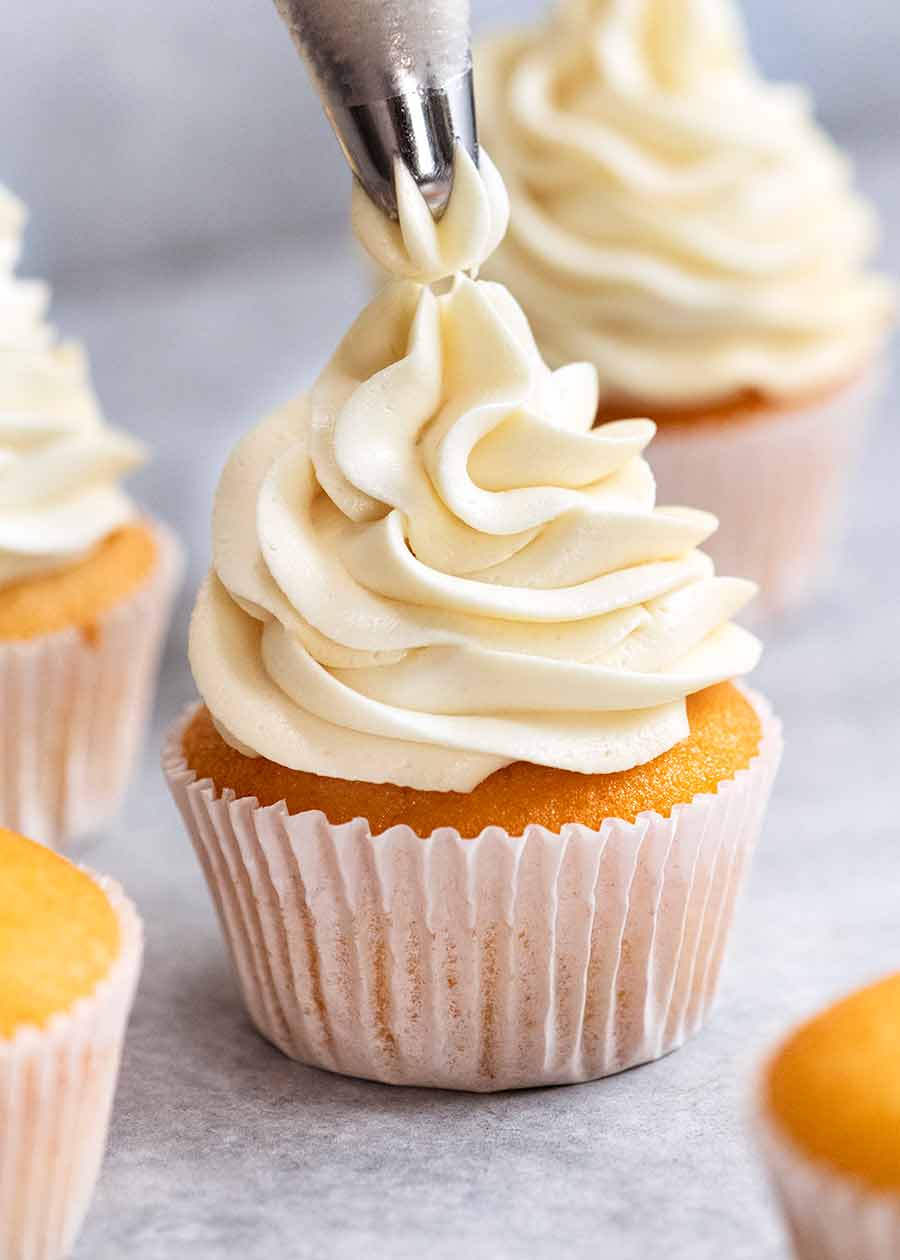
Getting Your Buttercream Ready for the Limelight
With your buttercream looking fantastic and at the right consistency, it’s time to fill your piping bag. Snip the end of the bag, insert your chosen piping tip, and fill the bag with your scrumptious icing. Gently squeeze out any air bubbles, and you’re all set to start creating edible masterpieces on your cookies, cupcakes, and cakes. Heavenly swirls, delicate roses, and playful stars are now at your fingertips!
Remember, practice makes perfect when it comes to piping. So, don’t worry if your first few tries aren’t bakery-worthy. The beauty of buttercream is that it’s very forgiving. If you mess up, just smooth it out and try again!
This ultimate buttercream icing recipe is your ticket to confectionary acclaim among your kids and their friends. So roll up those sleeves and get ready to pipe your heart out!
Now that you’re equipped with this fail-proof buttercream recipe, let’s move on to some piping techniques that will take your decorating skills to new heights. Stay with me, and let’s turn every frosted treat into a work of art!
Up next, we’ll explore various piping techniques that will help you create an array of stunning designs. Whether it’s luscious rosettes, flawless rosette borders, or a lineup of stars that sparkle as much as your little one’s eyes, we’ll make sure you have the know-how to bring your sweet visions to life.

5 Things Parents Should Know in Preparing Buttercream Icing for Piping
1. The Importance of Ingredient Temperatures
Starting with the right ingredient temperatures is crucial in buttercream preparation. Butter should be softened but not melted. This ensures that it whips up nicely, holding air and creating a structure that’s perfect for piping. A good tip is to let the butter sit at room temperature for about an hour before starting your recipe. Take care not to rush this step, as the temperature of the butter can make or break your buttercream’s texture!
2. Quality of Ingredients
The quality of ingredients can dramatically affect the taste and consistency of your buttercream. Use pure vanilla extract instead of imitation for a better flavor. Also, high-quality butter with a higher fat content can give a creamier texture. When it comes to the sugar, opt for pure powdered sugar without added cornstarch, as some brands have, to avoid a chalky texture.
3. Consistency is Key
When mixing your buttercream, pay close attention to the consistency. It should be firm enough to hold its shape when piped, but not so stiff that it’s difficult to work with. If the buttercream is too loose, it could wilt or fail to retain the intricate details of your designs. Add powdered sugar to thicken it or a touch more liquid to loosen it as needed. Each batch might require slight adjustments, so use your judgment and knowledge of what has worked in the past.
4. Practice Your Piping Skills
Before applying the buttercream to your cakes or cupcakes, it’s a good idea to do a practice run. Use a piece of parchment paper or a silicone mat to practice your designs. This allows you to get a feel for how the buttercream flows from the piping tip and gives you a chance to make any final adjustments to the recipe if necessary.
5. Storage and Prep for Later Use
If you prepare your buttercream in advance or find yourself with leftovers, you can store it in the refrigerator for up to a week or in the freezer for a few months. Before reusing it, allow it to come to room temperature and then give it a good whip to bring back the fluffiness and workable consistency. This makes baking and decorating a breeze, especially when you’re in a time crunch or if an unexpected celebration pops up.
Putting Your Buttercream Icing to Use
Now that you’re armed with these insider tips, you’re well on your way to creating buttercream that’s just right for your piping endeavors. You’re not just a baker; you’re an artist about to put a palette of happiness onto every sweet canvas that comes your way.
And remember, when it comes to buttercream, the world is truly your oyster. So let your imagination run wild, and let those delicious designs flow. With this ultimate buttercream icing recipe and the right techniques, your homemade creations will be the buzz at every school function, birthday party, and family gathering. The smiles on your children’s faces will be the sweetest reward!
Next, we’ll cover advanced piping techniques, such as making multi-colored stripes and working with different types of piping tips to create a variety of textures and patterns. We’ll also discuss how to maintain the perfect piping consistency in different weather conditions, which can be especially useful for those of you in warmer climates where butter tends to melt quickly.
So, stay tuned as we continue to build upon this foundation, bringing joy, color, and a dollop of yum to every frosted masterpiece! Let’s go beyond the basics and turn your treats into the talk of the town.
Your buttercream adventure is just beginning!
See more great Things to Do with Kids in New Zealand here. For more information see here
Disclaimer
The articles available via our website provide general information only and we strongly urge readers to exercise caution and conduct their own thorough research and fact-checking. The information presented should not be taken as absolute truth, and, to the maximum extent permitted by law, we will not be held liable for any inaccuracies or errors in the content. It is essential for individuals to independently verify and validate the information before making any decisions or taking any actions based on the articles.


