
Crafting Joy: Make Your Own Spinner for Wholesome Family Fun!
Hello, fabulous parents and creative minds! Are you on the lookout for an entertaining and easy craft project to enjoy with your little ones? Well, you’ve hit the jackpot! Today, we’re going to dive into the delightful world of DIY spinners. Making a spinner at home is not only a blast, but it’s also a fantastic way to encourage creativity, motor skills, and even a bit of science learning. So, grab your craft supplies, and let’s get spinning!
Understanding the Basics of a Spinner
Before we roll up our sleeves and get crafting, let’s quickly go over what a spinner is and how it works. A spinner generally consists of a central point that allows a disc or a blade to spin freely. The magic behind the spinner is simple physics – when you give it a whirl, the forces acting on it allow it to keep rotating. This is not just a toy; it’s a playful lesson in motion and inertia!
Materials You’ll Need
- Cardboard or thick paper
- A toothpick, paperclip, or a small nail
- Markers, crayons, or paint
- Scissors
- A compass or a circular object for tracing
- Glue or tape
Step-by-Step Guide to Making a Simple Spinner
Alright, let’s jump into the fun part – making your very own spinner! Here’s a step-by-step guide to crafting a simple but thrilling spinner toy:
Step 1: Create Your Spinner’s Base
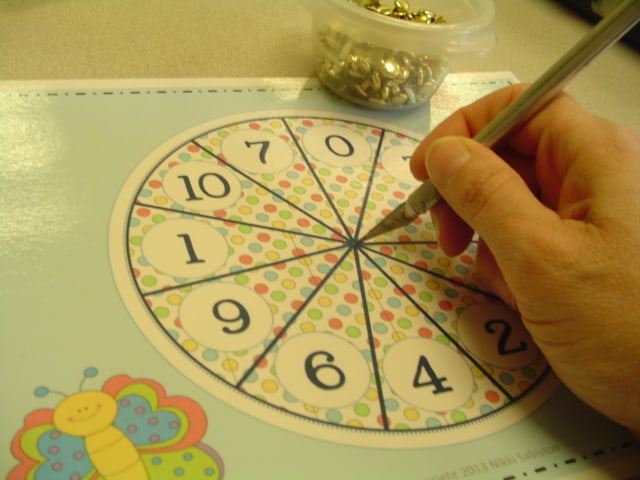
Take your cardboard or thick paper and use a compass or trace around a circular object to draw two large circles. These circles will become the main body of your spinner. The size can vary, but a good diameter to start with is about 6 inches for a nicely balanced spinner.
Step 2: Decorate with Flair
Before cutting out your circles, let’s add some pizzazz! Encourage your kids to decorate the circles with markers, crayons, or paint. You can draw designs, patterns, or even funny faces. Remember, the more colorful, the more mesmerizing your spinner will be once it starts twirling!
Step 3: Cut and Assemble
Now it’s time to cut out the decorated circles. Once you have your two circles, place them on top of each other, making sure the designs are facing outward. Secure the centers with glue or tape. For added durability, you might want to glue a smaller cardboard circle in the center to reinforce the spinning point.
Step 4: Add Your Spinner’s Axis
Now, take a toothpick, a paperclip straightened into an axle, or a small nail, and pierce it through the center of your circles. If you’re using a paperclip or a nail, ensure it’s not too long; you want just enough length to allow the spinner to twirl freely.
Wow! Look at you and your mini crafters go! You’re on your way to creating something extraordinary from everyday items. But we’re not done yet. Are you ready to see that spinner in action and explore even more creative spinner variations?
Stay tuned for the next steps where we’ll talk about troubleshooting your spinner, adding weight for better spinning, and even making advanced spinners with multiple layers. Whether it’s a rainy day or you’re just looking for a fun activity, your homemade spinner is about to become the star of the show. Imagine the glee on your kids’ faces as they give their new toy its first whirl!
And remember, the best part about this project is making memories together. Crafting a spinner is not only about the end product; it’s about the laughter, the learning, and the quality time spent with your loved ones. So, keep those creative juices flowing, and let’s get ready for even more spinner-making adventures!
5 Things Parents Should Know Before Making a Spinner
1. Choosing the Right Materials
As you gather your materials, keep in mind that the quality and type can affect the performance of your spinner. For example, using heavier cardboard allows for a sturdier spinner, while lighter paper might not spin as well. Opting for a small nail or paperclip can provide a smoother spin compared to a wooden toothpick, which may create more friction.
2. Safety First
When crafting with kids, safety is paramount. Ensure that any sharp tools, like scissors or nails, are handled by adults or under close adult supervision. Always pick a safe, spacious area to work in to prevent any accidents during the crafting process.
3. Personalization is Key
Encouraging your kids to personalize their spinners will make the activity more engaging for them. Let them pick their favorite colors, add stickers, or even glitter to spark their imagination. This also provides an opportunity for them to express their personalities through their creations.
4. Troubleshooting Common Issues
Before you start, be aware that spinners might not work perfectly on the first try. If your spinner wobbles or doesn’t spin smoothly, check if the hole in the center is too big or if the axis isn’t straight. Patience and a little bit of problem-solving can turn these hiccups into learning experiences!
5. Incorporating Educational Elements
This activity is an excellent way to introduce basic physics concepts to your kids in a fun and interactive way. You can discuss how force and friction affect how the spinner moves, or why it eventually stops spinning. This can deepen their understanding and appreciation of the world around them while playing and crafting.
Enhancing Your Spinner for Maximum Fun
Once you’ve mastered the basic spinner, it’s time to think outside the circle! Consider adding weight to your spinner, like small washers or beads, to give it more momentum. This can be a great experiment to see how the added weight changes the spinning action.
For those looking for a more advanced project, try creating spinners with multiple layers or even making a double-sided spinner with different designs on each side. This allows your child to experience two different visual effects with just one toy.
And let’s not forget about the endless games and activities you can create with your spinner. From color-matching games to creating a homemade board game with a spinner as the chance element, the possibilities are truly endless. It’s a wonderful way to adapt playtime to the interests and developmental stages of your children.
So there you have it, a comprehensive guide to making that perfect spinner with your kids. With a little bit of imagination, some common household items, and an afternoon of creative endeavor, you can transform an ordinary day into a whimsical and educational experience. Happy crafting!
See more great Things to Do with Kids in New Zealand here. For more information see here
Disclaimer
The articles available via our website provide general information only and we strongly urge readers to exercise caution and conduct their own thorough research and fact-checking. The information presented should not be taken as absolute truth, and, to the maximum extent permitted by law, we will not be held liable for any inaccuracies or errors in the content. It is essential for individuals to independently verify and validate the information before making any decisions or taking any actions based on the articles.


