
Soothing Comfort: How to Make Homemade Heat Pads for Your Family
Hey there, awesome parents! ? If you’re looking for a warm hug to soothe those minor aches and pains in your family without breaking the bank, you’ve come to the right place! Introducing the cozy world of homemade heat pads—your new best friend for a drug-free, safe, and comforting remedy. ?
Whether it’s for a little one’s growing pains, your teen’s sports soreness, or your own achy shoulders after a day of super-parenting, these DIY delights are just what the doctor ordered. So, roll up your sleeves, and let’s get crafting!
What Are Heat Pads and Why DIY?
Heat pads are like little pockets of sunshine that gently warm up and relieve discomfort in our bodies. They are perfect for reducing muscle tension, easing cramps, or just providing a touch of warmth on a chilly evening. ? By choosing to go DIY, you know exactly what’s inside your heat pad, keeping it natural and safe for the whole family. Plus, you’ll save money and can personalize them to be as cute or as cool as you like!
Choosing the Right Materials
The best part about DIY heat pads is that you probably have most of what you need right at home. Let’s get our checklist ready! ?
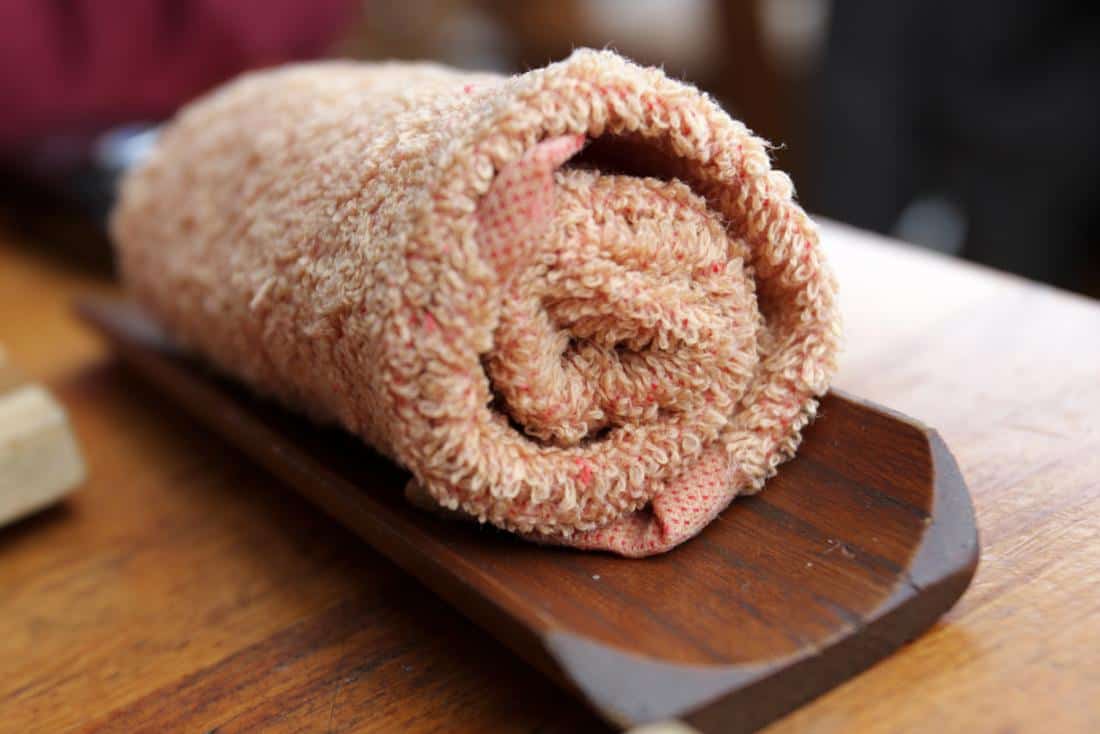
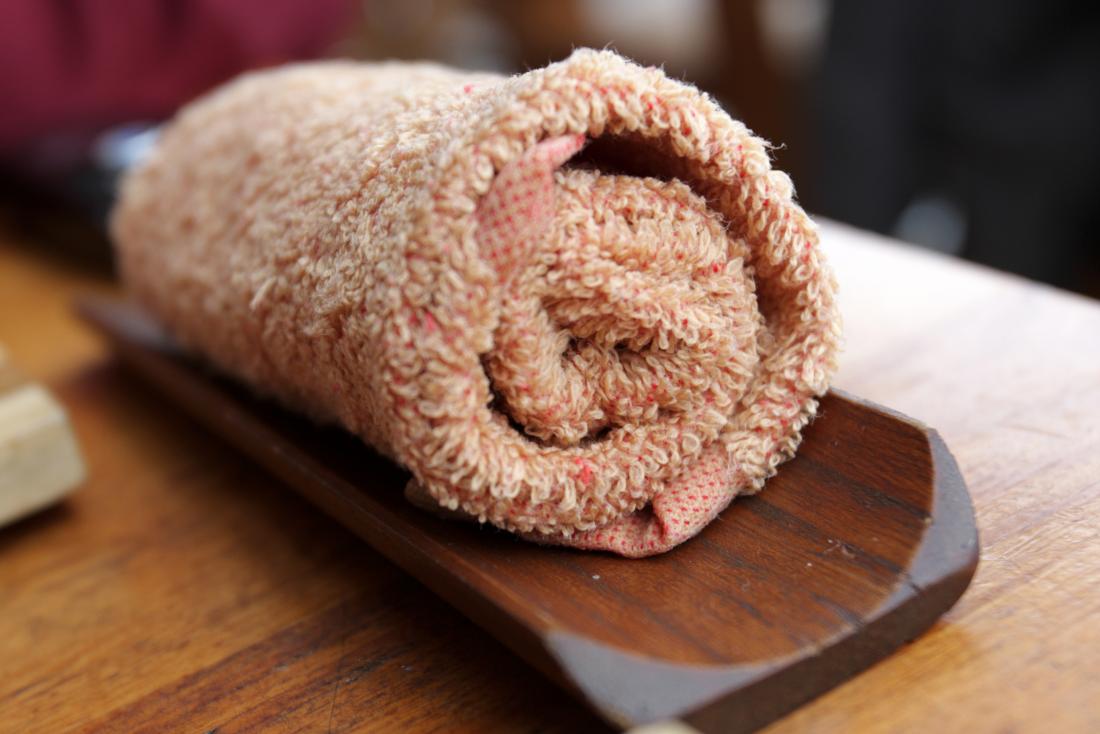
- Fabric: Go for 100% cotton or flannel for a soft and cozy feel. Remember to choose a fabric with a tight weave to keep the filling in place. You can repurpose old cotton shirts or pajamas—upcycling for the win!
- Filling: The most popular options are rice, flax seeds, or wheat, as they retain heat well and are easy to find. Each has a unique feel, so you might want to try a few to find your family’s favorite.
- Scent (optional): A drop of your favorite essential oils can add a soothing aroma to the heat pad. Lavender for relaxation or eucalyptus for a refreshing vibe—pick what pleases your sniffer!
Got everything? Great! Now, let’s dive into making that magical warmth-giver!
Step-by-Step Guide to Creating Your Homemade Heat Pad
Prep Step: Wash and dry your chosen fabric to pre-shrink it. This ensures your heat pad stays the same snug size after every warm-up session! Then iron it flat so it’s easier to work with.
1. Cut and Sew
Cut two pieces of fabric into the desired size. A standard size is 12”x6”, but you can go larger for back pain relief or smaller for a child-friendly version. Put the right sides of the fabric together, and sew around the edges, leaving about an inch or two open for filling.
2. Fill ‘er up!
Funnel in your chosen filling until the pad is about two-thirds full. This allows the contents to move around and conform to the body part it’s comforting. If you’re using essential oils, now’s the time to add a couple of drops to the filling.
3. Close it Up
Pin the open edge closed, making sure all the filling is pushed back. Sew the pad shut with a sturdy stitch. Ta-da! You’re almost a heat pad hero!
Isn’t this exciting? You’re just a warm-up away from cozy town! But how do we get that heat pad toasty? I’m glad you asked!
Warming Up Your Homemade Heat Pad
Pop your new craft into the microwave for about 1-2 minutes (depending on the size and microwave power). Be sure to check the temperature before placing it on skin to avoid any oopsies! For a no-microwave home, you can also warm it in the oven at a low temperature—just be sure to keep it in a clean oven-safe dish to protect it from direct heat.?
And there you have it—your very own homemade heat pad ready to bring smiles and sighs of relief. Heat therapy has never been so personal and enjoyable! Remember to always supervise children when using heat pads to ensure safety first.
Stick around, as we’ll be diving deeper into the wonderful world of homemade heat pads, with adorable designs, creative uses, and tips to keep them looking and feeling fresh. Get ready to snuggle up with your lovely creation and say “ahhh” to the comfort it brings. Let’s keep this cozy train going!
5 Essential Tips for Preparing Homemade Heat Pads
Tip 1: Fabric Selection Matters
When it comes to choosing fabric, durability, and safety trump aesthetics. Opt for natural fibers like cotton or flannel, which are less likely to burn or melt compared to synthetic materials when heated. A tighter weave will also prevent grains from escaping, making your heat pad safer, especially when used by children.
Tip 2: Pick the Right Filler Material
Not all fillers are created equal. For example, rice is a common filler due to its availability and excellent heat retention. However, if you’re seeking a heavier pad that holds heat longer, consider using cherry pits or flaxseeds. Check the filler’s heating instructions and avoid materials that can catch fire or overheat quickly.
Tip 3: Safety First with Essential Oils
Aromatherapy can enhance the soothing experience of your heat pad, but it’s vital to use essential oils sparingly and properly. Always test for allergies and consult with a healthcare professional, especially when using the pad on children or sensitive skin. Additionally, remember that essential oils can have a lower combustion point; too much oil or too high of a heat can pose a risk.
Tip 4: Securing Seams Securely
The strength of your stitching will dictate the lifespan and safety of your heat pad. Double-stitching the seams ensures the filler material stays inside the pad during repeated use and heating. Pay extra attention to the final edge after filling, as it will be put under stress when the material expands with heat.
Tip 5: Heat Management and Testing
Consistent heat is key to the effectiveness and safety of your DIY heat pad. Heat it in intervals, checking frequently to avoid hot spots or, worse, scorching the fabric. Always touch-test the heat pad before applying it to any skin, particularly with children, to avoid burns or discomfort. When reheating, shake the pad to redistribute filler and prevent overheating in one area.
Keeping these tips in mind will help ensure that your handcrafted heat pad is not only effective but also safe and enjoyable for your whole family to use. Whether you’re crafting a batch for home use or as thoughtful gifts, these homemade wonders are sure to bring warmth and comfort to any heart and hearth!
See more great Things to Do with Kids in New Zealand here. For more information see here
Disclaimer
The articles available via our website provide general information only and we strongly urge readers to exercise caution and conduct their own thorough research and fact-checking. The information presented should not be taken as absolute truth, and, to the maximum extent permitted by law, we will not be held liable for any inaccuracies or errors in the content. It is essential for individuals to independently verify and validate the information before making any decisions or taking any actions based on the articles.


