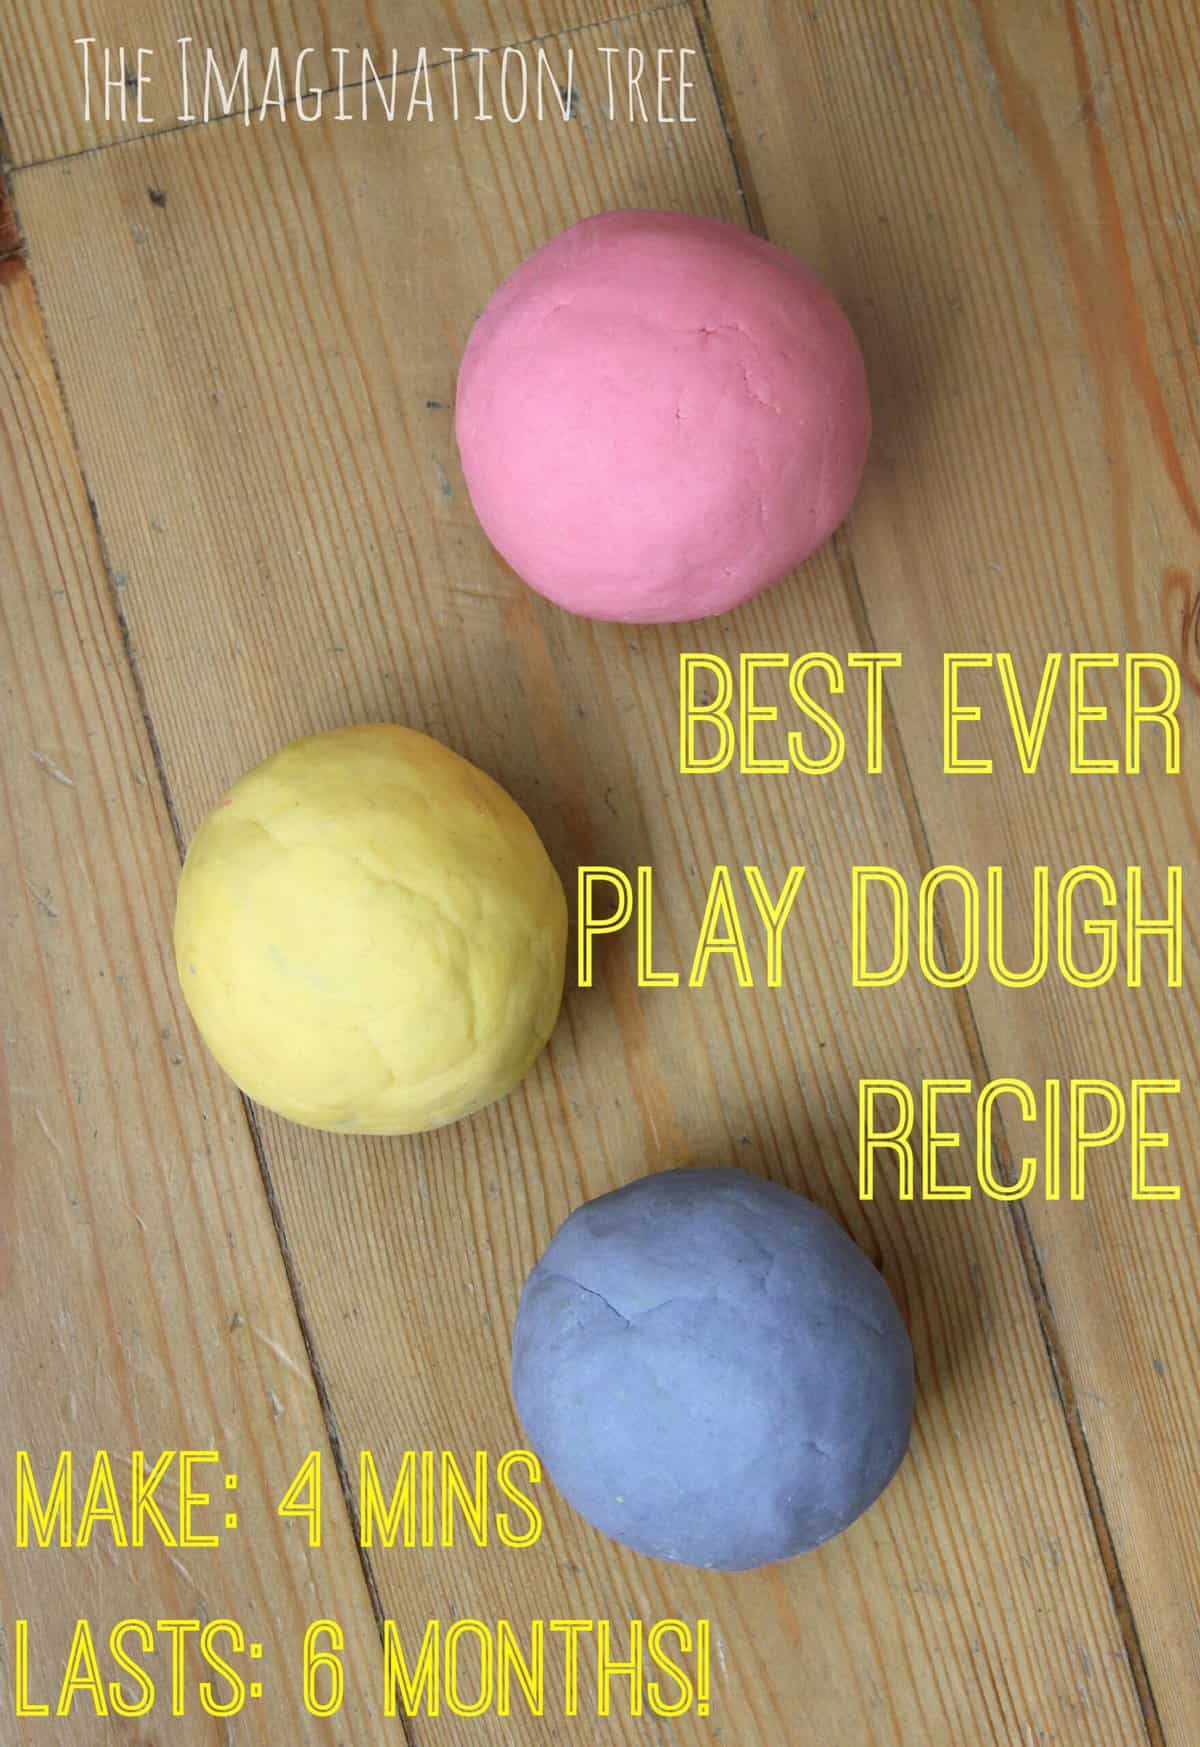
No-Cook Homemade Playdough Recipe: A Fun and Easy Activity for Kids!
Hey there, awesome parents! Are you ready to whip up some magic in the form of no-cook homemade playdough? It’s an incredible way to bond with your kiddos, spark their creativity, and save some cash while you’re at it. Plus, it’s super simple, safe, and only requires a few ingredients you probably already have in your pantry!
In this delightful guide, we’ll take you through step-by-step instructions to create your very own batch of homemade playdough. With no cooking required, this recipe is quick, easy, and perfect for those little hands eager to play. So, roll up your sleeves and let’s get our hands doughy!
Why You’ll Love This Homemade Playdough Recipe
- Eco-friendly and Non-toxic: No harmful chemicals here! This recipe is completely safe for the environment and your child.
- Easy to Make: With zero cooking involved, this recipe is as simple as mix, knead, and play!
- Soft Texture: The end result is a wonderfully soft and pliable playdough that your kids will adore.
- Customizable Colors: Let your child’s imagination run wild with customizable colors using food coloring!
Ingredients You’ll Need for No-Cook Playdough
- 2 cups all-purpose flour
- 1/2 cup table salt
- 2 tbsp cream of tartar (for elasticity and preservation)
- 2 tbsp vegetable oil
- 1 1/2 cups boiling water (adults should handle this part)
- Food coloring (as many colors as you like!)
- Optional: Essential oils for a sensory boost
Step-by-Step Guide to Making Your Playdough
Before you start, make sure to have a clean working surface and gather all your ingredients. Choose your food coloring shades and essential oils if you decide to add a lovely scent. Remember: making playdough is a fun experiment, so feel free to adjust the quantities slightly to achieve your perfect dough consistency!
- Combine Dry Ingredients: In a large bowl, mix together the flour, salt, and cream of tartar.
- Add Oil: Next, mix in the vegetable oil and stir until it’s well incorporated with the dry ingredients.
- Boil Water: Boil 1 1/2 cups of water. Adults should take care of this step to ensure safety.
- Colour Time: If you’re making one color, add the food coloring to the boiling water. If you’re making multiple colors, separate the dry mixture into different bowls, and divide the boiling water among them, then add different colors to each bowl.
Hang in there; your homemade playdough is almost ready! Next up, we’ll mix, customize and store our delightful dough. So stay tuned, because we’re just getting to the fun part where your kids can start squishing, shaping, and sculpting their very own playdough creations!
Remember, playdough isn’t just a toy; it’s a fantastic tool for development, enhancing fine motor skills, sparking imagination, and teaching color recognition and mixing. What’s not to love? Plus, if stored properly, this homemade happiness can last for up to six months!
Get ready to enjoy all the adorable pretend pies and colorful snakes your little sculptors will create with their very own homemade playdough. Keep reading to find out how to finish off your no-cook playdough and ensure it provides endless hours of fun for your children!

5 Things Parents Should Know When Preparing Homemade Playdough
1. Prep the Play Area Ahead of Time
Before you dive into the dough-making process, it’s important to prepare. Choose a space that’s easy to clean, because let’s face it, playdough making can get a tad messy. A kitchen counter, a large tray, or a covered table are great options. Also, have all of your ingredients and tools laid out to create a smooth dough-making adventure.
2. Safety First with Hot Water
The boiling water in this recipe is pivotal to creating the perfect playdough texture, but it does add a safety concern. Ensure the little ones are at a safe distance when handling the hot water and let them help with the cooler parts of the process, like kneading the dough once it’s cooled down a bit.
3. Customization is Key
This playdough is your canvas, and customization can make it even more exciting for your kids. Experiment with different food coloring to create a rainbow of colors. You can even incorporate glitter for a sparkly effect or essential oils for a sensory twist. Just be mindful of any allergies and ensure whatever you add is safe for little hands.
4. Store It Properly
To make the fun last, storing your homemade playdough properly is crucial. Airtight containers or plastic zip-lock bags are perfect for keeping it fresh. Keep it away from heat and light to avoid drying out, and enjoy the dough’s malleable goodness for months!
5. Involve Your Children in the Process
While it’s important to handle the difficult parts yourself, involving your kids in the playdough process can be an amazing learning experience. They can help with measuring, pouring, and once the dough is cool enough, kneading. This hands-on activity can enhance their sensory development and fine motor skills, not to mention the pride they’ll feel playing with playdough they helped make!
Final Steps in Creating Your No-Cook Playdough
- Stir in Boiling Water: Carefully pour the boiling water into the bowl(s) with the dry ingredients and oil. If you’re working with multiple colors, evenly distribute the water among the bowls.
- Mix with Care: Use a spoon to mix the ingredients together until they start to bind. It will be hot, so don’t use your hands just yet!
- Let it Cool: Allow the mixture to cool for a few minutes until it’s safe to handle.
- Knead the Dough: Once cool, take the dough out of the bowl and knead it on your flat surface until it becomes smooth and stretchy. If it’s too sticky, add a little more flour; if it’s too dry, add a few drops of water.
- Add Finishing Touches: Here’s where you can get extra creative by kneading in glitter, more food coloring, or even a few drops of essential oils for fragrance.
Your homemade playdough is now ready for playtime! Watch with joy as your kids cut, shape, and mold to their heart’s content. This no-cook playdough recipe is not just a fun activity but a doorway to learning and development.
Embrace this special time with your kids, as you’ve not only created a playful toy but also memories that both you and your children will cherish. Happy playing!
See more great Things to Do with Kids in New Zealand here. For more information see here
Disclaimer
The articles available via our website provide general information only and we strongly urge readers to exercise caution and conduct their own thorough research and fact-checking. The information presented should not be taken as absolute truth, and, to the maximum extent permitted by law, we will not be held liable for any inaccuracies or errors in the content. It is essential for individuals to independently verify and validate the information before making any decisions or taking any actions based on the articles.


