
A Fun and Handy Guide for Parents: Making Playdough With Your Thermomix
Welcome to your fun, quick, and absolutely foolproof guide to making Thermomix playdough. Say goodbye to store-bought versions filled with unknown chemicals and prepare for a fun-filled, safe, and creative adventure with your kids right in your kitchen.
Why Choose Thermomix Playdough?
Parents might wonder, why should we opt for Thermomix playdough over the regular, store-bought options? Well, there’re numerous reasons.
Safe and Non-Toxic
You are in control of the ingredients, ensuring your children are playing with a non-toxic and safe material. This helps eliminate the worry of your little ones accidentally tasting or ingesting harmful substances.
Economical and Eco-friendly
Making playdough at home with your Thermomix can save a ton on your expenses. Plus, in an era where responsible consumption is critical, creating your playdough reduces packaging waste.
A Fun Bonding Experience
The process of making playdough together can be a fun, creative, and engaging time for you and your children. It’s not just about the end product, it’s about the laughs, learning, and bonding that happens along the way.
Your Step-by-step Thermomix Playdough Recipe
Now that you understand why making playdough with your Thermomix is such a fantastic idea, let’s get started!
…
Remember, the aim is to have fun, learn, connect, and create with your little ones. So, roll up your sleeves, spark up that Thermomix and start kneading your way to healthier, happier playtime!
Let’s go!
Ingredients:
- 100 grams of plain flour
- 50 grams of table salt
- 10 grams of cream of tartar
- 100 grams of water
- 10 grams of oil (vegetable or canola)
- Food coloring (optional)
Step 1: Add the Dry Ingredients
Pop your flour, salt, and cream of tartar into the Thermomix bowl. Mix these together for five seconds on speed four.
Step 2: Add the Wet Ingredients
Add the water and oil while also adding your chosen food coloring if you desire. Set your Thermomix to 2 minutes, 30 seconds, at 60 degrees on speed two.
Step 3: Let the Magic Happen!
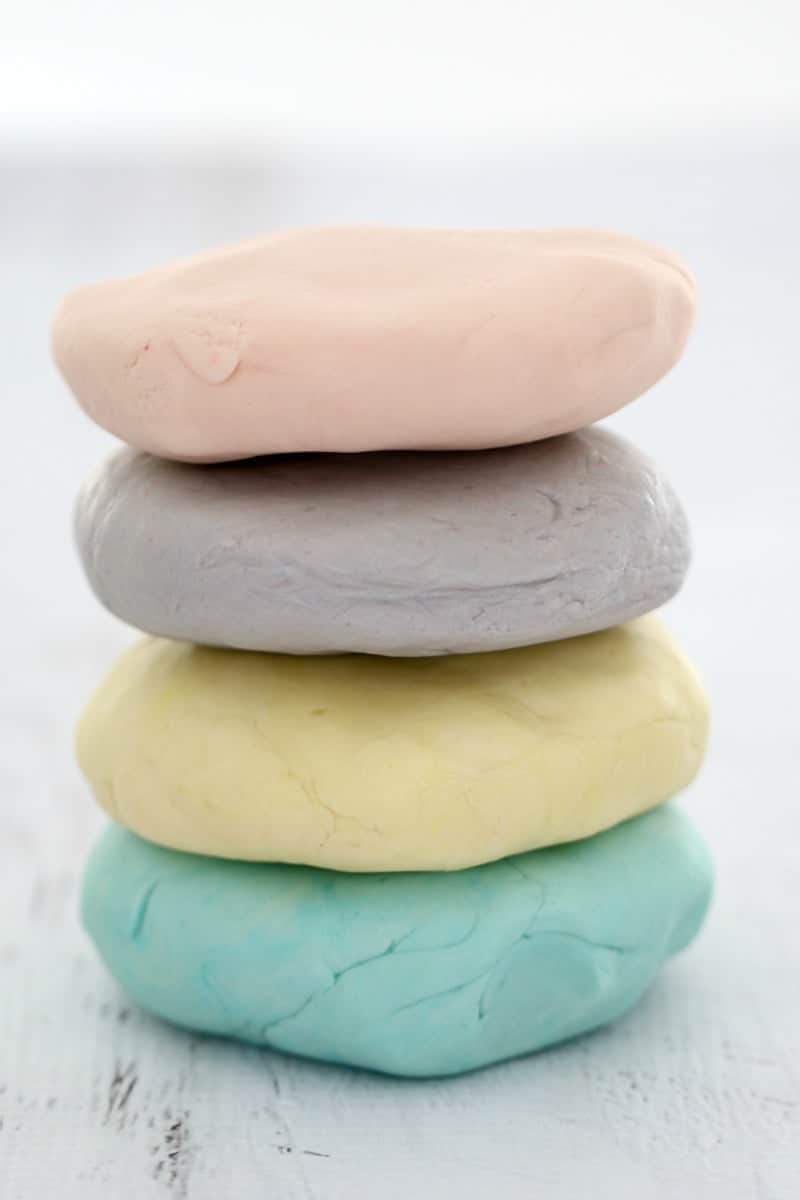
Once the Thermomix has worked its magic, you will have a beautiful, warm batch of playdough ready for play!
Caring for Your Thermomix Playdough
To get the most life out of your homemade playdough, there are a few care tips you can follow.
Storage:
Wrap your playdough in plastic wrap and store in an airtight container. Keep it in a cool, dark place when not in use. With proper care, it should last for several months.
Revitalizing Dry Playdough:
If the playdough becomes dry over time, simply add a little bit of water and knead it into the dough to bring back its original texture.
We hope this guide brings a lot of fun-filled moments to your kitchen! Kneading playdough can be as much fun for children as playing with it. Happy playdough making!
Preparing for Thermomix Playdough: 5 Essential Tips for Parents
As a parent, your primary concern might be how to introduce fun and safe activities that can also enhance your child’s learning skills. One such activity is creating homemade Thermomix playdough! Here are five key points to keep in mind as you prepare for this interactive and educational endeavor.
1. Understanding the Process
Before embarking on your Thermomix playdough fun, it’s important to familiarize yourself with the process. Thermomix playdough is made by combining a few simple ingredients in your Thermomix machine which streamlines the entire playdough-making process. Make sure to follow the specific recipes designed for Thermomix machines to ensure optimum results.
2. The Ingredients are Safe and Non-Toxic
One of the biggest advantages of homemade Thermomix playdough is its safety. Ingredients such as flour, water, salt, and cream of tartar are non-toxic and safe for kids to handle, offering peace of mind for parents when kids involve themselves in moulding and shaping the playdough.
3. Customize for More Fun!
With Thermomix playdough, you can easily customize the color, texture and even the scent! Add food coloring for vibrant hues, or essential oils for a sensory experience. Make sure the additions are safe and skin-friendly for kids.
4. Storage and Shelf Life
Storing Thermomix playdough properly extends its shelf life. Use an air-tight container to avoid drying out. Typically, homemade playdough can last for up to 6 months.
5. A Great Learning Tool
Lastly, Thermomix playdough is a fantastic learning and developmental tool for children. It enhances fine motor skills, promotes creativity, and offers a worthy opportunity for sensory exploration.
In summary, making playdough using a Thermomix not only promises a fun-filled playtime for your children but ensures they are safely engaged in an interactive learning experience.
For more great articles please see here. For more information see here
Disclaimer
The articles available via our website provide general information only and we strongly urge readers to exercise caution and conduct their own thorough research and fact-checking. The information presented should not be taken as absolute truth, and, to the maximum extent permitted by law, we will not be held liable for any inaccuracies or errors in the content. It is essential for individuals to independently verify and validate the information before making any decisions or taking any actions based on the articles.


