
Beginner’s Guide to Knitting Loom: Start Crafting with Confidence
Hello, crafty parents and curious kiddos! Ever wanted to create snuggly hats, scarves, or even toys, without the need for traditional knitting needles? You’re in luck! Loom knitting is the bee’s knees for crafting enthusiasts of all ages, including your little ones. It’s easy-peasy, wonderfully safe, and oh-so-rewarding. Let’s jump into the fabulous world of knitting looms together!
What Is a Knitting Loom?
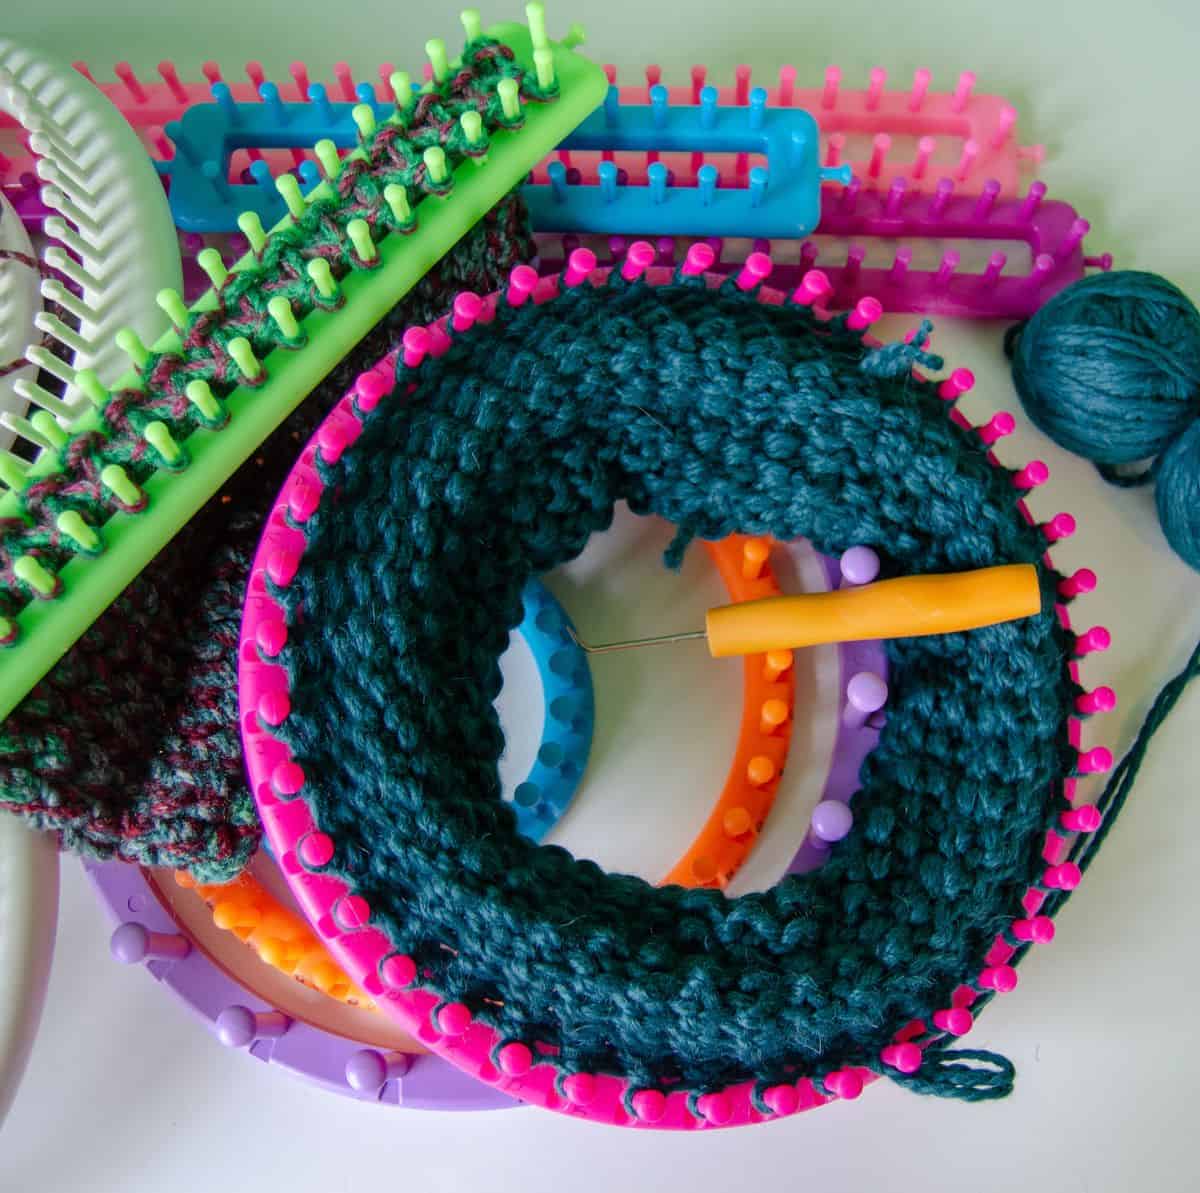
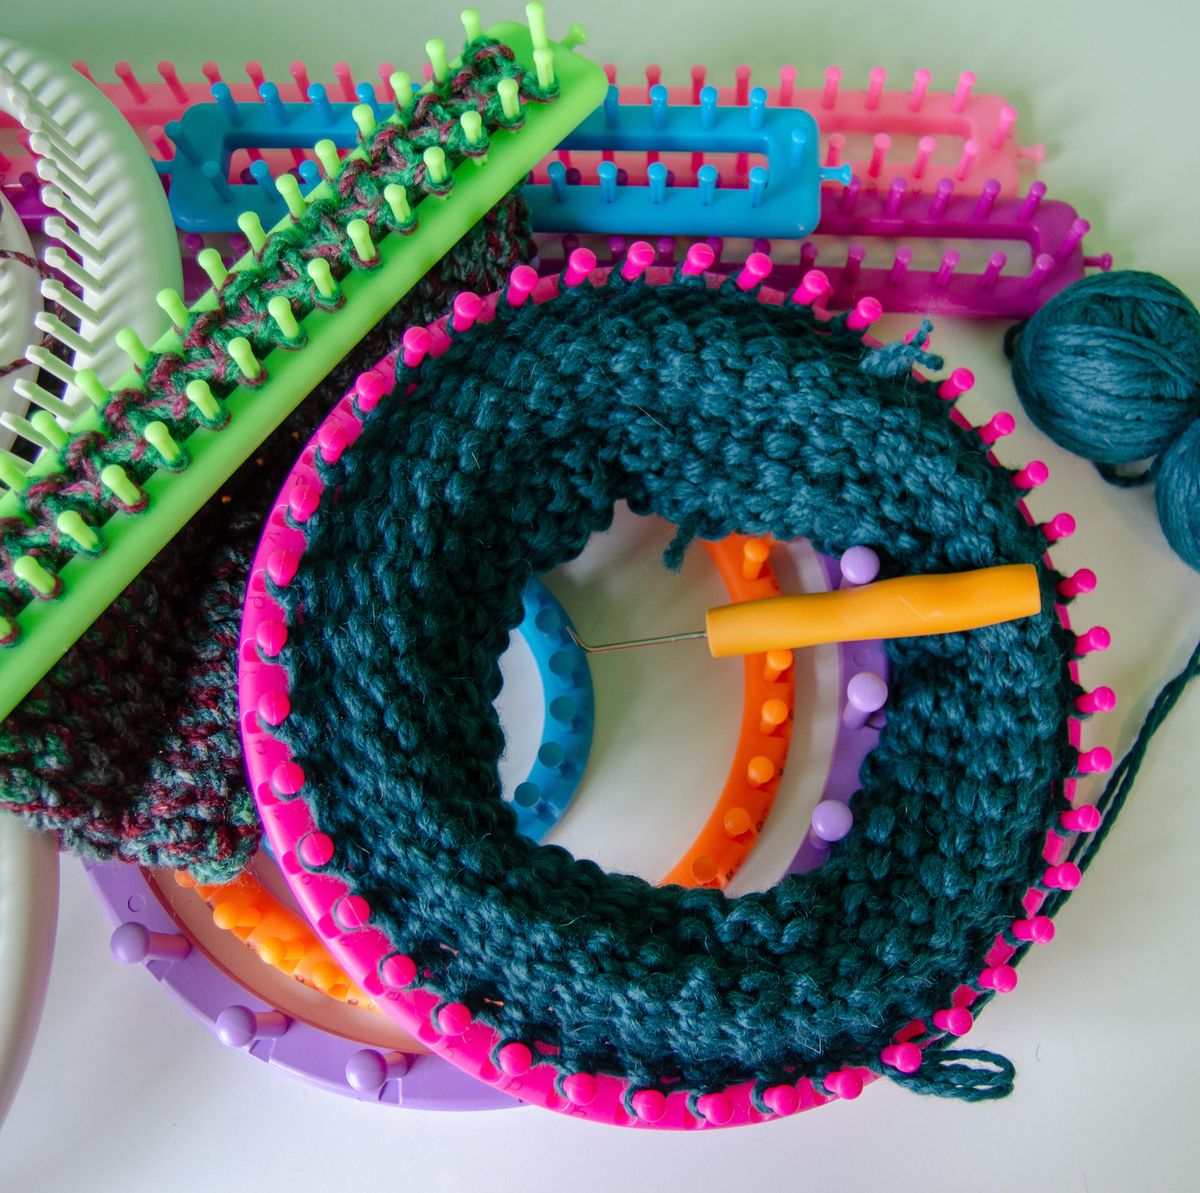
A knitting loom is a fantastic tool that makes yarn crafts accessible and fun. It’s essentially a frame with pegs that you wrap yarn around to create knitted fabric. Knitting looms come in various shapes and sizes, catering to different projects—be it cozy beanies, colorful blankets, or something as simple as a darling little coaster. Plus, loom knitting is a hoot for kids because it helps develop their fine motor skills, fosters creativity, and leads to some warm, fuzzy results!
Choosing Your First Knitting Loom
Feeling giddy to start? First, you’ll need a loom. For beginners, I suggest a circular or long loom made of durable plastic—friendly for both adult and kiddo hands. The size of the loom relates to the size of the project, so if you’re after a hat, a 24-peg circular loom would be your go-to. Want to work on a snuggly scarf? A long loom will be your craft companion.
Gathering Your Supplies
Now, gather up your supplies! Here is a quick checklist:
- A knitting loom (of course!)
- Yarn – go for bulky or super bulky for that satisfying, quick progress
- A loom hook – this little gadget will become your best friend
- A yarn needle – for weaving in those pesky ends
- Scissors – to snip-snip and finish off your project
Basic Loom Knitting Instructions
Ready to weave some magic? Follow these steps to begin:
- Set Up Your Loom: Start by securing the end of your yarn to the anchor peg on the side of your loom. A simple knot will do.
- Wrapping: Wrap your yarn around each peg in a clockwise direction. Go all the way around the loom for a circular knit, or back and forth for a flat panel.
- The Knit Stitch: After wrapping, gently pull the yarn to create loops. Use your loom hook to lift the bottom loop over the top loop and off the peg. Voila, you’ve got your first knit stitch!
- Adding Rows: Continue wrapping and creating knit stitches to add rows. As you work, you’ll see your project grow from the bottom of the loom.
Here’s a protip: If you’re knitting with your kids, turn on some tunes and make it a little party! They’ll love the rhythm of wrapping and hooking to music, and it turns craft time into a real shindig.
Getting the Knit Right: Tips for Beginners
Feeling a bit tangled? Here are some tips to keep your stitches looking sharp and even:
- Keep an even tension – not too tight, not too loose.
- Consistency is key – wrap your pegs the same way each time to create a uniform look.
- Patience, young grasshopper – take your time, and don’t rush your stitches.
- Practice makes perfect – the more you loom, the better your projects will turn out.
Well, look at you go! You’re now on your journey towards becoming a loom knitting guru. And remember, it’s not just about the end product; it’s about the giggles, the cuddles, and the time spent together. Keep on loom’n and stay tuned for more awesome tips, tricks, and project ideas to come!
“`html
Beginner’s Guide to Knitting Loom: Start Crafting with Confidence
Hello, crafty parents and curious kiddos! Ever wanted to create snuggly hats, scarves, or even toys, without the need for traditional knitting needles? You’re in luck! Loom knitting is the bee’s knees for crafting enthusiasts of all ages, including your little ones. It’s easy-peasy, wonderfully safe, and oh-so-rewarding. Let’s jump into the fabulous world of knitting looms together!
What Is a Knitting Loom?
A knitting loom is a fantastic tool that makes yarn crafts accessible and fun. It’s essentially a frame with pegs that you wrap yarn around to create knitted fabric. Knitting looms come in various shapes and sizes, catering to different projects—be it cozy beanies, colorful blankets, or something as simple as a darling little coaster. Plus, loom knitting is a hoot for kids because it helps develop their fine motor skills, fosters creativity, and leads to some warm, fuzzy results!
5 Things Parents Should Know in Preparing for Knitting Loom How To
- Age Appropriateness: Knitting looms are great for children aged 6 and up. Ensure the loom is appropriate for your child’s age to maintain interest and prevent frustration.
- Project Selection: Start with simple projects, like a basic scarf or hat. Completing an easier project boosts confidence and encourages continued crafting.
- Yarn Matters: Thick, chunky yarns are easier for little hands to manipulate and produce faster results, which is great for keeping kids excited about their progress.
- Time Allocation: Set aside enough time for your child to loom knit without feeling rushed. Patience is important, as their skills will develop with practice.
- Safety First: While loom knitting is inherently safer than needle knitting, supervision is still key, especially when scissors are involved in finishing projects.
Choosing Your First Knitting Loom
Feeling giddy to start? First, you’ll need a loom. For beginners, I suggest a circular or long loom made of durable plastic—friendly for both adult and kiddo hands. The size of the loom relates to the size of the project, so if you’re after a hat, a 24-peg circular loom would be your go-to. Want to work on a snuggly scarf? A long loom will be your craft companion.
Gathering Your Supplies
Now, gather up your supplies! Here is a quick checklist:
- A knitting loom (of course!)
- Yarn – go for bulky or super bulky for that satisfying, quick progress
- A loom hook – this little gadget will become your best friend
- A yarn needle – for weaving in those pesky ends
- Scissors – to snip-snip and finish off your project
Basic Loom Knitting Instructions
Ready to weave some magic? Follow these steps to begin:
- Set Up Your Loom: Start by securing the end of your yarn to the anchor peg on the side of your loom. A simple knot will do.
- Wrapping: Wrap your yarn around each peg in a clockwise direction. Go all the way around the loom for a circular knit, or back and forth for a flat panel.
- The Knit Stitch: After wrapping, gently pull the yarn to create loops. Use your loom hook to lift the bottom loop over the top loop and off the peg. Voila, you’ve got your first knit stitch!
- Adding Rows: Continue wrapping and creating knit stitches to add rows. As you work, you’ll see your project grow from the bottom of the loom.
Here’s a protip: If you’re knitting with your kids, turn on some tunes and make it a little party! They’ll love the rhythm of wrapping and hooking to music, and it turns craft time into a real shindig.
Getting the Knit Right: Tips for Beginners
Feeling a bit tangled? Here are some tips to keep your stitches looking sharp and even:
- Keep an even tension – not too tight, not too loose.
- Consistency is key – wrap your pegs the same way each time to create a uniform look.
- Patience, young grasshopper – take your time, and don’t rush your stitches.
- Practice makes perfect – the more you loom, the better your projects will turn out.
Well, look at you go! You’re now on your journey towards becoming a loom knitting guru. And remember, it’s not just about the end product; it’s about the giggles, the cuddles, and the time spent together. Keep on loom’n and stay tuned for more awesome tips, tricks, and project ideas to come!
“`
See more great Things to Do with Kids in New Zealand here. For more information see here
Disclaimer
The articles available via our website provide general information only and we strongly urge readers to exercise caution and conduct their own thorough research and fact-checking. The information presented should not be taken as absolute truth, and, to the maximum extent permitted by law, we will not be held liable for any inaccuracies or errors in the content. It is essential for individuals to independently verify and validate the information before making any decisions or taking any actions based on the articles.


