
No-Cook Homemade Playdough: A Parent’s Guide to Creative Fun
Hey there, creative parents and fun-loving caretakers! Are you ready to whip up a batch of pure joy and sensory delight for your kiddos? You’ve stumbled upon the ultimate guide to making no-cook homemade playdough. Not only is this a safe and simple activity that you can do with regular pantry items, but it’s also a fantastic way to engage your child’s senses and encourage their imaginative play. So, grab your aprons, roll up your sleeves, and get ready for some squishy, moldable fun!
Why Choose No-Cook Playdough?
You might be thinking, “Why should I make playdough at home when I can just buy it from the store?” Well, there are a slew of great reasons! Home-made playdough is:
- Cost-Effective: Save your pennies by using ingredients you already have at home.
- Non-Toxic: Control what goes into the playdough, ensuring it’s safe for little hands and mouths.
- Customizable: Let your imagination (and your kids’) run wild with colors, scents, and textures.
- Easy-Peasy: No baking or cooking means less waiting and more playing!
- Educational: Enhance fine motor skills, color recognition, and creativity.
Ingredients for Your No-Cook Homemade Playdough
Before we dive into the ‘how-to,’ let’s talk about the ‘what-you-need.’ For your homemade playdough creation, grab the following items:
- 2 cups all-purpose flour
- 3/4 cup salt
- 2 tablespoons cream of tartar (for elasticity)
- 2 tablespoons vegetable oil
- Food coloring (get creative with colors!)
- 1 to 1.5 cups boiling water (start with 1 cup and gradually add more if needed)
- Optional: Essential oils for scents, glitter for sparkle
Creating the Perfect Playdough Texture
The secret to the most pliable and longest-lasting playdough lies in the texture. Here’s how to get it just right:
- Mix all the dry ingredients – flour, salt, and cream of tartar – in a large mixing bowl.
- Add your food coloring to the boiling water first – this ensures even color distribution. Then add this colorful water, little by little, to your dry mixture along with the vegetable oil.
- Stir together until the mixture forms a dough-like consistency. If it’s too sticky, add a touch more flour; too dry, a bit more water will do the trick.
- Knead your dough on a flour-dusted surface until it’s smooth and perfectly moldable.
The Fun Part: Play and Store
Once your dough is ready, it’s time to let the kids dive in. Encourage them to roll, cut, stamp, and shape the dough into whatever their hearts desire. When the fun’s done, store your no-cook playdough in an airtight container to keep it soft and ready for the next play session. It’s simple to preserve and can last for months with proper care.
Ready to Get Started?
If you’re all set to begin this magical playdough journey with your children, just gather your ingredients and follow the steps above. But don’t go anywhere just yet! In the next section, we’ll explore some fun playdough activities and share tips to help extend the life of your creation. So, let’s roll out some dough and create some memories that’ll stick longer than playdough to the carpet!

5 Things Parents Should Know When Preparing No-Cook Homemade Playdough
Dear super-parents, let’s enhance this no-cook homemade playdough experience with five essential insights:
- Prepare Your Workspace: Playdough making can get a tad messy, so cover your working area with some wax paper, a silicone mat, or even a tray. This way, you’ll contain any spills and make the cleanup process a whole lot easier.
- Hot Water Caution: Since the recipe calls for boiling water, it’s imperative that adults handle this part. Ensure that kiddos are at a safe distance during this step to prevent any burns or accidents.
- Ingredient Sensitivities: Be mindful of allergies or sensitivities. Although this playdough is non-toxic, kids with gluten sensitivities should avoid using wheat-based flour. An alternative such as rice flour or almond flour can be used in its place.
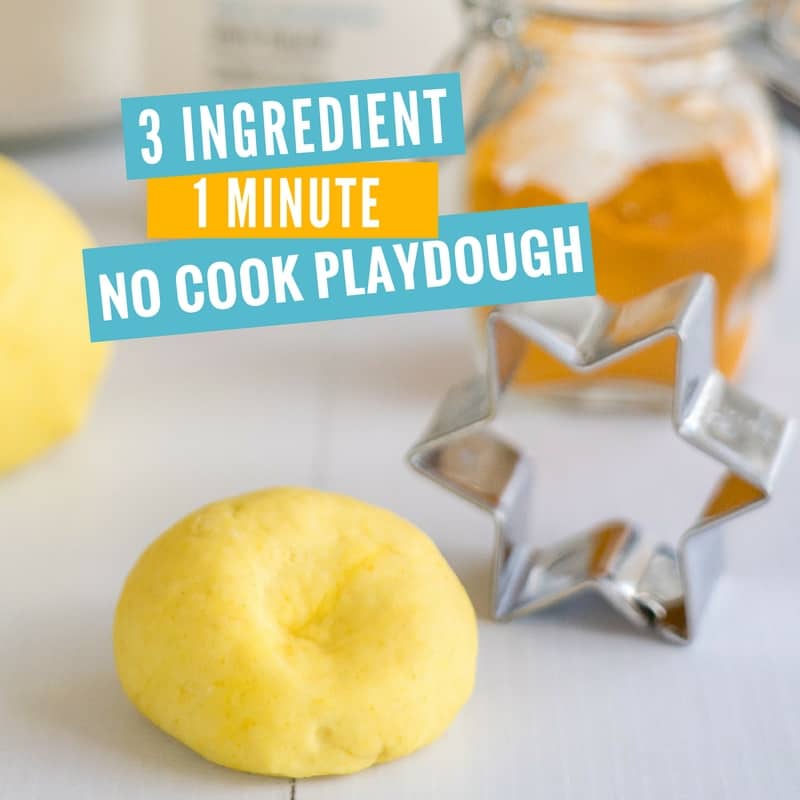
- Color Mix and Match: Using food coloring is fun, but let’s explore natural ways to dye our playdough—and make it a learning activity as well! Think turmeric for yellow, beetroot juice for red, and spinach juice for green. It’s a playful twist to sneak in a lesson about natural resources!
- Embrace Imperfection: The first go at making playdough might not be perfect—and that’s okay! The beauty of this activity lies in tweaking and finding what works for you. If the dough’s texture isn’t quite right initially, don’t fret. A bit more flour can reduce stickiness, and a few drops of water can solve dryness.
Fun and Educational Playdough Activities
Unleash your child’s inner Michelangelo with a variety of exciting activities that go beyond simple dough sculpting:
- Create a Playdough Garden: Let kids sculpt flowers, veggies, or even a mini farm. It’s a fun way to teach plant life cycles or discuss healthy eating.
- Alphabet and Number Fun: Shape dough into letters and numbers. This tactile approach can enhance literacy and numeracy skills in a joyful way!
- Texture Exploration: Use kitchen utensils to create patterns and textures. This sensory play can lead to discussions about different sensations and vocabulary.
- Multicultural Impressions: Shape and color playdough to replicate flags, cultural symbols, or traditional clothing items. It’s a playful nod to geography and diversity!
- Cook Up Some Creativity: Pretend play with playdough foods not only gets the imagination cooking but also can encourage picky eaters to explore new ‘foods.’
Tips for Preserving Your No-Cook Playdough
To keep your homemade dough fresh and playable for months, check out these nifty tips:
- Air-Tight Storage: Eliminate air exposure by sealing the dough in ziplock bags or airtight containers after each play session.
- Cool, Dry Environment: Store the playdough in a cool, dry place to prevent mold and bacteria growth—far away from direct sunlight and heat sources.
- Refresh Your Dough: If the dough starts to dry out over time, knead a bit of water into it to rejuvenate its pliable quality.
- Dealing with Stickiness: In case your dough becomes sticky, adding a small amount of flour while kneading can restore the non-stick consistency.
- Regular Checks: Periodically check your playdough for any signs of spoilage like mold, and toss out what’s beyond redemption to ensure safe play.
Whether you’re a first-timer or a seasoned dough wizard, embrace the mess, cherish the giggles, and marvel at the masterpieces your children create with their tiny hands. Now that we’ve armed you with all this dough-riffic knowledge, it’s your turn to play and mold lasting memories. Let the sensational squishing begin!