
No-Cook Playdough Recipe: A Hassle-Free Way to Unleash Creativity!
Hello, fabulous parents and guardians! Are you ready to whip up a storm of fun without the hassle of cooking or baking? Well, have we got a delightful surprise for you! ?
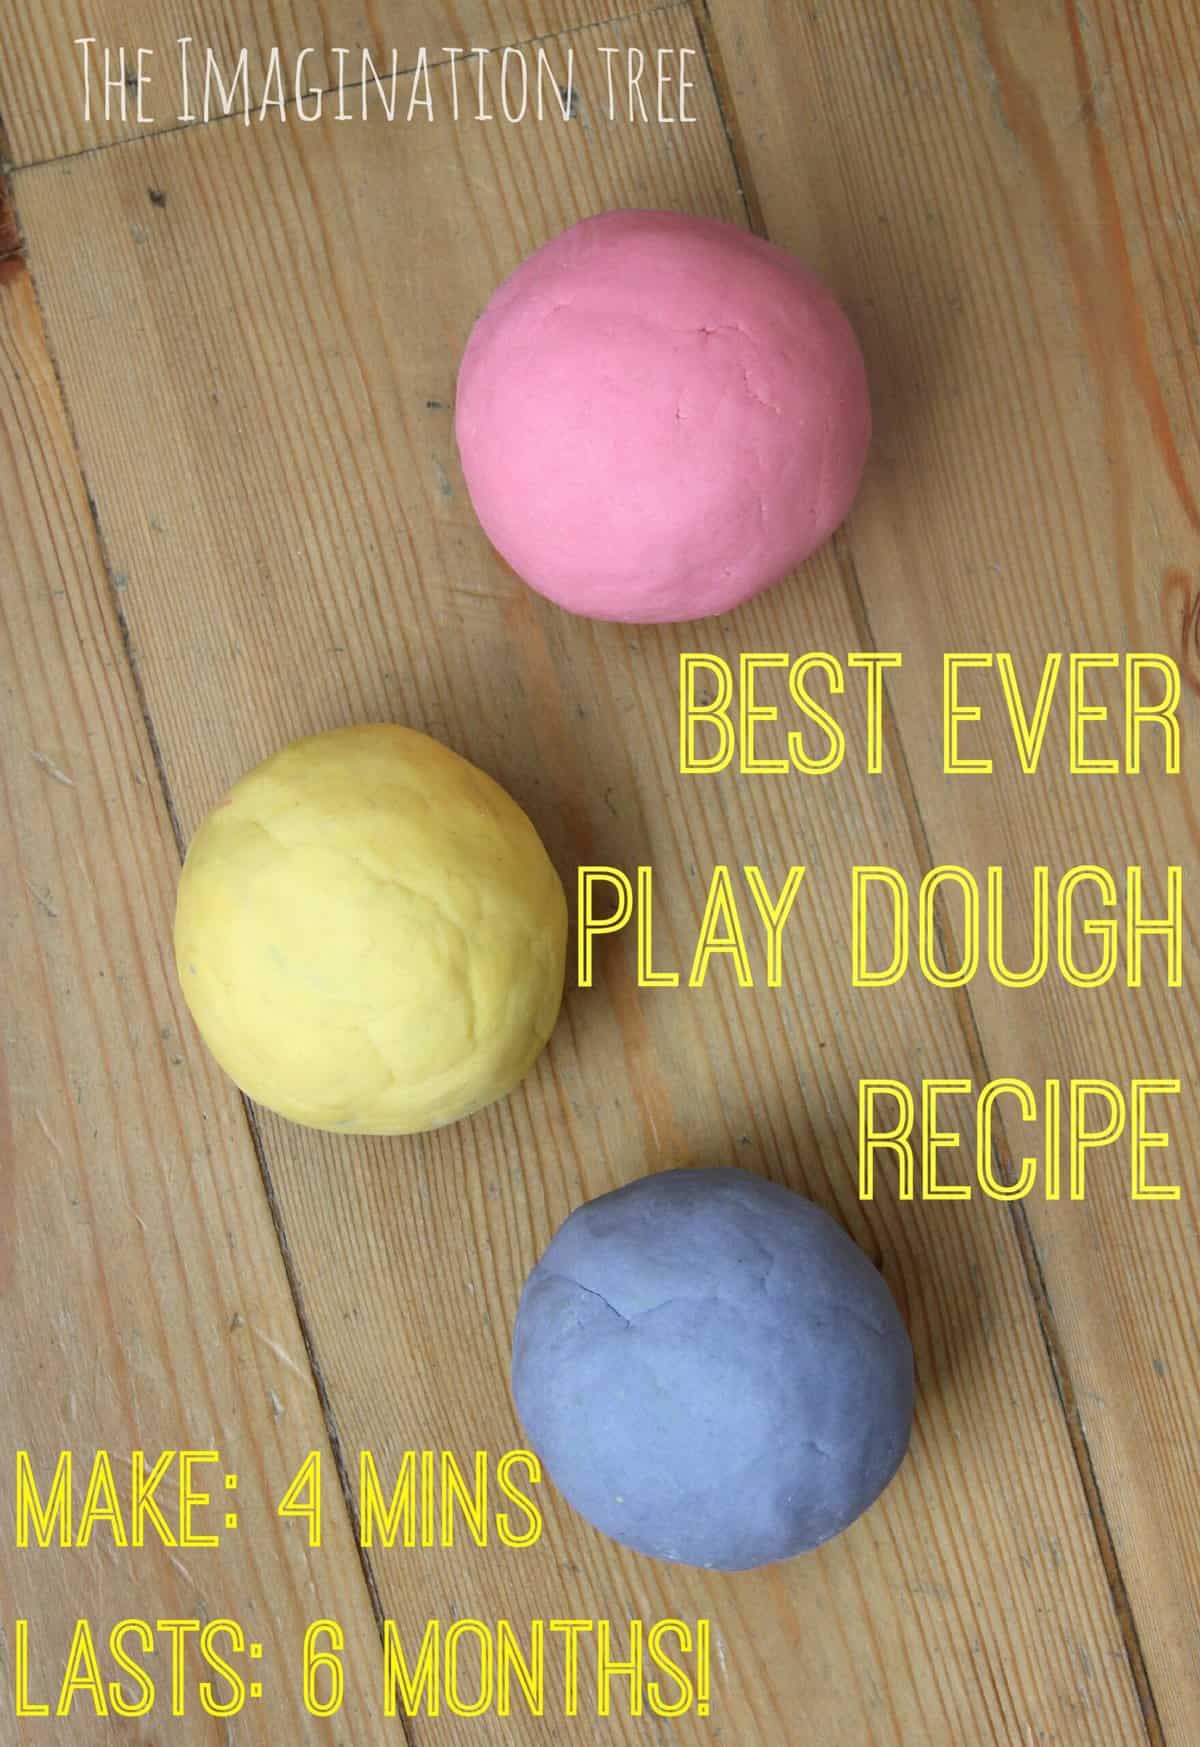
Today, we’re diving into the whimsical world of playdough, where little hands create towering sculptures and intricate designs. But here’s the kicker: no stovetop needed! That’s right, we’re talking about an easy no-cook playdough recipe that’s not only super simple but also safe for your kiddos. So, roll up your sleeves, because we’re about to get crafty!
Why You’ll Love This No-Cook Playdough
- Quick and Easy: With minimal ingredients and no cooking, you’ll have playdough ready in no time!
- Safe for Kids: Non-toxic ingredients mean it’s super safe for children to play with.
- Customizable: Add your own colors, scents, and textures for a personalized touch.
- Economical: Save money by making your playdough at home with ingredients you likely already have.
- Long-lasting Fun: Store it properly, and your playdough can last for months!
What You’ll Need for Your No-Cook Playdough
Gather your ingredients, and let’s get started! Here’s everything you’ll need for this magical playdough concoction:
- 2 cups of all-purpose flour
- 1/2 cup of salt
- 2 tablespoons of cream of tartar (for elasticity and preservation)
- 2 tablespoons of vegetable oil (keeps the dough moist)
- 1 1/2 cups of boiling water (yes, we need hot water, but no cooking!)
- Food coloring or natural dyes (for those vibrant colors)
- Optional: Essential oils for a pleasant scent
- Optional: Glitter, for a touch of sparkle
Step-by-Step No-Cook Playdough Magic
Ready to create some playdough that will keep your kids entertained for hours? Follow these easy steps:
- Combine Dry Ingredients: In a large mixing bowl, sift together the flour, salt, and cream of tartar.
- Add Oil: Pour in the vegetable oil and stir until the mixture resembles coarse crumbs.
- Get Colorful: If you’re making one color of playdough, add a few drops of your chosen food coloring or natural dye to the boiling water. If you want multiple colors from one batch, wait to add the dye after you divide the dough.
- Mix It Up: Gradually pour the hot water into your flour mixture. Stir continuously with a wooden spoon until it forms a sticky dough.
- Knead the Dough: Once the dough is cool enough to handle, turn it out onto a clean surface and knead the dough for about 5 minutes, or until it’s smooth and pliable. If it’s sticky, add a little more flour until it reaches the perfect consistency.
- Add Scents and Sparkles (Optional): Now’s the time to knead in any essential oils or glitter. Make sure it’s evenly distributed for a uniform look and scent.
- Divide and Color (if making multiple colors): Split the dough into as many portions as you want colors. Flatten each section and add a few drops of dye, kneading until the color is evenly spread out.
Voilà! You now have homemade, no-cook playdough that’s ready for action. See how simple that was? Not only did you have fun in the making, but you’ve also prepared an avenue for your little ones to explore their creativity. And the best part is, with this no-cook playdough recipe, the fun doesn’t have to end today — properly stored, this pliable wonder can last for months!
Now that you’re a no-cook playdough pro, let’s chat about storing your dough and keeping it fresh, so you can continue to shape those smiles and mold those memories together. Keep reading for more tips on playdough care and creative play ideas! ?
5 Essential Tips for Preparing No-Cook Playdough
Before you dive into the delightful process of creating no-cook playdough, there are a few things you should keep in mind to ensure the best possible experience for you and your little ones. From picking the right mixing utensils to ensuring safety, these tips will help you get the best out of your playdough playtime!
- Choose the Right Bowl and Utensils: You’ll want a large bowl to give you enough space to stir and mix the dough without spills. Use a sturdy wooden spoon for mixing, as the hot water will make the dough quite warm and may bend or snap weaker utensils.
- Boil Water Safely: Even though we’re skipping the stovetop for the dough, you’ll need boiling water. Ensure safety by keeping kids at a safe distance while you handle the hot water and pour it into the mixing bowl.
- Manage Messes: Playdough making can be messy (which is fun!), but a little preparation goes a long way. Cover your work surface with parchment paper or a silicone mat for easy cleanup. Having a damp cloth on hand for sticky fingers is also a good idea!
- Monitor Consistency: If your playdough is too sticky, don’t be afraid to add a little more flour. Conversely, if it’s too dry, a touch more oil can help. Finding the right balance is key for perfect playdough.
- Let Creativity Lead: Remember, the goal is fun and creativity! Encourage your kids to choose their favorite colors and textures. If things don’t go as planned, it’s okay. This is an excellent opportunity for little ones to learn about trial and error.
Storing Your No-Cook Playdough for Lasting Fun
To keep your no-cook playdough fresh and supple, proper storage is vital. Airtight containers or zip-top bags work wonders for keeping the dough moist and usable. If you notice it drying out, you can knead in a small drop of oil to revitalize it. Remember to store the playdough in a cool, dry place away from direct sunlight to prevent it from drying or fading in color.
Engaging Play Ideas for Your Homemade Playdough
Now for the grand finale: playing with your homemade no-cook playdough! This soft, moldable material is fantastic for sensory play and can be incorporated into a variety of educational and fun activities. Here are some ideas to spark creativity:
- Create a playdough bakery and mold pretend cookies, cakes, and bread with cookie cutters.
- Explore the alphabet by forming letters and creating playdough nameplates.
- Encourage STEM learning by challenging kids to build structures like bridges and towers.
- Use it for storytelling! Create characters and scenes and let your child narrate their adventures.
- Engage in sensory play by hiding small objects within the playdough for your child to find.
The possibilities with no-cook playdough are truly endless, and every day can bring a new adventure. Empower your kids to come up with their unique ideas — who knows, you may be surprised by their creativity!
Equipped with this no-fail no-cook playdough recipe, our smart tips for preparation, and the playful activities that lie ahead, you’re all set to enjoy countless hours filled with laughter, learning, and the sweet freedom of creativity. Jump into this hands-on experience and enjoy making lasting memories with your children!
Happy playdough crafting! ?
See more great Things to Do with Kids in New Zealand here. For more information see here
Disclaimer
The articles available via our website provide general information only and we strongly urge readers to exercise caution and conduct their own thorough research and fact-checking. The information presented should not be taken as absolute truth, and, to the maximum extent permitted by law, we will not be held liable for any inaccuracies or errors in the content. It is essential for individuals to independently verify and validate the information before making any decisions or taking any actions based on the articles.


