
Whip Up a Dreamy Oreo Cheesecake: A Busy Parent’s Guide to Sweet Success
Hello, dear parents! Are you looking for a dessert that will make your little ones hug you tighter and your evenings sweeter? Well, your search ends here because we’ve got the ultimate Oreo cheesecake recipe that’s just perfect for your bustling schedule and dessert-loving family!
Everyone knows that Oreo cookies are like little disks of joy that can turn any frown upside down. Now, imagine combining them with the creamy, tangy marvel that is cheesecake. Yes, it’s as delightful as it sounds! We know baking might not always be on the top of your to-do list, but this recipe is so simple and quick, it’ll soon become your go-to for birthday treats, potluck parties, or those just-because moments.
Why You’ll Love This Oreo Cheesecake Recipe
- It’s kid-approved: We’ve conducted very official taste tests with the little experts, and it’s a unanimous thumbs-up!
- No-bake options: Yes, there’s even a no-bake version for when you can’t spare the oven-time.
- Minimal ingredients: Only a handful of ingredients are needed, many of which you probably already have in your pantry.
- Fuss-free preparation: Simple steps that even the kiddos can help with – because we all know they’re the best dessert assistants!
What You Need to Get Started
Before we dive into the creamy, Oreo-y goodness, let’s make sure you have everything you need:
Ingredients:
- Oreo cookies (classic kind, because why mess with perfection?)
- Unsalted butter (melted, because it’s the glue that holds the dessert universe together)
- Cream cheese (full-fat, for that unapologetic indulgence)
- Granulated sugar (just enough sweetness to balance the tang)
- Heavy cream (also known as the secret to ultimate creaminess)
- Vanilla extract (because plain is sometimes just perfect)
- Additional Oreo cookies (for garnish, because more is more)
Equipment:
- 9-inch springform pan (to hold this treasure together)
- Food processor (to create the perfect Oreo crumb crust)
- Electric mixer (or some good ol’ elbow grease)
- Measuring cups and spoons (precision is key in the sweet science)
- Mixing bowls (for combining love and ingredients)
- Refrigerator (this baby needs to chill before the big reveal)
Now that you’ve gathered your tools and ingredients, let’s march forth to the delicious realm of Oreo cheesecake creation!
Creating the Perfect Oreo Crust
Your cheesecake’s foundation is as significant as the filling itself. A good crust should be flavorful, but not overpowering, and the perfect balance to the creamy topping. Lucky for us, Oreos are practically designed for this role. Here’s how to make it:
Step 1: Transform the Oreos into fine crumbs using your food processor. Combine the crumbs with the butter to create your crust mixture.
Tip: Make sure the cookies are finely ground so that the crust holds together well – a crumbly disaster is not what we’re aiming for!
Stay tuned for the next steps, where I’ll guide you through the blissful path of cheesecake filling and decoration. We’re on our way to creating a dessert that’s not just a treat, but a moment of shared joy within your family.

5 Things Parents Should Know When Preparing Oreo Cheesecake
Before you start mixing and chilling, there are a few insider tips that will make your Oreo cheesecake journey even more magical:
- Room Temperature Ingredients: Make sure your cream cheese is at room temperature before you start mixing. This will ensure a smooth, lump-free cheesecake mixture that’s as heavenly as a cloud.
- Chill Time is Essential: Cheesecake is a dessert that cannot be rushed. The chilling time not only helps set your cheesecake but also intensifies the flavors. So, patience is your secret ingredient here!
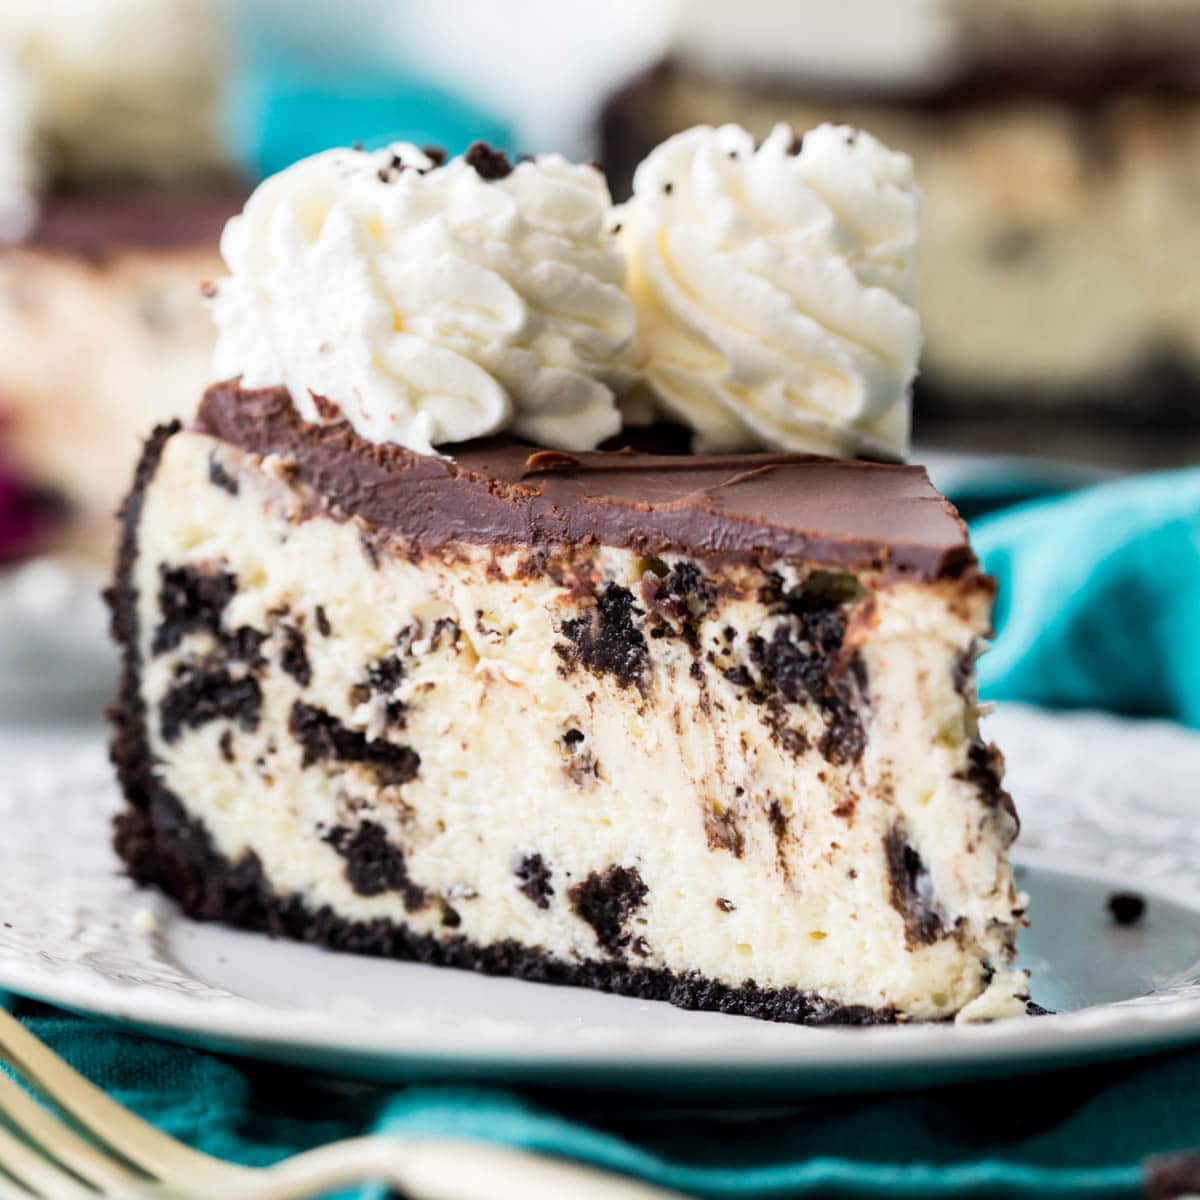
- Get Creative with Toppings: While classic Oreos make a fabulous garnish, don’t hesitate to experiment with chocolate shavings, whipped cream, or even fresh berries to give your cheesecake a personal touch.
- Clean Slices: For that picture-perfect slice, dip your knife in hot water and wipe it dry before each cut. This little trick will give you clean, restaurant-worthy slices every time!
- Involve the Kids: Making Oreo cheesecake can be a fun family activity. Let the little ones press the crust mixture into the pan or sprinkle on the toppings. It’s a sweet way to make memories together!
The Cheesecake Filling: Creamy, Dreamy Perfection
Now for the star of the show, the luscious cheesecake filling that pairs perfectly with your Oreo crust. Here’s how to make it:
Step 2: In a large bowl, whip the room-temperature cream cheese until it’s fluffy and smooth. Gradually add in the sugar, and continue whipping until well combined.
Tip: Always start by whipping the cream cheese by itself to avoid any gritty texture from undissolved sugar.
Step 3: Once the sugar is fully incorporated, add in the vanilla extract and heavy cream. Whip the mixture until it becomes thick and holds soft peaks. This is what gives the cheesecake its signature richness and body.
Tip: Don’t overbeat once you’ve added the heavy cream – you want to keep the air in the cream to maintain a light texture!
Step 4: Fold in chopped Oreo cookies into the filling for that extra crunch and flavor in every bite. Pour the filling over the crust, smoothening the top with a spatula.
Tip: Reserve some Oreo pieces for the top to create a visually appealing cheesecake with a professional touch.
Chill and Serve: The Final Act of Love
Step 5: Your cheesecake needs a good rest in the fridge. We’re talking at least 4 hours, but overnight is even better for flavors to mature and textures to set perfectly.
Tip: If you’re in a true rush, you can pop the cheesecake into the freezer for about an hour to speed up the chilling process, but remember, the fridge is where the real magic happens.
Once your cheesecake has had its beauty sleep, it’s time to remove it from its springform pan and transfer it to a serving platter. Here’s where you can get creative with garnishes – a few whole Oreos, perhaps some light dusting of powdered sugar, or a drizzle of chocolate sauce can turn your cheesecake into a showstopper.
The Grand Finale: Oreo Cheesecake Decorations
Step 6: The ultimate finishing touch is adding those extra Oreo cookies on top. Whether you go for a full cookie, half, or crumbled pieces, they will add the perfect crunch and visual appeal to your creamy cheesecake.
Congratulations! You’ve now mastered the art of the decadent Oreo cheesecake. Serve this up at your next family gathering, or surprise your kids with a slice after dinner. It’s sure to bring smiles and requests for seconds!
Rest assured, this simple yet magnificent Oreo cheesecake recipe is your friendly sidekick in the land of baking. With minimal fuss and maximum flavor, it’s a dessert that everyone, from the smallest cookie monster to the busiest parent, can fall in love with over and over again. Happy baking!


