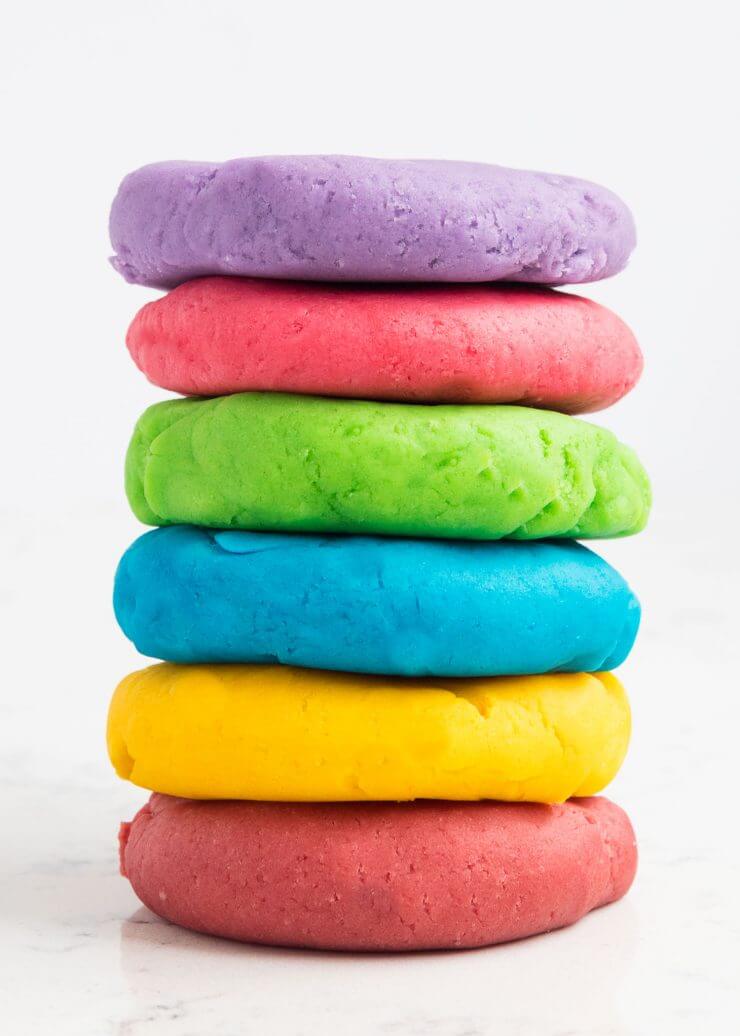
Super Simple Play Dough Recipe for Endless Fun at Home
Hey there, awesome parents! Get ready to roll up your sleeves and dive into the magical world of homemade play dough with your little ones. It’s not just about creating those squishy shapes; it’s about bonding, learning, and making memories together. Plus, our foolproof play dough recipe ensures that you’ll have a blast without the hassle.
Why Homemade Play Dough is the Best Thing Since Sliced Bread
- Safety First: Know exactly what’s in your play dough by choosing your own non-toxic ingredients. It’s particularly great for toddlers who tend to explore the world by, well, tasting it!
- Customizable Fun: Unleash your creativity by adding colors, glitter, and even scents to your play dough. It’s like being a wizard in the land of crafts!
- Educational: Enhance fine motor skills, hand-eye coordination, and even practice numbers and alphabets while playing.
- Affordable: Save your pennies for a rainy day! Homemade play dough is super economical and uses ingredients you probably already have at home.
Let’s Get Mixing: Your Go-to Play Dough Recipe
Prep Time: 5 minutes
Cook Time: 5 minutes
Total Time: 10 minutes
Yield: About 2 cups of dough
Before we start, here’s a pro tip: Involve your kids in the making process! It’s a great opportunity for hands-on learning and—let’s be real—it multiplies the fun.
Ingredients:
- 1 cup all-purpose flour (plus a little extra for kneading)
- 1/4 cup salt
- 2 tablespoons cream of tartar
- 1 tablespoon vegetable oil
- 1 cup water
- Food coloring (optional)
- Essential oils for scent (optional)
- Glitter or confetti (optional)
Instructions:
- Start by mixing the flour, salt, and cream of tartar in a large pot.
- Add in the water and the vegetable oil. If you’re going for colored play dough, now’s the time to drop in the food coloring. A few drops will do, but feel free to add more for vibrant colors.
- Over medium heat, stir your mixture steadily. You’ll notice it’ll start to thicken and clump together. This is the magic happening!
- When your mixture resembles dough and starts pulling away from the sides of the pot, turn off the heat. Congratulations, the cook part is done!
- Let it cool down a bit before you get your hands in there. Once it’s warm to touch, transfer your dough to a clean surface sprinkled with a little flour to avoid sticking.
- Knead the dough, adding more flour if necessary, until it’s smooth and just the right consistency. It should feel like store-bought play dough, elastic and not sticky.
- Optional: To get everyone excited, knead in some glitter, confetti, or a few drops of essential oils for a sensory twist. Just make sure everything is mixed in well.
- Voila! Your homemade play dough is ready for action. Store it in an airtight container or a zip-lock bag, and it can last for months!
Now that you’ve made your play dough, it’s time to set the stage for some serious fun. Clear a space on the table, grab your rolling pins and cookie cutters, and let your mini sculptors loose! Watch their imaginations come to life as they roll, cut, and mould their very own creations.
Homemade play dough isn’t just a great activity for a rainy day; it’s a fantastic tool for unleashing your child’s creativity any day of the year. Let them explore different textures and shapes, mix colors to discover new ones, or even use the dough to practice spelling out words. The possibilities are truly endless.
And don’t worry if your first batch isn’t perfect. Making play dough is an art, not a science, and every attempt is a learning opportunity for you and your kiddos. Plus, it adds a little extra dose of love into the mix when you make it together.
Ready to level up your play dough game? Keep an eye out for the next section in our super simple play dough series, where we’ll explore creative ideas and tips for maximizing play dough fun!

Five Things Parents Should Know Before Preparing for Play Dough Fun
- Gather Everything You Need: Before diving into the play dough making process, ensure that all ingredients and tools are on hand. Having everything within reach will make the process smoother and keep the little ones engaged.
- Choose the Right Environment: Select a spacious and easy-to-clean area for play dough activities. Kitchen tables or any surface with a nonporous top are ideal. This makes for quick cleanups and less stress if things get messy, as they often can with creative kids.
- Embrace the Mess: Play dough making, especially with kids, can get a bit untidy. Put on aprons, roll up your sleeves, and accept that flour might sprinkle around and colors may spread. It’s all part of the memorable experience.
- Safety Tips: Always supervise your children, especially when they are handling non-edible components like glitter or essential oils. Although homemade play dough is non-toxic, it should not be eaten, so keep a close eye on younger children who might be tempted to taste their creations.
- Know Your Child’s Allergies: If your child has specific allergies, make sure to adjust the recipe accordingly. Gluten-free options can be used for children with gluten sensitivities. Always be conscious of any reactions and seek alternatives when necessary.
. For more information see here
Disclaimer
The articles available via our website provide general information only and we strongly urge readers to exercise caution and conduct their own thorough research and fact-checking. The information presented should not be taken as absolute truth, and, to the maximum extent permitted by law, we will not be held liable for any inaccuracies or errors in the content. It is essential for individuals to independently verify and validate the information before making any decisions or taking any actions based on the articles.


