
Easy Homemade Playdough Cooked Recipe for Endless Fun!
Hey there amazing parents and guardians! Who’s ready for some squishy, colorful, homemade fun? That’s right, today we’re diving into the wonderful world of playdough, and not just any playdough, we’re going to whip up a batch of the best cooked playdough you’ve ever seen! So, roll up your sleeves, because things are about to get delightfully doughy!
Why Homemade Cooked Playdough?
First things first, why should you make your own playdough when there’s plenty ready to buy? The answer is simple – making playdough at home is safe, economical, and super fun! Plus, it’s a fantastic way to bond with your little ones and spark their creativity. And let’s not forget the peace of mind that comes with knowing exactly what’s in your child’s plaything – no mysterious chemicals here!
What You’ll Need
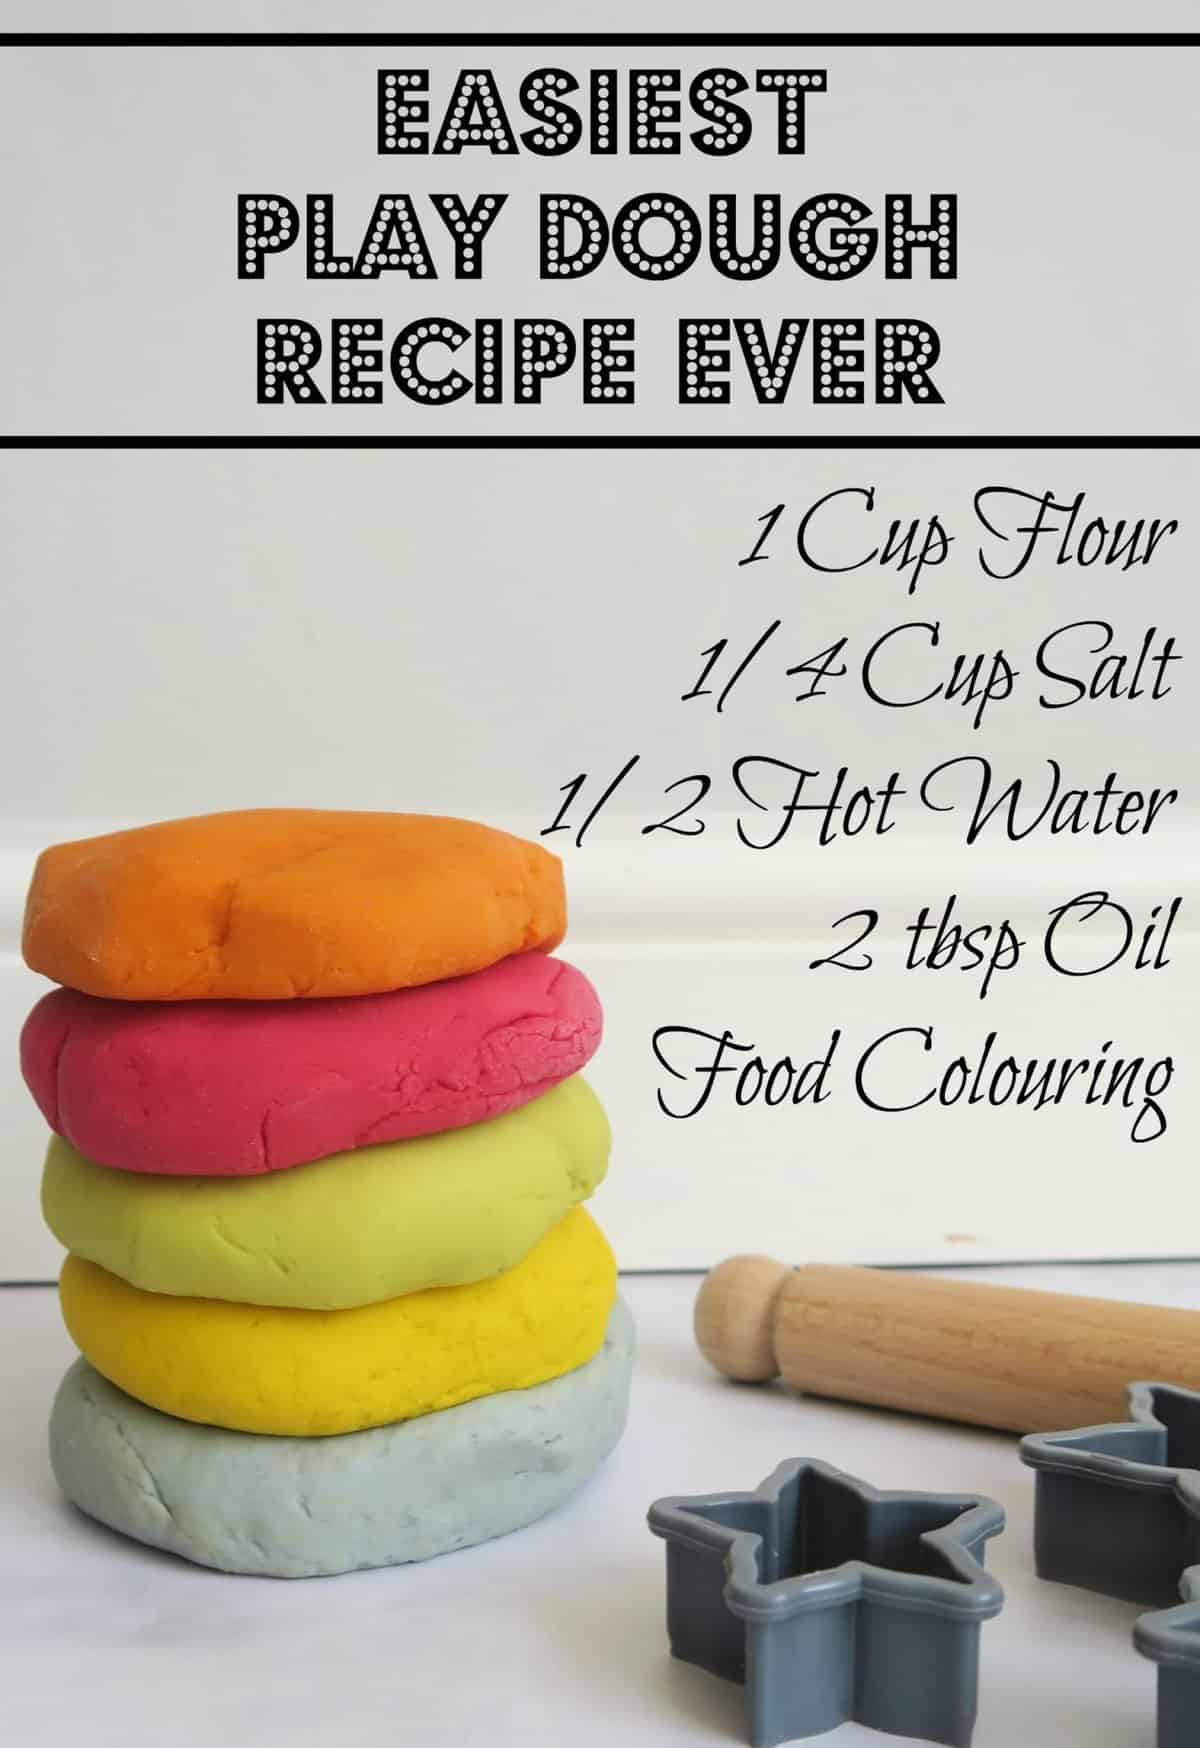
Before we get our hands doughy, let’s gather our materials. Here’s what you’ll need for our tried-and-true cooked playdough recipe:
- 1 cup of all-purpose flour
- 1/4 cup of salt
- 2 tablespoons of cream of tartar
- 1 cup of water
- 1 tablespoon of vegetable oil
- Food coloring (as many colors as you like!)
- Aromatic essences (like vanilla or almond extract, optional for a sensory boost)
- Glitter (if you’re feeling extra sparkly!)
- Large saucepan
- Stirring spoon
- Storage containers or plastic bags
Step by Step: The Perfect Playdough
Now that we have our ingredients lined up like little soldiers, it’s time to march into the action. Follow these steps to playdough paradise:
- Mix your dry ingredients – flour, salt, and cream of tartar – in the saucepan.
- Add in the water and vegetable oil, and stir until everything is nicely incorporated.
- Now for the splash of color! Add a few drops of your chosen food coloring to the mixture. If you’re planning to create multiple colors from one batch, skip this step for now – we’ll add the color later.
- Time to turn up the heat! Place the saucepan over medium heat and stir continuously. The mixture will start to thicken and stick together. This is good – it means science is happening!
- Keep stirring until the dough forms a ball and pulls away cleanly from the sides of the pan. This usually takes about 3-5 minutes, so consider it a mini-workout.
- Remove the ball of dough from the saucepan and place it on some wax paper or a silicone mat to cool down a tad. Be careful, it’s hot!
- Once it’s cool enough to handle, it’s time to get kneady with it. Knead the dough until smooth. If you skipped the coloring earlier, divide your dough and work in the different colors now. A little arm workout never hurt anybody, right?
- If you want to add a sensory element, now’s the time to knead in the aromatic essences or glitter. Just a few drops or sprinkles should do the trick – a little goes a long way!
- Voilà! You now have homemade cooked playdough ready for action!
But wait, before the kiddos start their sculpting masterpiece, we need to talk storage. You worked hard on this dough, so let’s keep it fresh! Store your playdough in air-tight containers or plastic bags. If kept well, it can last for months, meaning endless fun and creations!
There’s nothing quite like the feeling of playdough squishing between your fingers, right? This homemade cooked playdough recipe provides a safe, non-toxic, and pliable dough that’s ready for whatever your kids can imagine.
Now that you’re armed with your amazing homemade playdough, let’s talk about cleanup (because let’s face it, it’s not the most exciting part, but it’s necessary). Keep reading, because we have some nifty tips to tackle playdough tidying like a champ!
And there you have it! The start of a wonderful homemade playdough adventure awaits. What will you and your little ones create with it? A bright sunny yellow sun, a deep blue sea, or a lovely green garden? The possibilities are endless, and so is the fun! So, let the play begin, and watch as your children’s imaginations take flight. Happy playdough making!
5 Things Parents Should Know When Preparing Cooked Playdough
Before you start with the fun and games, there are a few pointers you should keep in mind. These tips will ensure your playdough-making experience is just as enjoyable as playing with the finished product:
1. Quality of Ingredients Matters
As with any cooking project, the better the ingredients, the better the result. Using high-quality flour and food coloring will result in a smoother and more vibrant playdough. However, don’t feel pressured to purchase the most expensive items on the shelf – regular, off-the-shelf products will do just fine for this recipe.
2. Supervision is Key
While making playdough can be a great activity for kids, it’s crucial to supervise them throughout the process. Cooking involves heat and requires careful handling, especially when it’s time to remove the hot dough from the saucepan.
3. Customization is Fun but Optional
The basic recipe is wonderful on its own, but don’t hesitate to add your personal touch. Food coloring, aromatic essences, and glitter are all optional, so feel free to adapt the recipe to your family’s preferences or to what you have on hand.
4. Allergies and Sensitivities
Be mindful of any allergies or skin sensitivities your child may have. For example, if they are sensitive to gluten, you can substitute all-purpose flour with a gluten-free alternative. As always, keep a watchful eye when introducing new materials to your children.
5. Clean up as You Go
It might seem tedious, but cleaning up as you go can save a lot of time and energy later on. Make sure that once you’re done kneading and the playdough is set to rest, you give the cooking tools a quick wash. Dried playdough can be a bit of a challenge to scrub off later!
Cleaning Up After Playtime
Once the playdough has been enjoyed and memories have been made, it’s time to face the aftermath. Here’s how to handle the cleanup stage:
- Firstly, scrape off any bits of playdough that have hardened on surfaces. A plastic knife or spatula works great for this.
- Soak any tools or saucepans used in warm, soapy water to loosen any stuck-on dough.
- Wipe down your surfaces with a damp cloth to collect any stray pieces and to remove any oily residue.
- If playdough gets into carpets or fabrics, allow it to dry completely before scraping off the excess, then vacuum or brush away the remnants.
- For persistent stains, a little bit of laundry detergent and water can work wonders.
Remember, a little mess shouldn’t overshadow the joy and creativity that comes from crafting homemade playdough with your kids. So embrace the process, enjoy the moment, and know that any spills or smudges are just part of the fun. The magic of homemade playdough isn’t just in the end product, it’s in the laughter, learning, and love shared along the way.
Happy crafting, dear parents! May your cooking pots be ever bubbly and your playdough creations colorful and bright!
See more great Things to Do with Kids in New Zealand here. For more information see here
Disclaimer
The articles available via our website provide general information only and we strongly urge readers to exercise caution and conduct their own thorough research and fact-checking. The information presented should not be taken as absolute truth, and, to the maximum extent permitted by law, we will not be held liable for any inaccuracies or errors in the content. It is essential for individuals to independently verify and validate the information before making any decisions or taking any actions based on the articles.


