The Ultimate Guide to Making Slime: A Parent’s Companion!
Hey there, awesome parents and guardians! Are you ready to dive into the squishy, stretchy, and sensational world of slime-making? Buckle up because we’ve got the ultimate guide that will transform you into the coolest slime maestro in town. Not only is making slime a fantastic way to spend quality time with your kiddos, but it’s also a dazzling science experiment that teaches measurements, chemical reactions, and patience – all wrapped up in one jiggly, jolly package!
Be Prepared: Assembling Your Slime-Making Toolkit
Before we jump into the nitty-gritty of slime production, let’s make sure you’ve got all the tools and ingredients you’ll need to create the gooiest, most Instagram-worthy slime ever! Here’s a quick checklist:
- Glue: This is the base of your slime. White school glue or clear glue are the most common picks.
- Borax Solution: Borax powder mixed with water will act as our slime activator.
- Baking Soda: A key ingredient that helps thicken your slime.
- Contact Lens Solution: Containing boric acid and saline, it’s perfect for a borax-free alternative.
- Shaving Cream: For that fluffy, cloud-like texture.
- Food Coloring: To make your slime pop with vibrant colors!
- Glitter or Beads: If you’re feeling extra, throw in some sparkle and texture.
- Bowls and Mixing Utensils: Because nobody wants a slime-covered kitchen.
- Measuring Cups and Spoons: Precision is key!
Classic Glitter Slime: A Recipe for Sparkling Fun
The basic glitter slime is forever a hit! Prepare to add a dash of sparkle to your kiddo’s playtime with this easy-to-follow slime recipe. Follow these steps and voilà, you’ll have the perfect glitter slime.
Ingredients:
- 1/2 cup of white school glue
- 1/2 cup of water
- 1/2 teaspoon of baking soda
- 1 tablespoon of contact lens solution (make sure it contains boric acid!)
- Glitter of your choice
- Food coloring (optional)
Let’s Get Slimy!
- In a mixing bowl, pour 1/2 cup of white school glue.
- Add your glitter until your heart’s content and a few drops of food coloring if you’re using it.
- Stir in the baking soda to the glue mixture until well combined.
- Now, mix in 1/2 cup of water to your gooey concoction.
- Lastly, add your activator, the contact lens solution, slowly and mix until the slime begins to form and pull away from the sides of the bowl.
- Start kneading with your hands. If the slime is too sticky, add a bit more contact lens solution until you reach the perfect slime consistency.
There you have it! In no time at all, you’ve created a shimmering masterpiece. Let’s not stop there though, the world of slime is vast and filled with endless possibilities!
Creative Variations: The Slime Smorgasbord
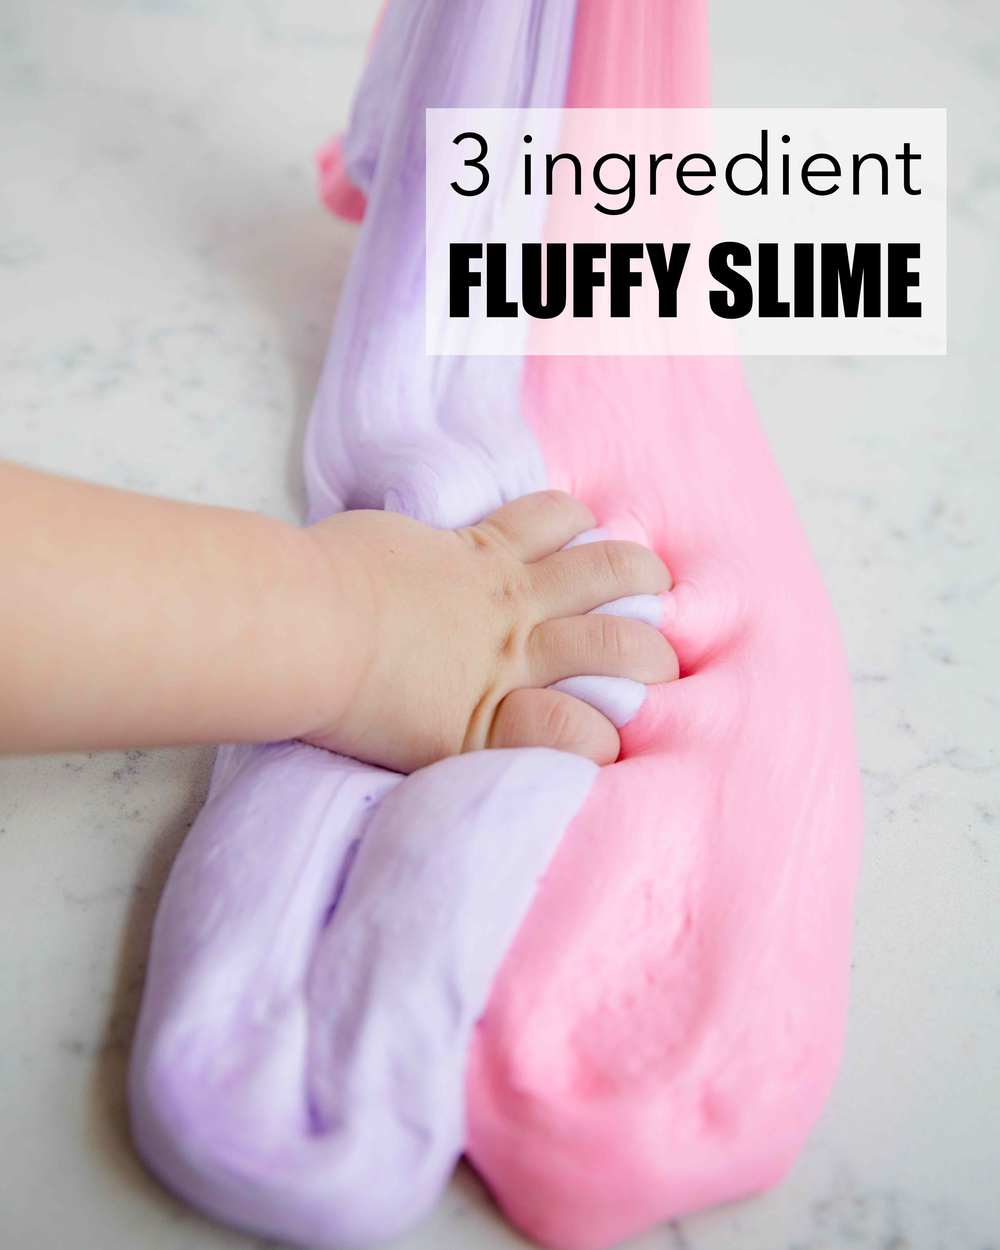
Got the basic slime down? Fantastic! Now, brace yourself for even more slimy adventures. There’s fluffy slime, butter slime, magnetic slime – the list goes on. Each variation comes with its unique twist and a new sensory experience for your little ones to enjoy. But don’t worry, we’ll guide you every step of the way to create these whimsical wonders together. Check back in for detailed recipes and expert tips on taking your slime game to the next level!
Making slime is not just about creating a toy; it’s about spending unforgettable moments with your children, igniting their imagination, and teaching them the wonderful science behind these gooey creations. Keep exploring, enjoy the mess, and make memories that will stick (just like slime) for a lifetime!
The world is your oyster, and slime is the pearlescent goop inside. Have a blast creating, playing, and experimenting with your slimes. Be sure to tune in for our next installment, where we’ll tackle the fluffy clouds of slime heaven!

Five Essential Tips for Parents Preparing Slime Recipes
As we embark on this gooey journey, there are a few key things every parent should keep in mind to ensure the slime-making experience is enjoyable and successful:
1. The Right Environment is Everything
Choose a spacious and easy-to-clean area for your slime-making escapade. A kitchen table covered with newspapers or a plastic tablecloth can be ideal. Remember, slime crafting can get messy, so it’s best to prepare a space where a little spill won’t cause a big problem.
2. Safety First
Although most ingredients used in slime recipes are non-toxic, it’s crucial to ensure that small children are supervised during the slime-making process, especially when it comes to the handling of chemicals like borax. Moreover, ingredients like glitter and beads can be a choking hazard, so watch those little ones closely!
3. Understand the Ingredients
It’s beneficial to have a basic knowledge of the properties of each ingredient in a slime recipe. For instance, knowing that borax acts as a bonding agent for the polymers in the glue can be a fascinating science lesson for your child, and it helps you adjust the recipe if something goes awry.
4. Embrace the Experiment
Slime-making is not an exact science and sometimes you may end up with a consistency that’s either too runny or too stiff. Use these moments as learning opportunities to experiment with proportions or to try different activators. Encourage your kids to make hypotheses about how changes might affect their slime.
5. Allergy Awareness
Be mindful of allergies. If your child is allergic to any ingredients commonly found in slime recipes, like glue or shaving cream, look for hypoallergenic alternatives or opt for borax-free recipes that use contact lens solution instead.
With these tips on hand, you’re all set to initiate the slime quest with confidence and cheer! Commemorate the occasion with pictures or videos, capturing the joy and pride on your child’s face as they craft their very own ooey-gooey masterpiece.
Let the Slime Games Begin: Activities for Family Engagement
Once you’ve mastered your preferred slime recipes, take the fun up a notch by incorporating slime into playtime activities and games. For example, create an obstacle course where players must transport their slime through hoops or over hurdles without dropping it. Design a slime treasure hunt where the clues are hidden within or under the slime. Or, host a mini science fair where each family member creates a unique slime variation to showcase its properties.
Slime isn’t just a one-off activity; it’s the gift that keeps on giving. Store your slime in airtight containers to keep it fresh for continuous joy and add-ons for future play. The versatility of slime allows for a variety of games that are only limited by your imagination!
As you become more comfortable with slime recipes, feel encouraged to personalize the slime for birthdays, holidays, or seasonal themes. Infusing glitter for New Year’s, adding pumpkin seeds for Halloween, or using pastel colors for Easter slimes are just a few ways to keep the excitement alive.
And let’s not forget about educational opportunities. Slime can be a hands-on tool for teaching about colors, textures, and even basic math. Ask your child to mix primary colors to learn about color combining, or use the slime to explain concepts like volume and measurement – it’s play with a purpose!
Remember, the most important ingredient in any slime recipe is a dash of imagination and a sprinkling of fun. So, keep exploring, keep inventing, and most importantly, keep enjoying your time together as a family!
See more great Things to Do with Kids in New Zealand here. For more information see here
Disclaimer
The articles available via our website provide general information only and we strongly urge readers to exercise caution and conduct their own thorough research and fact-checking. The information presented should not be taken as absolute truth, and, to the maximum extent permitted by law, we will not be held liable for any inaccuracies or errors in the content. It is essential for individuals to independently verify and validate the information before making any decisions or taking any actions based on the articles.


