
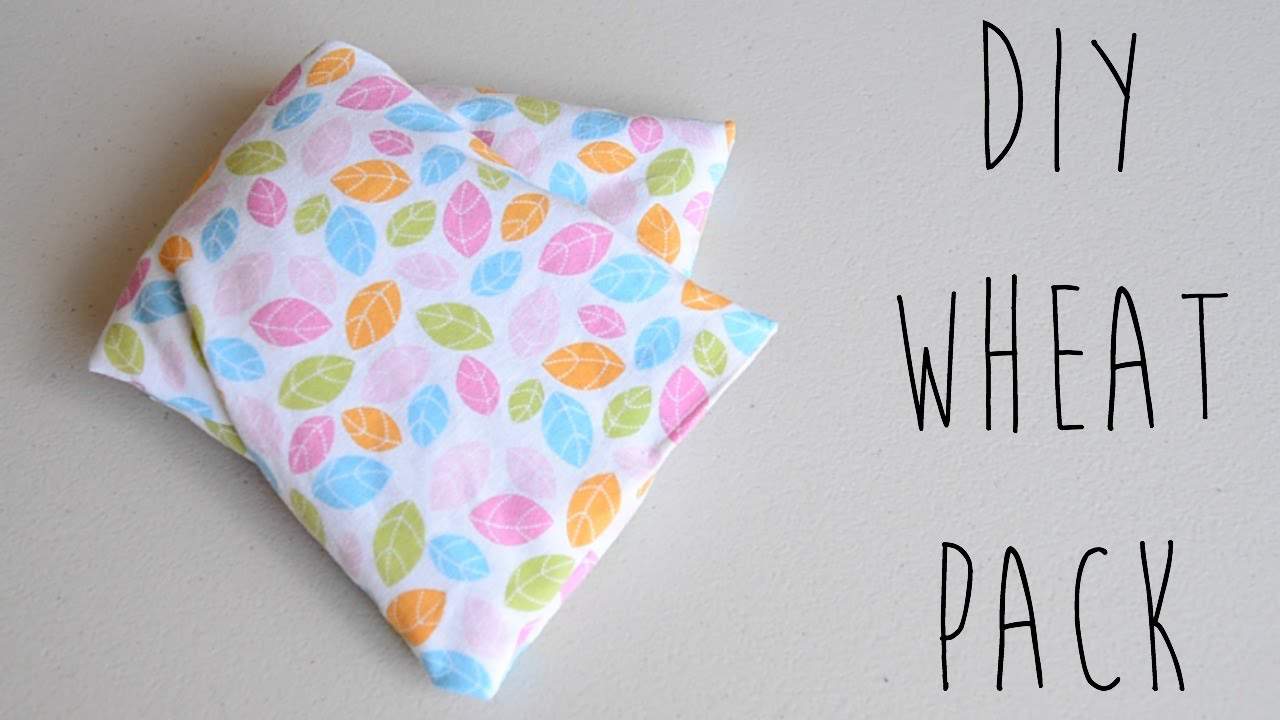
Create Your Own Wheat Bag: A Step-by-Step Guide for Parents
Welcome, crafty parents! If you’re on the hunt for a simple, natural, and effective way to provide comfort to your loved ones, you’ve clicked on the right page! Making a wheat bag is a fantastic project that not only reaps soothing benefits but also offers an excellent opportunity for a family crafting session. So, let’s roll up our sleeves and dive into the wonderful world of wheat bags!
What is a Wheat Bag?
A wheat bag is a type of heat pack filled with grains, commonly wheat, that you can heat in the microwave or chill in the freezer. It’s an incredibly versatile item, perfect for warming up cold feet, soothing sore muscles, or even reducing the ache of abdominal cramps. The best part? It’s reusable and all-natural. Let’s get started on creating this fantastic home remedy!
Materials You’ll Need
- 100% cotton fabric (natural fibers are a must!)
- Wheat grains (you can find these at health food stores or online)
- Thread
- Sewing machine or needle for hand sewing
- Scissors
- Funnel or a homemade paper funnel
- A ruler or measuring tape
- Optional: dried herbs or essential oils for added aroma therapy benefits
Step-by-Step Guide to Making Your Wheat Bag
Before we kick off the fun part, make sure to pick a fabric that resonates with your personal style or that of your intended user. Whether it’s a kid-friendly pattern or a more neutral tone for communal use, the choice is yours. Now, let’s get to the crafting!
1. Cut Your Fabric
Measure and cut two pieces of fabric to your desired size. A standard size is about 20×30 cm (8×12 inches), but feel free to customize the dimensions according to your needs. Just ensure that you leave enough room for the seams!
2. Sew the Sides
Place two pieces of fabric together, right sides facing each other. Sew three sides using a 1.5 cm (half-inch) seam allowance, leaving one shorter side open. Turn the bag right side out.
3. Fill it Up
Using your funnel, pour the wheat grains into the bag. Fill it to about 2/3 to allow the grains some movement, which ensures that the heat distributes evenly when warmed up. If you’re adding dried herbs (like lavender for relaxation), or a few drops of essential oil, mix them in with the wheat before filling.
4. Close the Bag
Tuck in the open edges and sew the final side closed, ensuring the stitches are tight enough to prevent any wheat from escaping.
Decorate and Personalize
Now that your wheat bag is filled and sealed, you can get creative! Embroider initials, add patches, or have your kids decorate fabric tags to stitch onto it. Personal touches make these bags great gifts as well!
Wheat bags are wonderful for cozy evenings, chilly mornings, or as a natural remedy for aches and cramps. They are straightforward to make and can be personalized for each family member. Plus, they’re far more sustainable and cost-effective than store-bought options!
Stay tuned for detailed tips on heating, cooling, and maintaining your DIY wheat bag, so it remains safe and effective for your family to enjoy all year round.
Remember to supervise children at all times when using the wheat bag, especially when heating it in the microwave. Safety is paramount, and we’ll cover all those necessary precautions to ensure a happy, warm, and safe experience with your homemade wheat sack!
So there you have it, the start of your very own homemade wheat bag! Crafting something by hand adds that special touch, and knowing you’ve made something that will provide comfort and relief makes the effort all the more worthwhile. Stay cozy and see this project as an expression of love and care that your family will certainly feel with every use.
Five Things Parents Should Know When Preparing to Make a Wheat Bag
Understanding the Importance of Fabric Choice
Before embarking on your wheat bag crafting journey, remember that the fabric you choose is crucial for safety and comfort. Opt for 100% cotton as it is not only soft and cozy but also microwave safe. Synthetic fabrics could melt or even ignite, which is definitely not the cozy outcome we’re aiming for.
Quality of Wheat Grains Matters
Using high-quality wheat grains is important for the longevity and effectiveness of your wheat bag. Look for triple cleaned wheat, which reduces dust and debris, minimizing the risk of allergens in your bag. Grain that’s too old or moist can spoil or cause issues when microwaved, so freshness is key!
Sewing Securely is Essential
Whether you’re an experienced sewing enthusiast or a beginner, ensuring your stitches are secure will prevent wheat from leaking out. Pay particular attention to corners and the final seam. If you’re not confident in your sewing skills, consider double stitching for added durability.
Filling the Bag Correctly
One common mistake is overfilling the wheat bag. A good fill is about 2/3 full, as this allows the wheat to move and contours to the body for better heat distribution. If it’s too full, it could burst at the seams or won’t be as flexible to use.
Using Your Wheat Bag Safely
It’s crucial to ensure the safety of your family when using homemade wheat bags. Always follow instructions when heating in the microwave, and never leave it unattended. Start with short heating intervals to find the ideal temperature, and always check the warmth before handing it to children or applying it to the skin.
Now that you’re armed with these essential tips, you’re well on your way to crafting a homemade wheat bag that’s perfect for your family’s needs. Remember, a DIY wheat bag isn’t just about warmth and comfort; it’s a symbol of the care and craftsmanship you bring to your family’s daily life. Happy sewing, and may your home be filled with the loving warmth from your new creation!
In addition to ensuring safe use, it’s important to know how to properly maintain your wheat bag. Regular checks for signs of wear and tear can prevent accidents, and refreshing the fabric or the wheat filling might be needed after prolonged use. It’s also wise to educate your family on how to use it safely, and to ensure it’s not too hot for children’s sensitive skin.
To conclude, creating a wheat bag is more than just a craft project; it’s a practical application of your parenting skills to provide comfort, warmth, and relief to your loved ones. With these foundational steps and key considerations, you’re set to successfully make and use your homemade wheat bags. Get ready to embrace the warmth and enjoy the simple pleasures of your very own DIY comfort!
See more great Things to Do with Kids in New Zealand here. For more information see here
Disclaimer
The articles available via our website provide general information only and we strongly urge readers to exercise caution and conduct their own thorough research and fact-checking. The information presented should not be taken as absolute truth, and, to the maximum extent permitted by law, we will not be held liable for any inaccuracies or errors in the content. It is essential for individuals to independently verify and validate the information before making any decisions or taking any actions based on the articles.


