
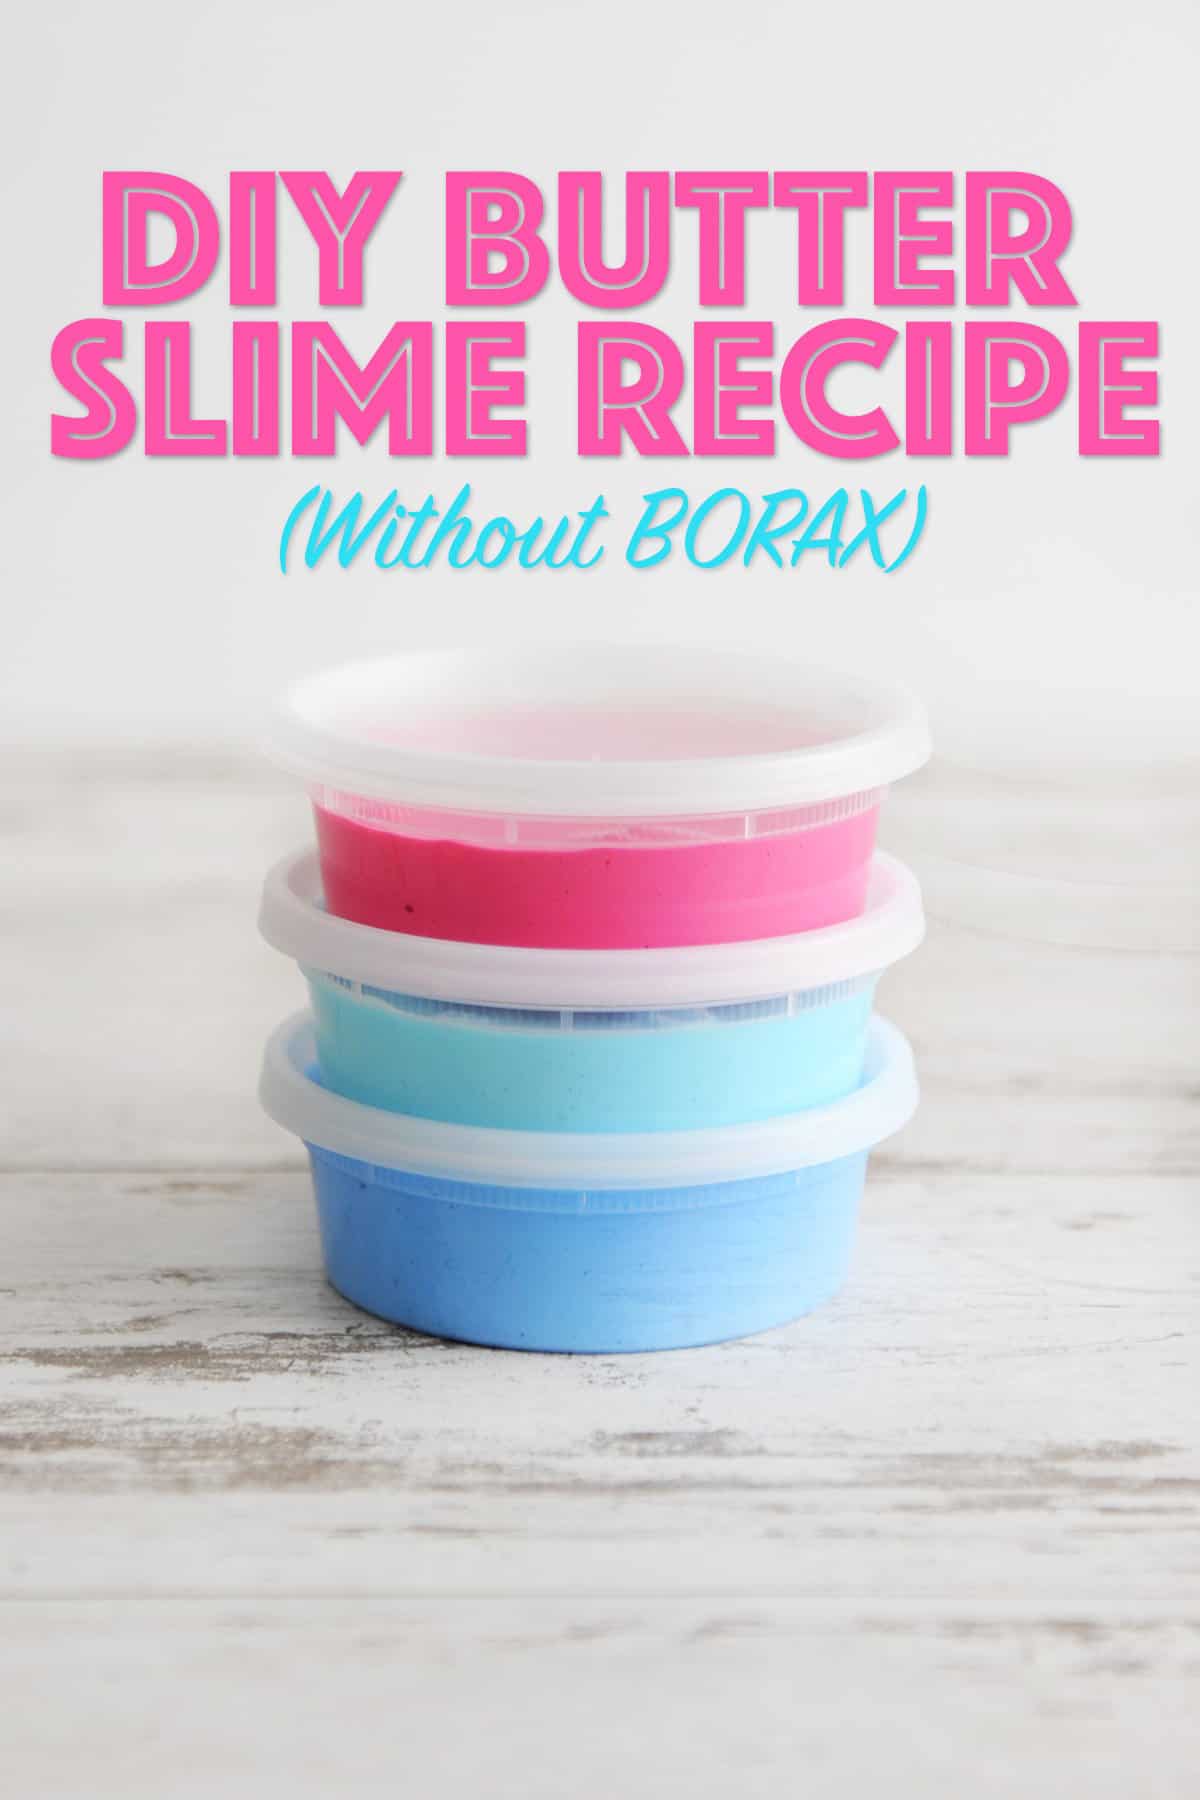
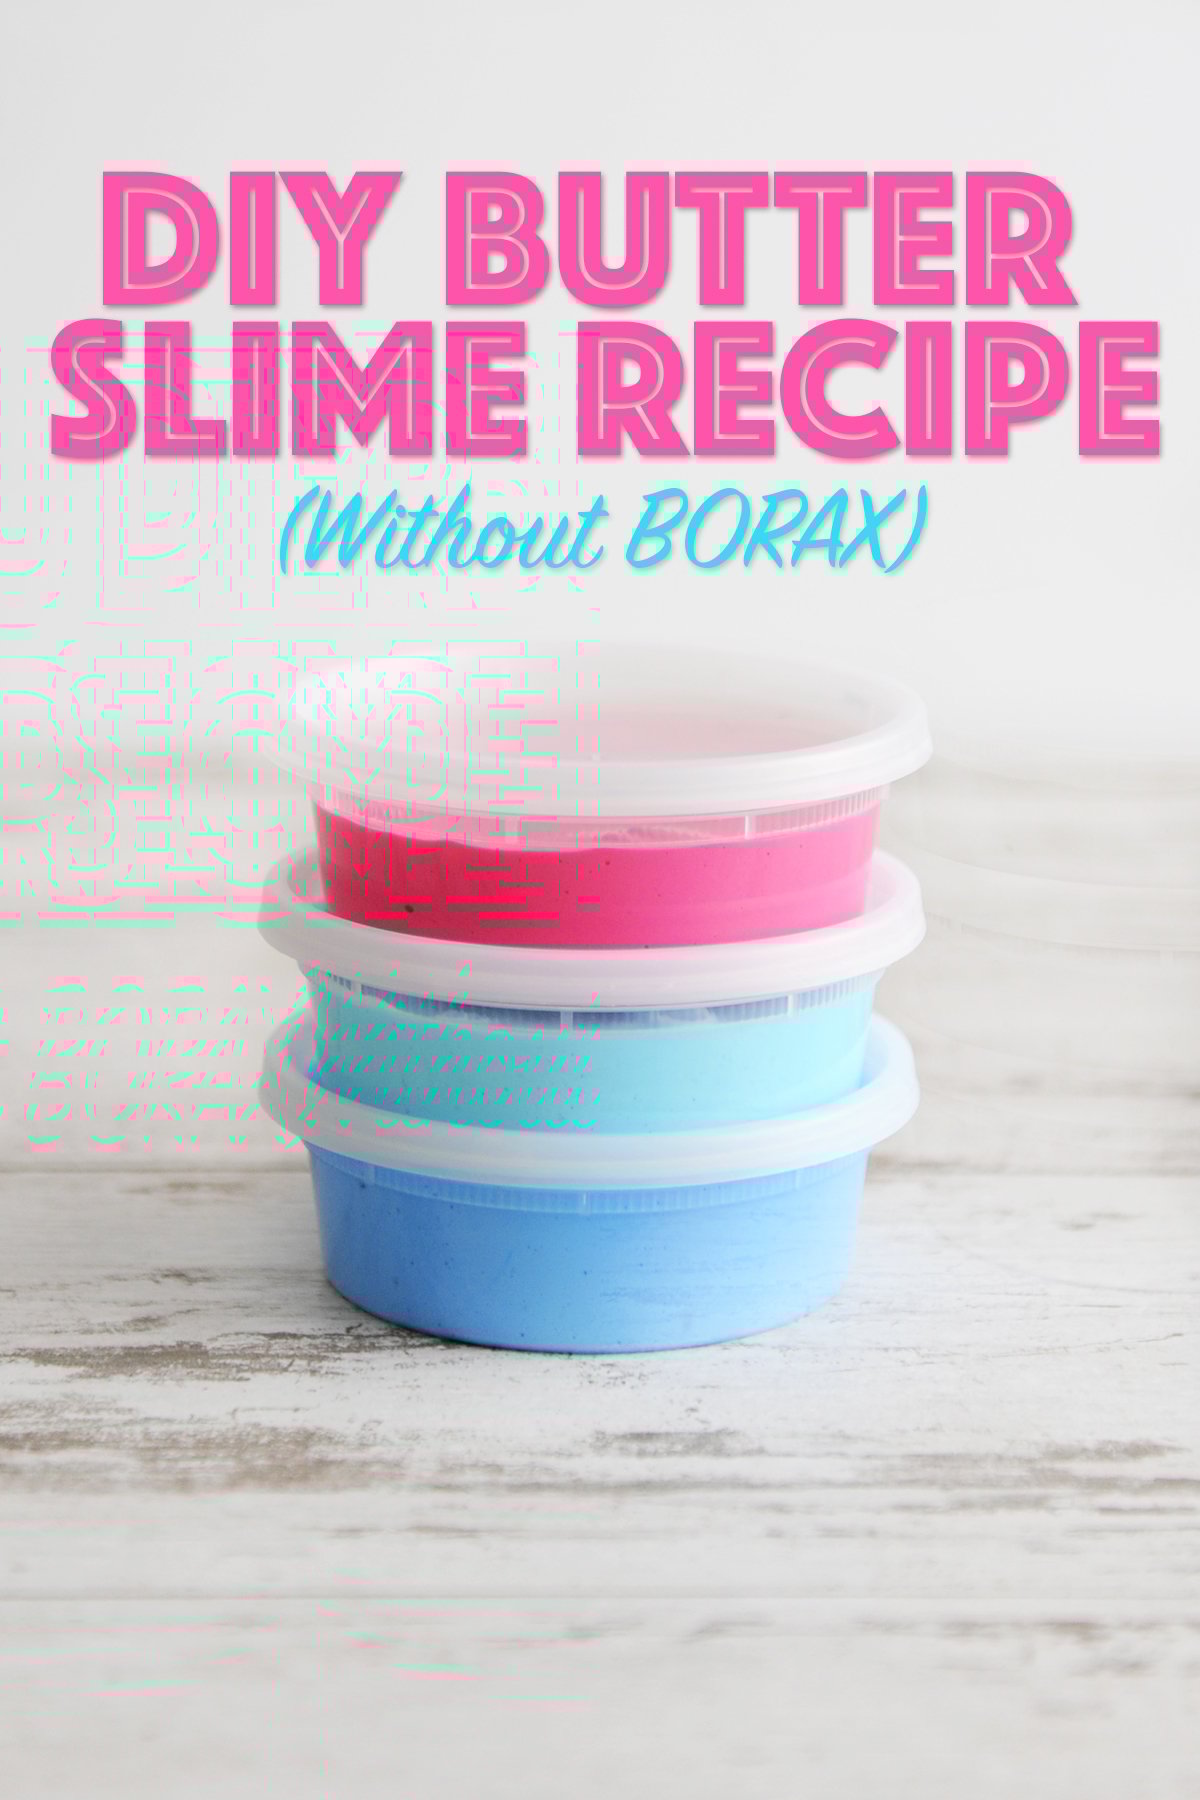
The Ultimate Guide to Making the Best Slime at Home
Welcome, dear parents, to your go-to playground of gooey delights! Are you ready to dive into the whimsical world of slime with your kids? We’ve got the perfect mix of fun, laughter, and a tad of science to make your slime-making adventure a smashing success. In this guide, we’ll take you step-by-step through the process of creating the best slime recipe that is not only super stretchy and amazingly squishy but also safe for your little ones’ tiny hands.
Why Slime is the Ultimate Play Companion for Kids
Before we get our hands sticky, let’s talk about why slime is such a hit! It’s a marvelous sensory experience that blends color, texture, and creativity, all while helping your kids develop fine motor skills and a basic understanding of chemical reactions. Plus, it’s a fantastic way to turn screen time into green time or any other vibrant color of your choice!
Ingredients for the Perfect Slime
Safety first, fun always! We promise to keep our recipe simple, with ingredients that are non-toxic and easy to find. Here’s a sneak peek at what you’ll need:
- 8 ounces of washable school glue
- 1 teaspoon of baking soda
- 2-3 tablespoons of contact lens solution (containing boric acid)
- Food coloring (optional)
- Glitter or confetti (optional)
Ensure that all the ingredients are safe for your child’s age and allergy status. Now, let’s get to the squishy, stretchy part!
Step-by-Step Guide to Slime Alchemy
It’s time to transform everyday household items into an extraordinary playtime treasure. By following these simple steps, you’ll be the hero behind the best slime in town!
- Prepare Your Workspace: Lay down some parchment paper or a silicone mat to protect your surfaces. Have your ingredients and mixing tools ready to go. Wear an apron or old clothes – slime making can get messy!
- Mix the Base Ingredients: Pour the glue into a large bowl. Add the baking soda and mix well until combined. This is your slime base, the start of something magical!
- Add Color and Sparkle: This is where the fun really begins! Let your kiddos choose their favorite food coloring and add a few drops to the mix. If they want their slime to sparkle, now’s the time to sprinkle in some glitter or confetti.
- Bind it Together: Slowly add in the contact lens solution, mixing as you go. After a few tablespoons, you’ll see the slime start to form. It will pull away from the sides of the bowl and start to stick to itself.
- Knead the Slime: When the mixture becomes too tough to stir, it’s time to get your hands in there! Knead the slime until it reaches the desired consistency. If it’s too sticky, add a bit more contact lens solution.
And there you have it, folks! In just a few easy steps, you’ve become the master of slime-fu, ready to wow your kids with the best homemade slime ever! Remember, the key to the perfect slime is to have fun with it, experiment, and enjoy the playful mess.
This guide doesn’t end here, though. Stick with us as we delve deeper into slime variations, troubleshooting tips, and how to store your slime for future fun. Let the goo times roll!
Engaging in this hands-on activity not only promises a joyful afternoon but also makes room for learning and exploring new textures and reactions. The tactile experience of slime can benefit children’s sensory development, and witnessing the transformation of simple ingredients into a fascinating plaything can spark their love for science and creativity.
So, why wait? Embark on this gooey journey and witness your children light up with glee as they squish, stretch, and mold their very own homemade slime. Get ready for giggles and a little bit of mess – it’s all part of the unforgettable experience that awaits with the best slime recipe around!
5 Essential Tips Every Parent Should Know Before Making Slime
Before we jump into the delightful world of slime-making, let’s go over some important tips to ensure a happy, hassle-free experience:
- Non-Toxicity is Key: Always check the labels on ingredients to ensure they are non-toxic, especially if you have little ones who are inclined to taste everything. This ensures their safety as they engage in slime play.
- Prep Makes Perfect: Prepare all your ingredients and tools beforehand. This not only saves time but allows you to keep an eye on your children and prevent any unwanted spills or mishaps.
- Embrace the Mess: Understand that making slime is a messy process. Set up a space that’s easy to clean, and dress your children in clothes you’re not worried about getting stained. Embracing the mess reduces stress and increases fun.
- Patience is Your Friend: The consistency of slime can sometimes be tricky to get right on the first try. Don’t despair if it’s too sticky or too runny initially. Adjusting the amount of contact solution or kneading it a bit more usually does the trick.
- Storage Solutions: Don’t let your hard work go to waste. Store slime in an airtight container to keep it fresh and playable for as long as possible. This will preserve its quality for ongoing enjoyment.
With these nifty tips in mind, you’re well on your way to becoming a slime-making champion! Remember, the most important ingredient in any slime recipe is your joy and participation, so roll up your sleeves and get ready for some unforgettable fun with your kids.
Slime Variations for Never-Ending Fun
Once you’ve mastered the classic slime recipe, why stop there? There’s a whole universe of slime possibilities to explore! Here are a few variations you might want to try:
- Fluffy Slime: Add shaving cream into your slime base to create a fluffy, cloud-like texture that’s fun to squish.
- Crunchy Slime: Incorporate foam beads or small plastic beads for an oddly satisfying crunchy texture.
- Magnetic Slime: Mix in some iron oxide powder and watch your slime come to life with a magnet!
- Glow-in-the-Dark Slime: Use glow-in-the-dark paint or pigments to make your slime illuminate in the dark.
- Clear Slime: Opt for clear glue instead of white glue, and leave out the food coloring for a transparent, glass-like slime.
Each variant adds a distinct dimension to the slime experience, further encouraging your little ones to use their imagination and creative skills.
Troubleshooting Common Slime Problems
In the event that your slime isn’t behaving as expected, here’s a quick troubleshooting guide to get you back on track:
- If it’s too sticky: Add more contact lens solution incrementally, and continue to knead.
- If it’s too brittle: Add a tiny bit of warm water to soften it up.
- If it’s not forming: Ensure that your contact lens solution contains boric acid, which is crucial for the slime reaction.
With a touch of patience and a sprinkle of experimentation, you’ll be able to fine-tune your slime to perfection. Always keep these solutions in mind, and your slime-making sessions are sure to be a success.
Ready, set, slime!
See more great Things to Do with Kids in New Zealand here. For more information see here
Disclaimer
The articles available via our website provide general information only and we strongly urge readers to exercise caution and conduct their own thorough research and fact-checking. The information presented should not be taken as absolute truth, and, to the maximum extent permitted by law, we will not be held liable for any inaccuracies or errors in the content. It is essential for individuals to independently verify and validate the information before making any decisions or taking any actions based on the articles.


