
Whip Up Smiles with Basic Buttercream Icing: A Parent’s Guide
Hey there, wonderful parent! Are you ready to dive into the delightful world of homemade treats? Whether it’s for a birthday, school event, or just a fun activity to do with the kids, mastering the art of basic buttercream icing is a surefire way to sprinkle joy into any occasion. Get your whisks ready, because we’re about to embark on a creamy, dreamy adventure that’ll turn you into the most popular baker on the block!
Why Basic Buttercream Icing is a Must-Know for Parents
Before we get our hands sticky, let’s chat about why basic buttercream icing deserves a spot in your parent toolkit. This fluffy, versatile frosting is not only scrumptious but also incredibly forgiving for those of us who aren’t professional pastry chefs. It’s the perfect canvas for experimenting with colors and flavors, and it’s sure to make your homemade goodies look and taste bakery-fresh. So, let the sweet bonding moments begin!
Ingredients You’ll Need
- Unsalted butter – Room temperature is key for that ideal creamy texture!
- Powdered sugar – Also known as confectioners’ sugar, it sweetens and stabilizes.
- Milk or heavy cream – This will help reach the desired consistency.
- Pure vanilla extract – For that classic buttercream flavor.
- Salt – Just a pinch to balance the sweetness.
Tools of the Trade
- Electric mixer – Stand or hand mixer, both will do the trick!
- Measuring cups and spoons – For precision in your concoction.
- Spatula – To fold and spread the icing like a pro.
- Bowl – Large enough to mix your ingredients comfortably.
- Piping bags and tips (optional) – For decorating with style.
Step-by-Step Guide to the Perfect Buttercream
Now let’s sweeten the deal with a step-by-step guide to creating your very own basic buttercream icing. Trust us, it’s as easy as 1-2-3!
1. Beat the Butter to Perfection
Start by placing your room-temperature butter in the bowl of your mixer. Using the paddle attachment, beat the butter on medium speed until it’s smooth and creamy. This usually takes about 2-3 minutes. It’s important to get this step right, as the texture of your butter sets the foundation for your icing.
2. Sift in Sweetness
Gradually add powdered sugar to the butter, ensuring you sift it to avoid any lumps. Keep your mixer on a low setting to prevent a powdery explosion! After each addition, blend the sugar and butter well to keep the mixture smooth. Feel free to scrape down the sides of the bowl with your spatula to incorporate everything evenly.
3. Liquefy to the Ideal Consistency
Once your powdered sugar is integrated, it’s time to add a splash of milk or heavy cream along with the vanilla extract. Beat the mixture on high speed until everything’s combined and the icing is light and fluffy. If you find your icing is too thick, add a bit more milk; if it’s too thin, add a little extra powdered sugar. Perfecting buttercream is all about balance.
4. Personalize with Colors and Flavors
This is where the fun really starts! Add a few drops of food coloring or a splash of different extracts to take your icing to the next level. Let your kids pick their favorite hues and flavors to create a sweet masterpiece that’s uniquely theirs. Remember to mix gently to keep the airy texture intact.
Creating your very own basic buttercream icing doesn’t have to be daunting or time-consuming. With this simple guide, you’re all set to wow your family and friends at the next bake sale or birthday party. Plus, involving the kiddos can make for a magical and memorable kitchen experience. Stay tuned for even more tips and tricks on how to use, store, and enjoy your freshly whipped buttercream icing!”
5 Things Parents Should Know in Preparing for Basic Buttercream Icing
A. Temperature Matters
Temperature plays a critical role in achieving the right consistency for your buttercream. Ensure your butter is at room temperature before you start; cold butter won’t blend well, and melted butter will lead to a runny icing. If you’re in a pinch and forgot to take the butter out ahead of time, cut it into small cubes to speed up the softening process. When adding milk or heavy cream, having it at room temperature can also prevent the butter from seizing.
B. Sift, Sift, Sift
Clumps in your frosting can ruin the perfect finish on your cake or cupcakes. Embrace the sifting process to keep your icing silky smooth. Investing in a good quality sifter can save time and streamline your baking process. Plus, it’s a fun step for the kids—they love watching the powdered sugar snow down!
C. Slow and Steady Wins the Race
When combining the butter and sugar, it may be tempting to speed up the process. However, gradually incorporating these ingredients on a low speed will yield a much finer texture. Patience here is key—you’re building the foundation for your frosting masterpiece!
D. Customization is Key
Your basic buttercream is a blank slate. Involve the kids by having them choose colors and flavors. But keep in mind, liquid food colorings can affect the consistency of your icing, so gel colorings might be a better option. They’re concentrated and require less product, which means your icing stays the perfect consistency.
E. Practice Makes Perfect
If your first batch isn’t quite right, don’t fret. Buttercream is all about adjusting as you go. Too thick? Add a little more liquid. Too thin? Mix in more powdered sugar. Each time you make buttercream, you’ll get a better feel for how it should come together. And the best part? You get to taste test your creations along the way!
Storing and Using Your Buttercream Icing
Once you’ve crafted your buttercream icing, knowing how to store it properly will keep it fresh and ready to use. If you’re not using it immediately, the icing can be stored in an airtight container in the refrigerator for up to one week. Just be sure to let it come to room temperature and give it a good stir before using it to bring back its creamy texture.
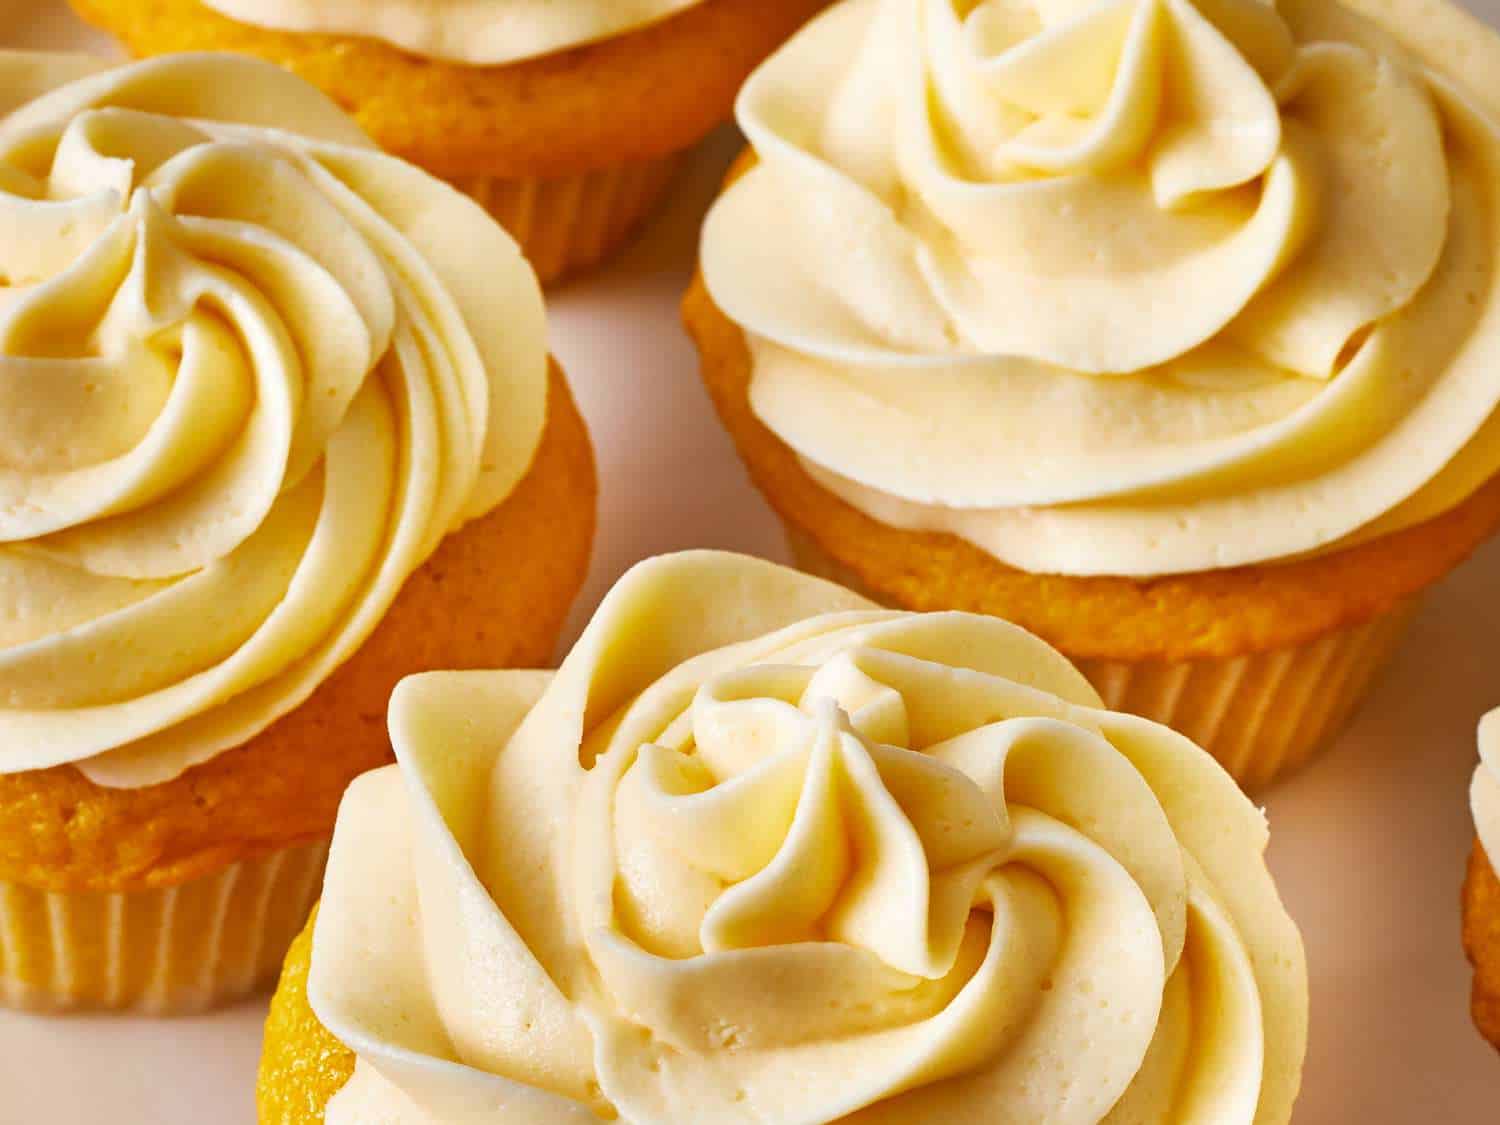
Decorating with Buttercream
Now comes the pièce de résistance—decorating with your buttercream! Whether you’re aiming for simple, swooped designs with a spatula or intricate designs with piping tips, buttercream is incredibly versatile. You and your little ones can transform any baked goods into edible art!
Remember, creating magical moments with your children in the kitchen is about the joy of the process, not just the end product. So, don your aprons, lift those mixers, and get ready to create some of the sweetest memories with the simplest of ingredients. Let this Ultimate Guide to Basic Buttercream Icing be your trusty companion as you bake your way into everyone’s hearts!
See more great Things to Do with Kids in New Zealand here. For more information see here
Disclaimer
The articles available via our website provide general information only and we strongly urge readers to exercise caution and conduct their own thorough research and fact-checking. The information presented should not be taken as absolute truth, and, to the maximum extent permitted by law, we will not be held liable for any inaccuracies or errors in the content. It is essential for individuals to independently verify and validate the information before making any decisions or taking any actions based on the articles.


:max_bytes(150000):strip_icc()/174347-QuickandAlmostProfessionalButtercreamIcing_003-4x3-e983b995de184f9981222f2e96b4a62f.jpg)