
The Ultimate Guide to Making the Perfect Slime Mixture: A Parent’s Companion
Hello there, wonderful parents and guardians!
Are you ready to embark on a gooey, squishy journey into the world of slime-making with your kids? Fantastic! Making slime is not just a craze—it’s a super fun, hands-on activity that fosters creativity, science learning, and family bonding. So, don those aprons, pull up your sleeves, and let’s dive into the enchanting universe of slime mixtures!
What is Slime and Why Do Kids Love It?
Slime is a non-Newtonian fluid that can be squished, stretched, and molded, offering hours of entertainment and sensory play. The fascination with slime isn’t just a passing trend; it’s a texture-rich experience that children adore. It’s also a wonderful way to introduce young minds to basic chemistry concepts while providing a platform for creative expression.
Getting Started: The Basic Ingredients
Before we jump into recipes, let’s familiarize ourselves with the basic components you’ll need to whip up a batch of homemade slime:
- Glue: This is the foundation of your slime. White school glue or clear craft glue works best.
- Activator: This ingredient transforms your glue into stretchy slime. Popular options include borax solution, liquid starch, or contact lens solution and baking soda.
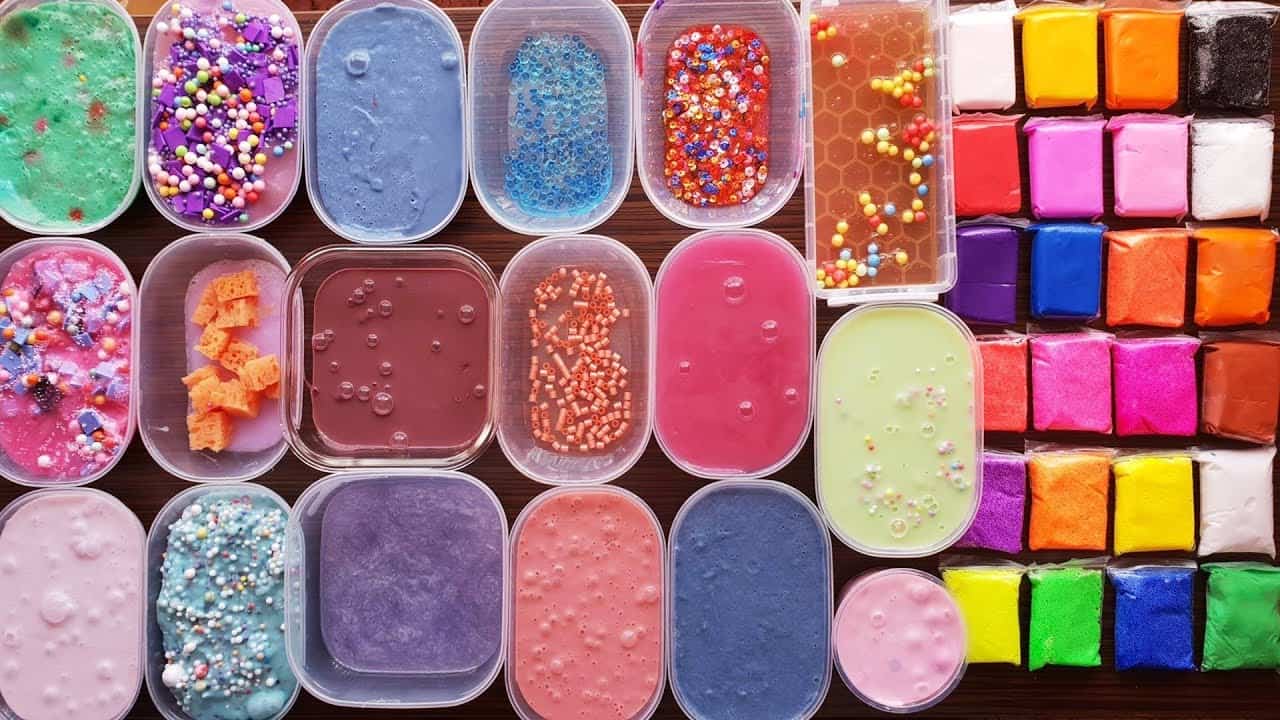
- Colorants: Add some pizzazz with food coloring, acrylic paint, or even glow-in-the-dark paint for extra fun!
- Add-ins: Here’s where you can get creative – think glitter, beads, foam balls, scents, and more to personalize your slime.
Now that we’ve covered the basics, let’s ensure our slime-making adventure is as smooth as the final product!
Step-by-Step Slime Safety Tips
Safety first, especially when it comes to our little ones and their curious hands. Here are some essential safety tips to keep the fun hazard-free:
- Always supervise children during slime-making to ensure they’re following the instructions and not ingesting any materials.
- Wear protective clothing, such as aprons or old t-shirts, and keep your workspace covered to prevent stains.
- In the case of sensitive skin or allergies, consider wearing disposable gloves to prevent irritation from activators.
- Ensure proper ventilation in your slime-making area to disperse fumes from certain activators, like borax.
With these precautions in mind, we’re all set for a secure, splendid slime extravaganza!
Let’s Get Mixing: The Basic Slime Recipe
It’s mix time! Here’s a simple slime recipe for starters using the classic borax and glue method:
Classic Borax Slime Recipe
- In a mixing bowl, pour 1/2 cup of white school glue.
- Add your choice of colorant until you reach the desired shade and mix thoroughly.
- Dissolve 1/2 teaspoon of borax in 1 cup of warm water in a separate container to create your activator.
- Slowly add the borax solution to the glue mixture, stirring constantly until the slime begins to form.
- Once the mixture pulls away from the sides of the bowl and starts sticking to itself, begin kneading with your hands.
- Continue to knead until you achieve a smooth, stretchy consistency. If it’s too sticky, add a tiny bit more activator.
- Get your hands slimy and have fun!
Eureka! You’ve now crafted your very own batch of classic slime!
Troubleshooting Tips and Tricks
Not all slimes are created equal, and sometimes the slime gods may need a little appeasing. If your slime is too runny, add a smidgen more activator. If it’s too rubbery, work in a touch more glue. It’s all about finding that perfect balance.
Each slime session is a chance to learn and perfect your technique, so be patient and enjoy the slime-tinkering process.
Fun Variations for Slime Wizards
Once you’ve mastered the basic recipe, the slime world is your oyster! Why not try some popular variations:
- Fluffy Slime: Add shaving cream to your glue for a pillowy texture.
- Crunchy Slime: Mix in beads or foam balls for an irresistible pop.
- Butter Slime: Clay mixed into your slime results in a smooth, spreadable concoction.
- Magnetic Slime: Incorporate iron oxide powder and watch your slime come alive with a magnet.
And there’s so much more to explore! Each slime creation is a unique masterpiece waiting to happen, and we can’t wait for you to discover them all.
The Ultimate Guide to Making the Perfect Slime Mixture: A Parent’s Companion
Hey amazing moms, dads, and awesome slime-cooks of tomorrow!
Ready to dive into the magical, squishy world of slime with your bright-eyed explorers? You’ve come to the right place to learn the wonders of slime crafting! It’s the perfect mix of playtime joy and subtle science know-how, all wrapped up in one delightful, stretchy package. So, gather your troop, because an adventure into the world of oozy goodness awaits!
Slime: A Magical World of Fun and Learning
Imagine a substance that can ooze through your fingers, yet you can also poke and prod without leaving a trace. That’s slime for you — a fabulous material that’s captivated the hearts and curiosity of kiddos everywhere. Not only is it a blast to play with, but it also sneaks in some science lessons on matters like states of liquid and chemical reactions.
Five Essential Slime-Prep Tips for Parents
Ready to master the art of the perfect slime? Here are five crucial tips to lay the foundation for your slime adventure:
- Understanding Slime Ingredients: Get to know your glue types and activators. Each has its own unique properties that will affect your slime’s consistency and texture.
- Choosing the Right Mixing Tools: Go for sturdy bowls and mixing utensils. Slime-making can get vigorous and you’ll want equipment that can handle the excitement.
- Prepping Your Space: Protect your surfaces with plastic covers or wax paper, and have a moist cloth on hand for any spills or sticky situations.
- Customizing Your Slime: Collect a variety of mix-ins like food coloring, glitter, and scents before you begin, so you aren’t racing around looking for them mid-mix.
- Storing Your Slime: Have an airtight container ready. After play, you’ll need somewhere to store your slime to keep it from drying out.
Preparation is key to ensuring a fun, mess-free, and successful slime-making experience. Let’s get ready to mix up some magic!
Creating a Safe Slime Environment
Slime time is amazing but remember, safety is paramount. Ensure that the area is well-ventilated, protect against spills, and most importantly, keep a close eye on your little scientists to prevent accidental ingestion or misuse of slime components.
These safety steps will create a secure environment for everyone’s peace of mind during this joyous activity!
Your First Slime Recipe: The Gateway to Oozeville
Awaiting with bated breath for your first slime recipe? Here it is, a simple yet thrilling concoction that will usher you into the gooey realm of slime!
Your Very First Batch of Homemade Slime
- Start with 1/2 cup of PVA-based glue in a bowl. This is your slime’s backbone.
- Splash in the color and stir until blended to create the mood.
- Prepare your activator by mixing 1/2 teaspoon of borax into 1 cup of warm water, dissolving completely.
- Add the activator gradually to the glue, stirring with enthusiasm until the concoction clings together and the bowl starts to clear.
- Knead by hand until consistent in its sliminess. If necessary, add a tad more activator.
- Voila! The inaugural batch of your slimy empire is ready for playtime.
Congratulations on creating a classic slime! It’s all smooth, slimy sailing from here on out.
Slime Adjustments: The Fine Tuning of Slime Making
Consider this your slime troubleshooting vault. A runny slime often means you need more activator. If it’s too stiff, more glue might be the answer. Like a good stew, slime needs your personal touch to reach perfection.
Every attempt is a valuable lesson in the awesome art of slime-ology!
Advanced Slime: Spells for the Slime Enthusiast
Feeling confident? Up your game with these whimsical slime variations that are sure to astound and delight:
- Fluffy Slime: Introduce shaving cream for an airy, cloud-like experience.
- Crunchy Slime: Beads or plastic bubble wrap cutouts create a satisfying texture.
- Butter Slime: Soft sculpting clay can transform your slime into a spreadable delight.
- Magnetic Slime: Iron filings create a slime that moves with magnetism, amazing onlookers.
These are just the start! The realms of slime are endless and inviting. Forge ahead into unchartered territories and unfathomed depths of the slime kingdom.