
Unleash Your Child’s Creativity with This Simple Uncooked Playdough Recipe
Hey there, Creative Parents!
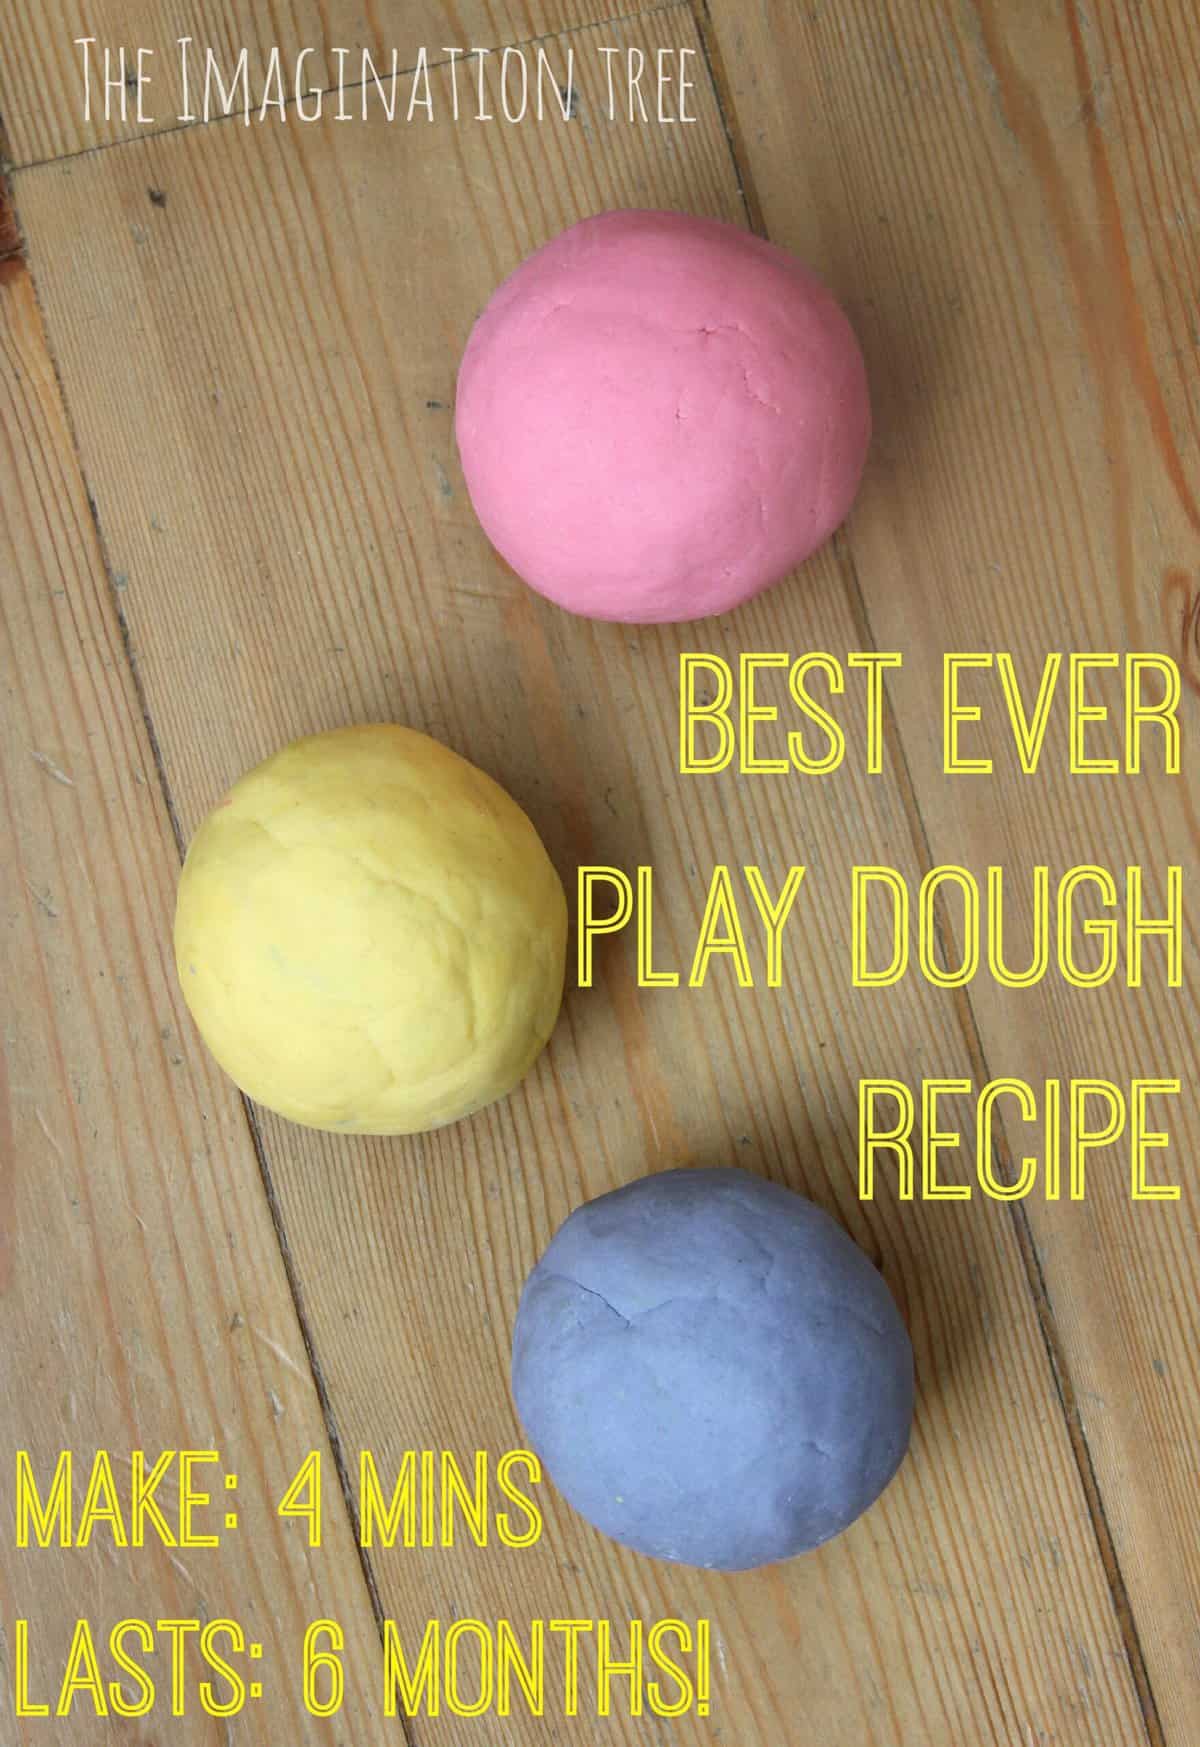
Are you ready to whip up some magic in the form of soft, squishy playdough that doesn’t even require cooking? That’s right, today we’re diving into the wonderful world of uncooked playdough! Not only is it a super easy and quick craft project that will provide your kiddos with hours of imaginative play, but it’s also a fantastic way to engage their sensory skills without any hassle.
Before we get our hands doughy, let’s talk about the perks of making your own playdough at home. For starters, it’s safer—no worrying about what’s in store-bought playdough because you control the ingredients. It’s also cost-effective, which is a win for your wallet. Plus, it’s a delightful way to customize colors and smells, giving your little ones a personalized experience. Ready to get started?
What You’ll Need for Your Non-Cook Playdough Adventure
- 2 cups all-purpose flour
- 1/2 cup salt
- 2 tablespoons cream of tartar (for elasticity)
- 2 tablespoons vegetable oil
- 1 1/2 cups boiling water (adults only, please!)
- Food coloring or natural dyes
- Essential oils (optional for scented playdough)
This recipe is fantastic because it uses ingredients that you probably already have tucked away in your kitchen cabinets. Plus, it’s totally customizable! You can add glitter for a touch of sparkle, or tweak the amounts to make a larger or smaller batch.
Let’s Create Some Playdough!
Step 1: In a large bowl, whisk together the flour, salt, and cream of tartar. This mixture will give your playdough its structure and help keep it elastic.
Step 2: In a separate container, mix your food coloring with the boiling water—this is where an adult’s help is crucial as boiling water can be dangerous for little ones. A good tip here is to use a glass measuring cup, as it’ll handle the heat and make pouring a breeze.
Step 3: Slowly pour the colored water into the dry ingredients, adding the vegetable oil as well. Stir continuously until the mixture starts to form a dough. Don’t forget to let your kids choose the colors—it’s part of the fun!
Step 4: Let the mixture cool down a bit so it’s safe to handle. Then, flour your hands (and your little helper’s hands) and start kneading the dough. You’ll notice it becoming smoother and less sticky as you work it. If it’s too sticky, just sprinkle a little more flour in.
Step 5: Optional but fun—add a few drops of essential oils to create scented playdough. Lavender for a calming effect, or maybe citrus for an energizing play session? The skies the limit!
And voilà, your uncooked playdough is ready to ignite the sparks of creativity in your young ones’ minds! Remember, the beauty of homemade playdough is in the making – it’s a chance for sensory play and bonding with your children.
Now, get those little hands busy and start creating! Whether they sculpt their favorite animals, craft a mini version of their dream car, or simply explore the texture and form of playdough, they’re mastering fine motor skills along the way.
Stay tuned for more tips on storing your playdough, plus fun activity ideas to keep the creativity flowing. We promise, this playdough will provide an easy solution for those rainy days or any time you want to add a splash of craftiness to your family’s routine.
Keep those creative juices flowing, and let the fun begin with this non-toxic, soft, and utterly delightful uncooked playdough recipe!
5 Things Parents Should Know in Preparing for Uncooked Playdough Recipe
As you embark on this joyful crafting journey, here are five essential tips to ensure a smooth and enjoyable playdough-making experience with your kiddos:
- Ingredient Safety: Always check that the ingredients used are non-toxic and safe for children. Even though this recipe calls for common kitchen items, it’s important to make sure that children understand this playdough is not edible.
- Adult Supervision for Hot Water: The boiling water required for this recipe can pose a burn hazard. An adult should always handle the hot water and ensure it’s mixed securely before inviting children to participate in the kneading process.
- Texture Troubleshooting: Getting the texture of playdough just right can be a bit of trial and error. If the dough feels too sticky, add a bit more flour as you knead. If it’s too dry, a few drops of vegetable oil can help. Don’t be afraid to adjust as you go!
- Coloring Cautions: Food coloring and natural dyes can stain hands temporarily, as well as work surfaces. It’s advisable to protect clothing and use a surface that’s easy to clean. Alternatively, use gloves or utensils to mix in the colors.
- Playdough Storage: To keep your homemade playdough fresh and soft for as long as possible, store it in an airtight container or a ziplock bag. If you notice the dough drying out, you can revive it by kneading in a little bit of water.
With these tips in mind, you’re all set for a wonderful, worry-free playdough crafting session with your littles!
Sculpt, Craft, and Learn: More Ways to Play with Playdough
Here come even more amazing ideas to extend the fun of your freshly-made uncooked playdough:
- Educational Shapes and Numbers: Encourage learning by using cookie cutters to make shapes, numbers, and letters out of playdough. It’s a practical, hands-on method of reinforcing your child’s understanding of fundamental concepts.
- Theme Play Sets: Create themed play sets with your children using the playdough. Underwater scenes, jungle environments, or even outer space – the possibilities are limited only by imagination!
- Storytelling with Playdough: Craft characters and props out of playdough to tell a story. This activity helps with narrative development and can be a springboard for kids to share their own tales and adventures.
- Mixed Media Art: Incorporate playdough into mixed media art projects. Combine it with paper, sticks, and leaves for textured collages, fostering a love for art in diverse forms.
- Learning through Sensory Play: Use playdough as a tool for sensory play. Add rice, beads, or pasta to create different textures and sensory experiences which are essential for cognitive development.
Playdough isn’t just for fun; it’s a versatile material that can be woven into educational activities, making learning an engaging and hands-on process.
Remember, the most important ingredient in this recipe is your joy and presence. Embrace the moments spent together with your kids creating something from scratch. Though the playdough may eventually crumble, the memories you make will stay sculpted in your hearts forever.
With all the fun and imaginative potential of uncooked playdough, you’re all set to transform an ordinary day into an extraordinary playday! Let the colors swirl, the shapes form, and the laughter ring out as your kids embark on their creative crafting journey.
See more great Things to Do with Kids in New Zealand here. For more information see here
Disclaimer
The articles available via our website provide general information only and we strongly urge readers to exercise caution and conduct their own thorough research and fact-checking. The information presented should not be taken as absolute truth, and, to the maximum extent permitted by law, we will not be held liable for any inaccuracies or errors in the content. It is essential for individuals to independently verify and validate the information before making any decisions or taking any actions based on the articles.


