
Create Your Own Stress Busters: A Step-by-Step Guide to Making Stress Balls at Home
Hello wonderful parents! ? Are you looking for a fun, creative, and oh-so-satisfying activity that both you and your kiddos can enjoy? Well, buckle up because today we’re diving into the delightful world of homemade stress balls! Not only do these squishy companions help keep stress at bay, but making them is also an absolutely fantastic way to bond with your children and spark their creativity. Plus, it’s a sensory experience that’s great for kids’ development. So, let’s get those hands ready for some stress ball magic!
Why You’ll Love Making Stress Balls
Before we get our hands all squishy, let’s chat about why making stress balls at home is the perfect activity for your family:
- Stress Relief: Squeezing these little wonders can help alleviate tension, making them ideal for both you and your children.
- Sensory Play: Stress balls provide a tactile experience that is beneficial for sensory development, particularly valuable for kids who need sensory input.
- Boosts Creativity: With endless possibilities for customization, your family’s creativity will flourish while making these unique stress-relief tools.
- Quality Time: Crafting these together means spending quality time as a family and creating memories you’ll cherish.
- Eco-Friendly: You can use materials you already have at home, which means this activity is not only fun but also environmentally friendly!
Materials You’ll Need for Homemade Stress Balls
Getting ready to make your own stress balls is super simple, and you probably have most of these materials lying around at home. Here’s what you’ll need to get started:
- Balloons: These will be the outer shell of your stress ball. Feel free to use colorful or patterned ones for added fun!
- Filling: The most popular fillings are flour, rice, or fine sand for a classic stress ball feel. But be imaginative; even play dough or slime can make for a unique squish!
- Funnel: A kitchen funnel will make getting your chosen filling into the balloon much simpler—no mess, no fuss!
- Scissors: You’ll need these to snip off the excess balloon once you’ve filled it up.
- Permanent markers or stickers: For decorating the stress balls once they’re made.
- Bottle: Having an empty water bottle can be handy for filling the balloon without a funnel.
Alright! Got everything? You’re all set to go on an exciting stress ball quest!
Step-by-Step Instructions for Making Your Stress Ball
Here’s where the fun really begins. Making your stress ball is as easy as pie, and I’m here to guide you every step of the way. Ready, set, squeeze!
- Stretch Your Balloon: Start by blowing up the balloon and then deflating it; this stretches out the latex making it easier to fill.
- Prepare Your Filling: Decide on your filling, and if you’re using flour or rice, have it handy in a bowl or cup. If you’ve decided on slime or play dough, now’s the time to squish it a bit to make it more pliable.
- Fill ‘er Up: Attach the balloon’s neck to the funnel, or if you’re using the bottle method, fill the bottle with your chosen filling, attach the balloon to the mouth of the bottle, and invert to let gravity do its job.
- Get the Air Out: Once your balloon is filled, gently squeeze out as much air as possible before tying a knot at the end.
- Trim the End: Take your scissors and carefully snip off the excess balloon material beyond the knot.
And there you have it, your very own stress ball! But wait, it’s not quite finished. The best part is still to come—personalization!
Creative Ways to Personalize Your Stress Balls
Now, this is where each stress ball becomes a one-of-a-kind masterpiece. Encourage your kids to unleash their inner artist with these personalization ideas:
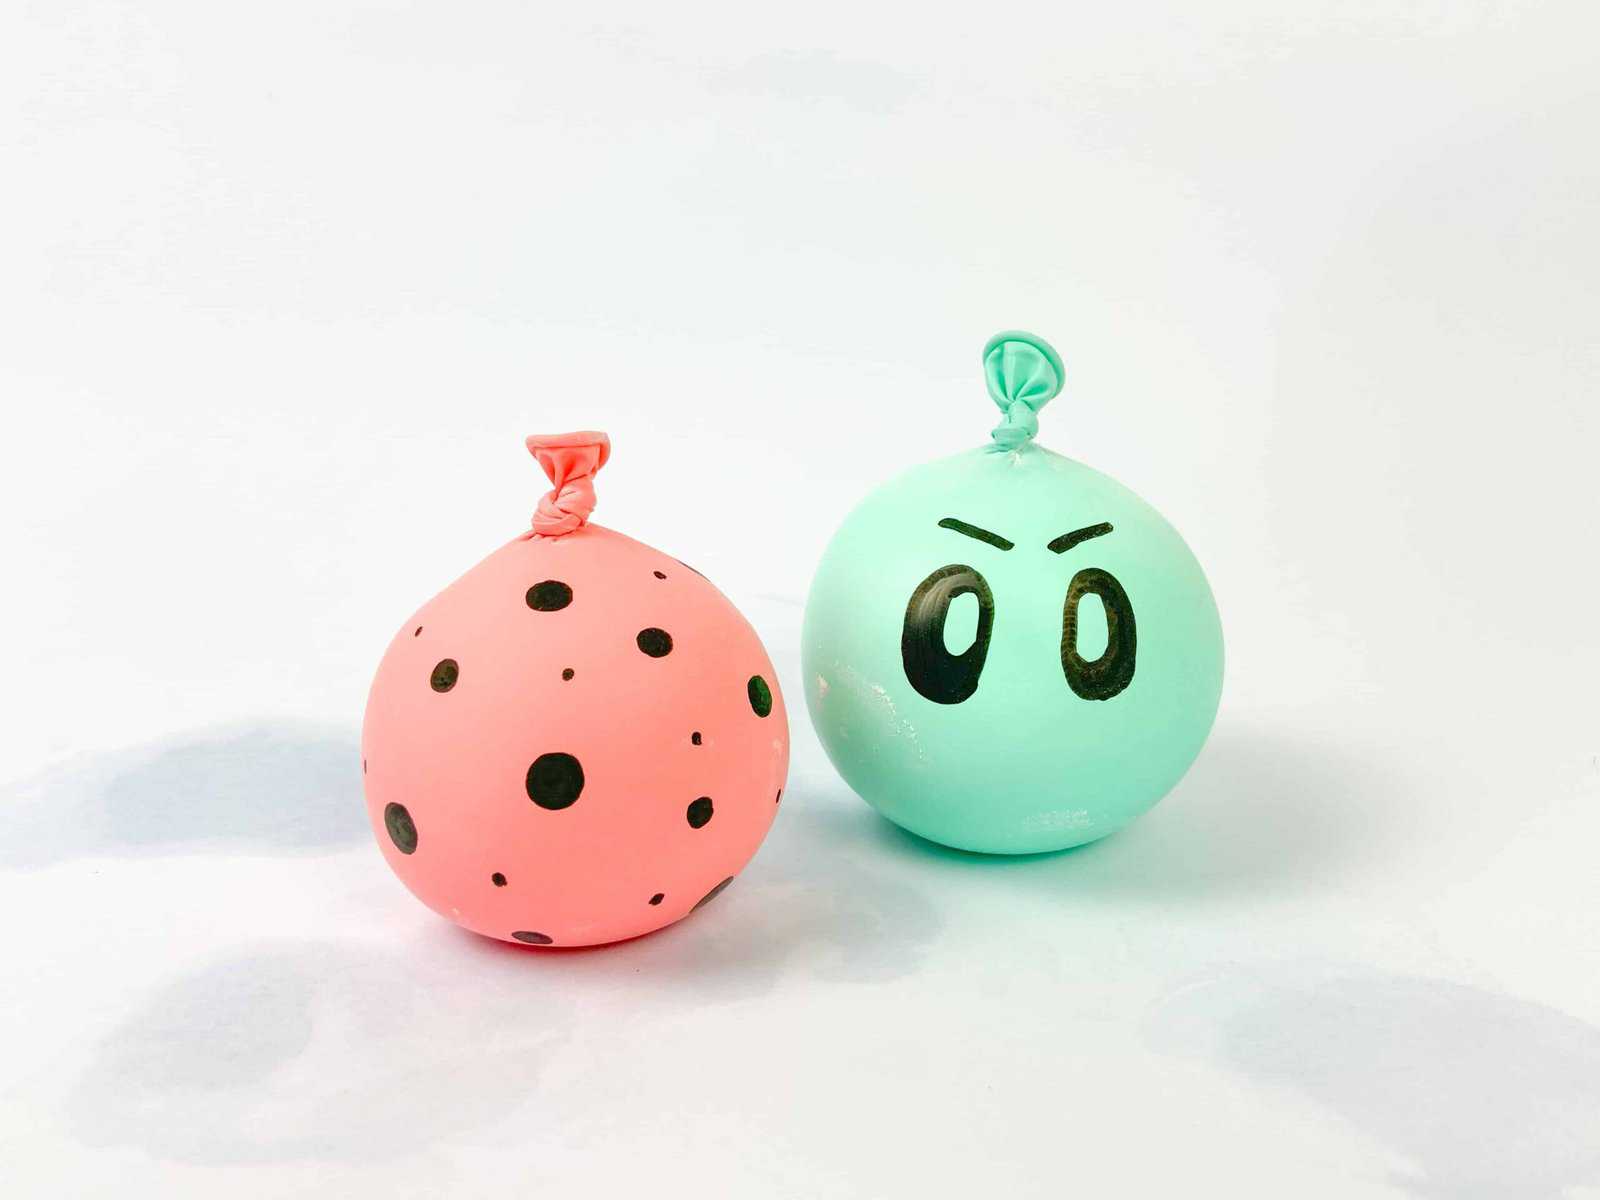
- Draw on Faces: Use permanent markers to create funny faces or cute expressions on your stress ball.
- Add Yarn Hair: With some glue and a little yarn, give your stress ball a funky hairdo.
- Sticker Time: Decorate the stress balls with stickers for an easy and mess-free way to personalize.
Let your imaginations run wild; there’s no limit to how unique each stress ball can be!
And remember, not only are you crafting a handy stress-relieving tool, but you’re also weaving in lessons on patience, hand-eye coordination, and the joy of creating something with your own hands. So there we have it, friends – your gateway into the wonderfully squishy world of DIY stress balls. Stay tuned for more exciting tips on how to get even more creative with your stress ball designs!
Five Handy Tips for Parents Preparing for Stress Ball Making
As you gear up for this incredible activity, here are five tips to ensure a smooth and joyous stress ball-making experience with your kiddos:
- Prepare Your Workspace: Choose a space that can get a little messy. Cover the table with newspapers or a plastic sheet to catch any spills and simplify cleanup.
- Ensure Safety: While this activity is relatively safe, it’s essential to supervise your children, especially when handling materials like scissors or permanent markers.
- Have Extras on Hand: Balloons can pop, and messes can happen. It’s a great idea to have extra materials available in case you need to start over or want to make more than one stress ball per child.
- Practice Patience: The filling process can be tricky and may take a few tries to get right. Encourage your kids (and yourself!) to be patient and enjoy the process, not just the end product.
- Embrace the Process: This activity is not just about creating a stress ball—it’s about the memories and the learning experiences along the way. Allow for creativity, and welcome the unique quirks of each creation.
With these tips in mind, you’re not just prepared to make a stress ball; you’re all set to make the most of this engaging activity with your kids!
Fun Stress Ball Variations to Try
Once you’ve mastered the basic stress ball, why not mix things up with some fun variations? Here are some ideas to inspire you:
- Glitter Galore: Add some sparkle to your stress ball by mixing glitter with your filling. It’ll make every squeeze a shimmering delight!
- Aromatherapy Balls: Add a few drops of essential oils to the filling for a stress ball that smells as good as it feels. Lavender is great for relaxation, while citrus can be uplifting.
- Balloon Layers: Double up the balloons by placing one inside the other before filling them for extra durability and color fun.
- Texture Tales: Try adding small beads or foam balls for an added texture that can be interesting and even more soothing to squeeze.
- Shape Shifters: Instead of round, how about making a heart-shaped stress ball or crafting other shapes to fit the season or celebration?
These variations not only add a new element of fun but also provide an opportunity to discuss experimentation and property changes with your little ones.
Learning Opportunities in Stress Ball Crafting
Believe it or not, stress ball making is also an educational experience. Here’s how:
- Science Exploration: Discuss the properties of the materials you use (elasticity, density, etc.) and why they behave the way they do when squeezed.
- Motor Skills Development: Working to fill and tie the balloons helps fine-tune motor skills and hand-eye coordination.
- Emotional Understanding: Use this activity to talk about emotions and stress, teaching your children healthy ways to cope with their feelings.
- Math Concepts: Introduce measurements by having older kids measure the amount of filling for each stress ball or by timing each step of the process.
- Artistic Expression: Encourage freedom of artistic expression when decorating the stress balls, fostering confidence and creativity in your child’s artistic abilities.
With each squishy ball you create, you’re not only making a stress-relief tool but also facilitating a valuable learning experience.
Conclusion
As you can see, making your own stress balls isn’t just a way to combat stress; it’s a multifaceted activity abounding with benefits. From fostering creativity to developing motor skills, it’s an enjoyable process that ends with a product that serves a soothing purpose. The next time you’re thinking of a meaningful activity to fill an afternoon, remember this guide and reach for those balloons. It’s time to squeeze the fun out of stress ball crafting with your little ones!
See more great Things to Do with Kids in New Zealand here. For more information see here
Disclaimer
The articles available via our website provide general information only and we strongly urge readers to exercise caution and conduct their own thorough research and fact-checking. The information presented should not be taken as absolute truth, and, to the maximum extent permitted by law, we will not be held liable for any inaccuracies or errors in the content. It is essential for individuals to independently verify and validate the information before making any decisions or taking any actions based on the articles.


